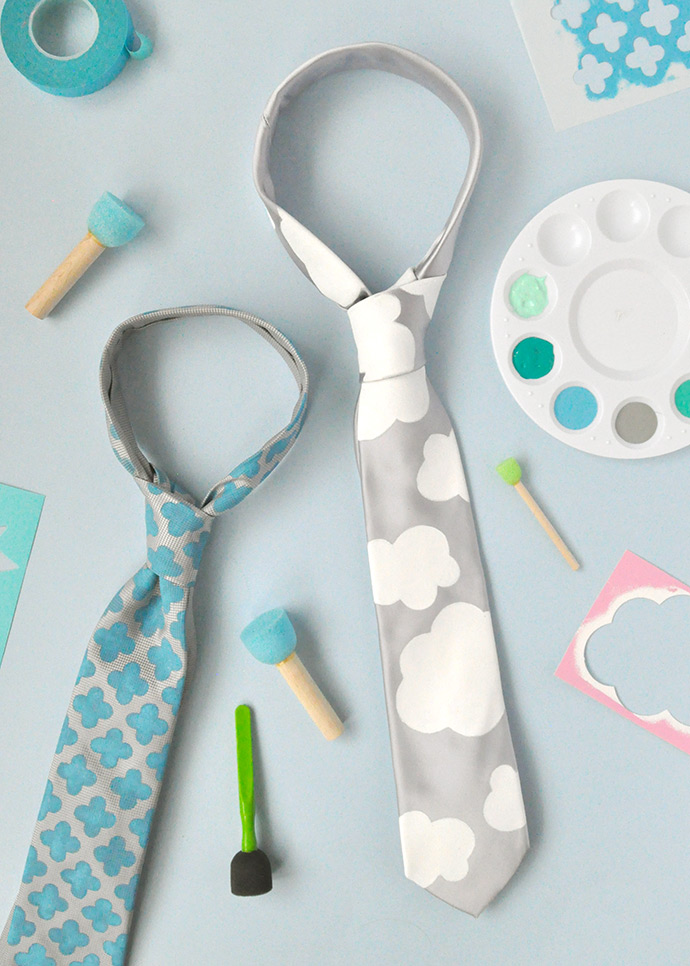
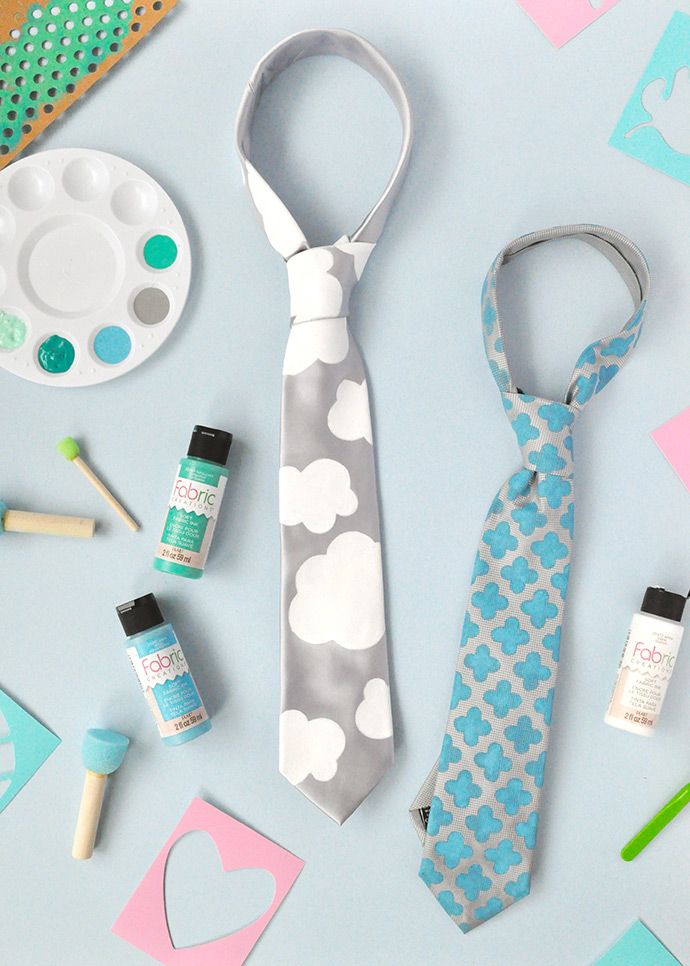
Can you tell we have a thing for stencils? After last week’s DIY stenciled tea towels, we’re back with another handmade stenciled gift: these playful ties! Grab a few plain ties from the thrift store or discount shop and get ready for a simple makeover with Fabric Creations paint and stencils.
Perfect as a birthday gift for dad or grandpa or as a thank you gift for a teacher or coach, these ties are a fun project to make with kids! For younger ones, we especially recommend Fabric Creations new adhesive backed stencils – you can temporarily stick them onto whatever fabric you’re stencilling without worrying about it moving around. For these ties we used stencils without adhesive backs, so you can either hold them in place as you work or secure with some stencil tape. Scroll down to see all the tips and tricks for making your own custom ties!
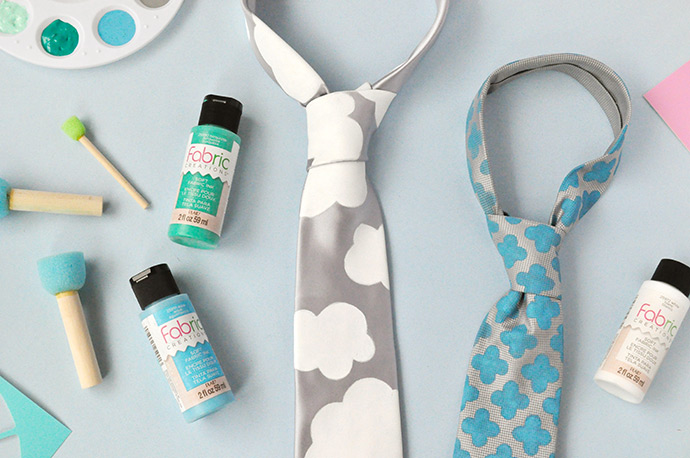
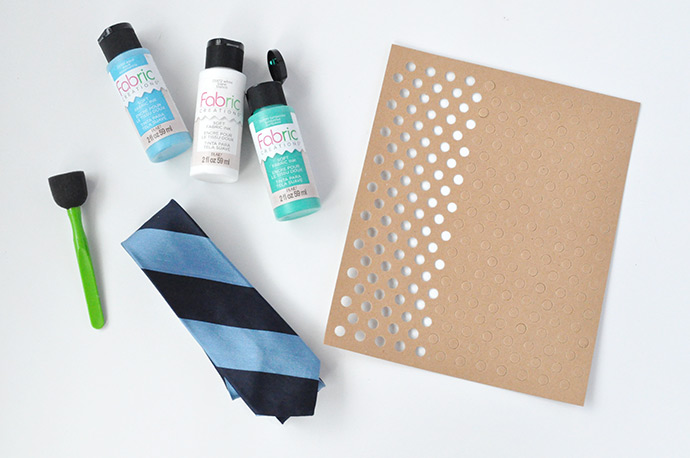
what you need:
how-to:
Step 1
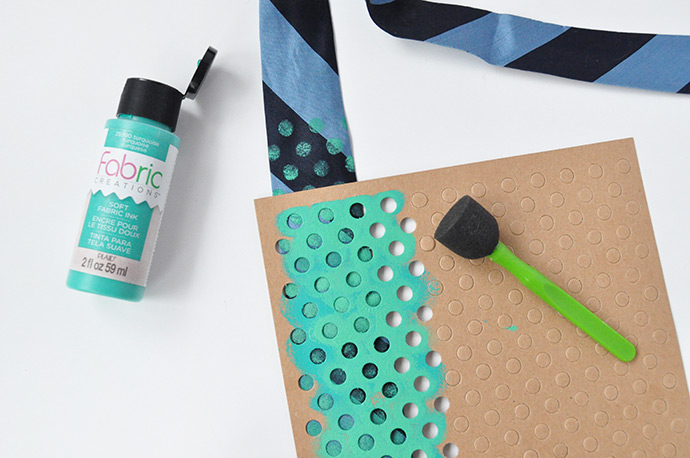
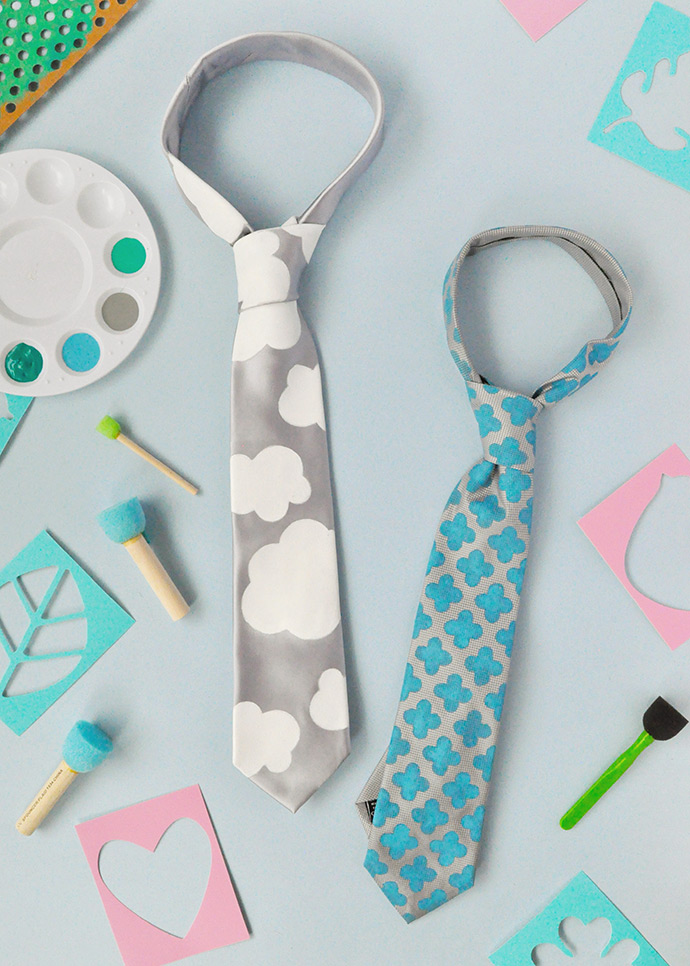
Lay out your tie on the work surface and select your stencil. If you’re using a Fabric Creations stencil, remove the plastic backing and stick the adhesive onto the tie so that the stencil is nice and secure. Squeeze some Fabric Creations Soft Fabric Ink onto a paper plate or palette and use an up and down motion to dab the foam pouncer into the paint. Remove some of the paint onto scrap paper, and then using the same up and down motion apply the paint onto the tie through the stencil. Don’t go too heavy in one coat, or you might risk some messier edges on your stencil. Let the first coat dry, and then line up the stencil again to apply another coat. Continue this process all the way along the tie until covered.
Step 2
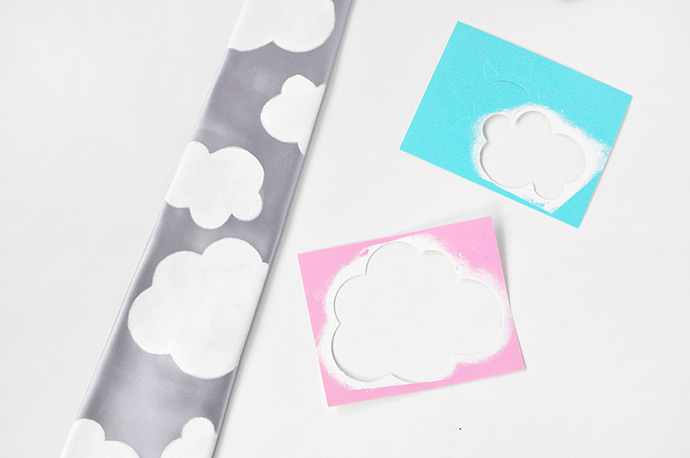
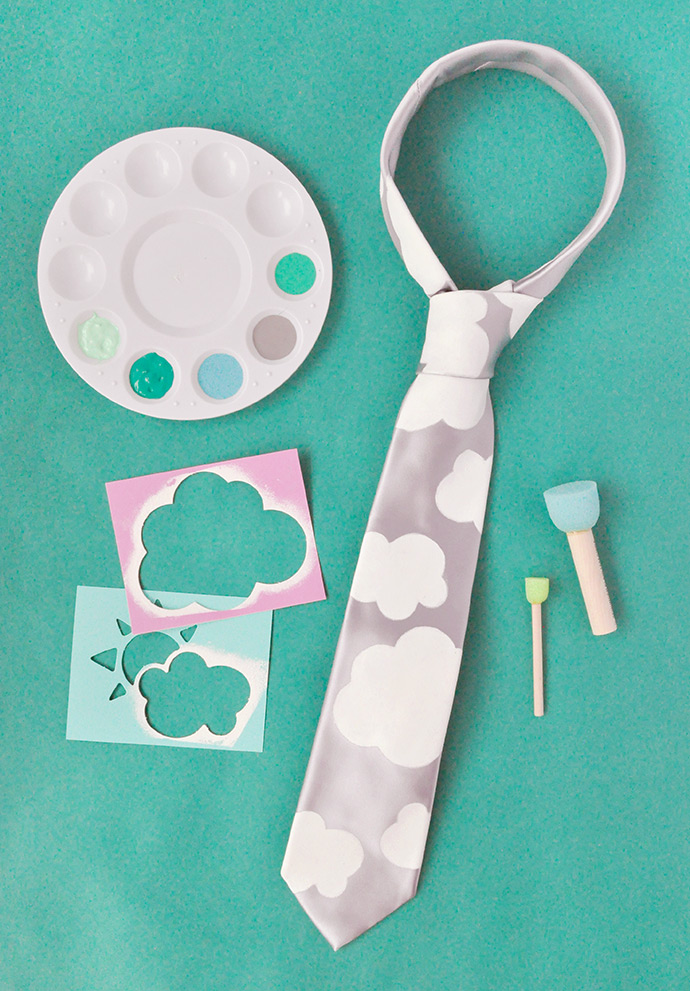
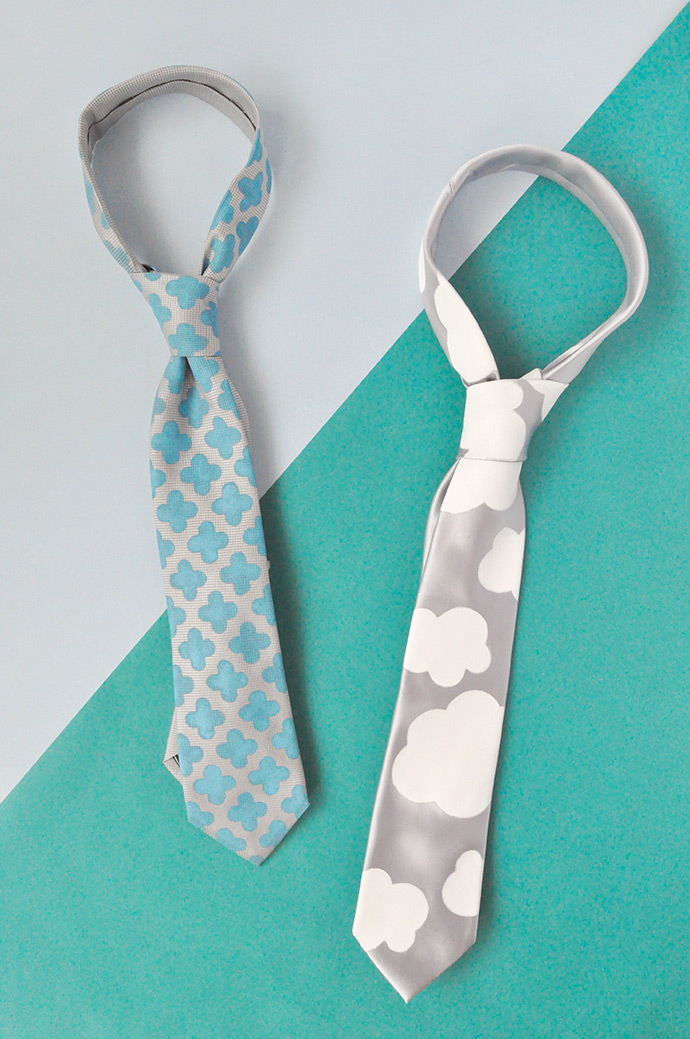
Repeat this same process for other ties! We used these two cloud stencils to make this playful sky tie.
This post is sponsored by Plaid Enterprises.
from Handmade Charlotte https://www.handmadecharlotte.com/make-stenciled-ties/?utm_medium=feed&utm_source=feedpress.me&utm_campaign=Feed%3A+hcrss
No comments:
Post a Comment