This post is sponsored by Plaid Enterprises.
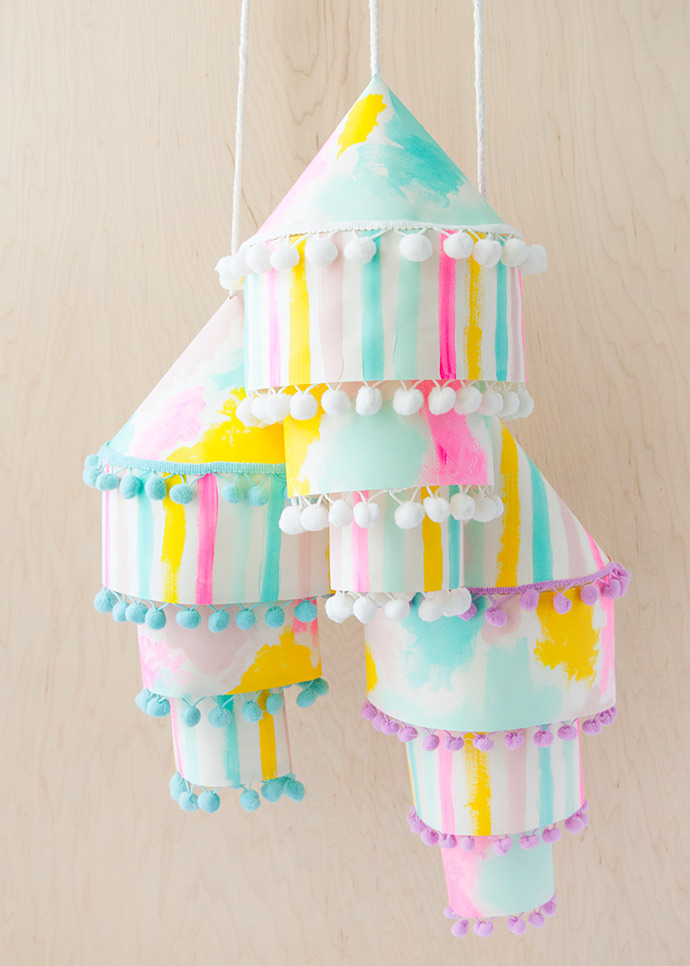
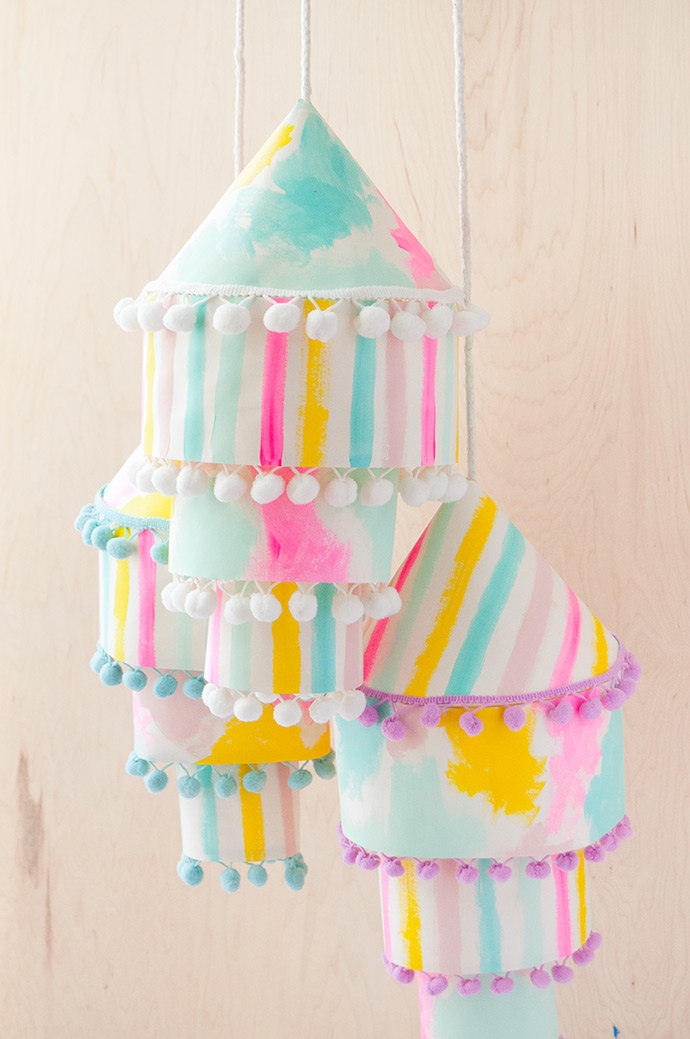
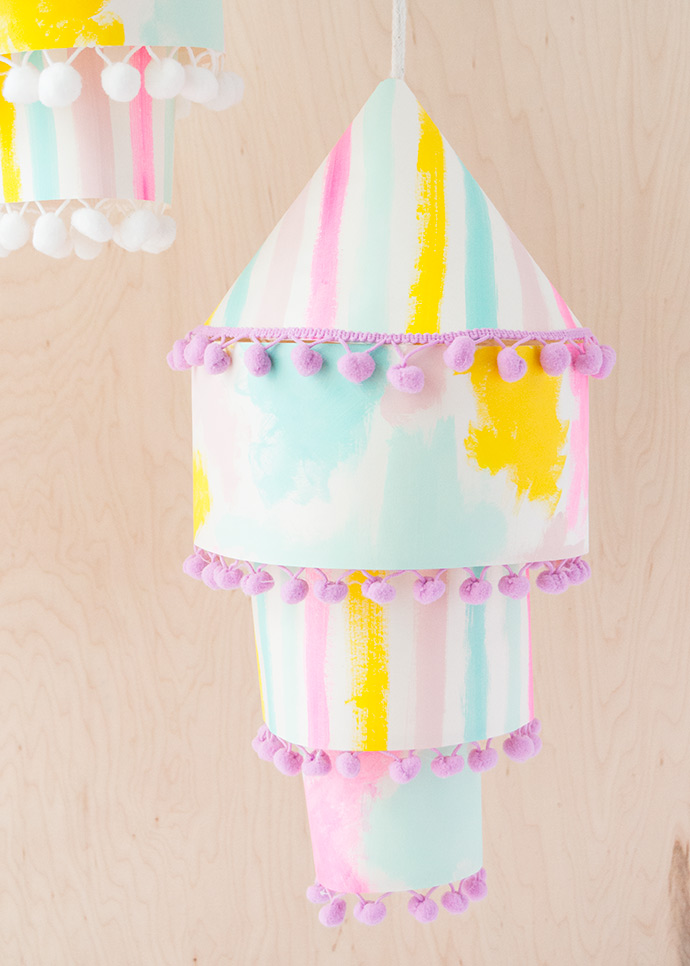
In case you haven’t already noticed, making DIY lanterns is one of our favorite crafts here on Handmade Charlotte! Just a quick look through the blog archives will lead you to these marbled lanterns, recycled bottle lanterns, and even these egg carton lanterns! While browsing Pinterest recently, we came across the most beautiful Tibetan lanterns and knew we wanted to make our own inspired by their tiered shape.
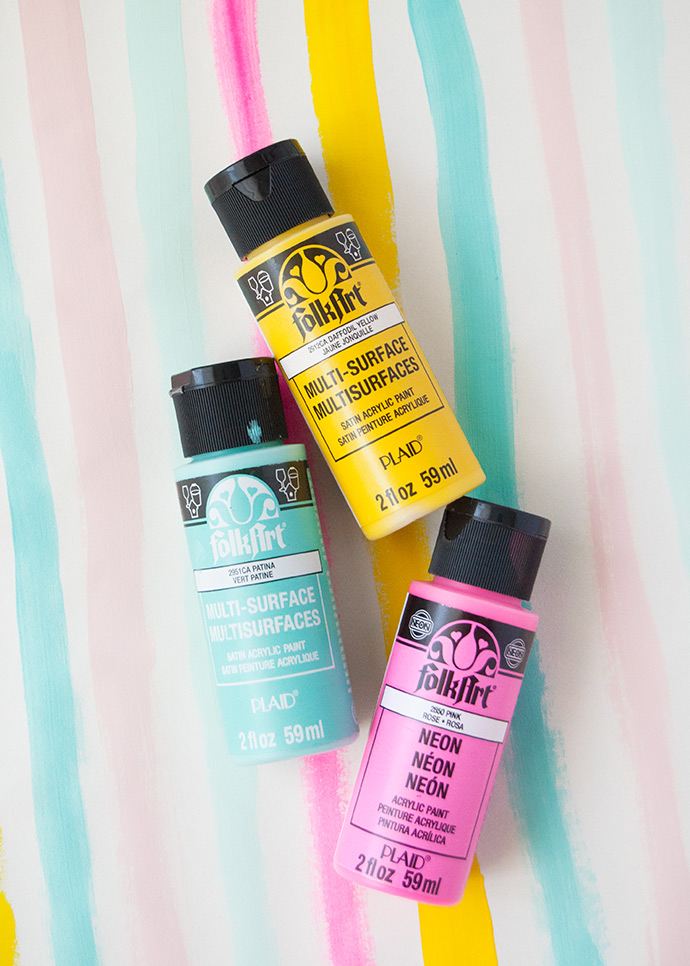
Although we kept the shape of the lanterns similar, we chose a handful of bright and colorful shades of Folk Art Acrylic Paint to make our own custom paper to build them with. The great part about this is that you can customize your lanterns to match whatever color scheme or theme you have in mind! We went for a summery feel with a mix of simple stripes and an abstract, painterly pattern but polka dots, florals, or almost anything you can dream up would be just as lovely! Keep reading to see the full directions below.

what you need:
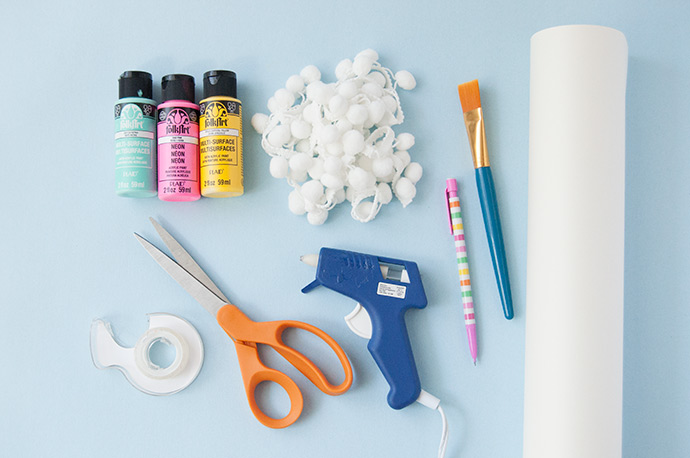
- Folk Art Acrylic Craft Paint
- Paintbrushes
- Wooden embroidery hoops (in three sizes)
- Pipe cleaners
- Roll of white paper
- Hot glue gun
- Double-sided tape
- Pom pom trim
- Scissors
- Pencil
- Rope
Step 1
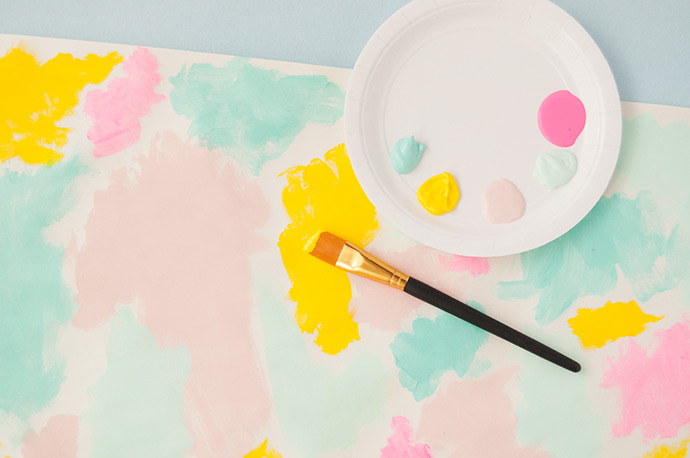
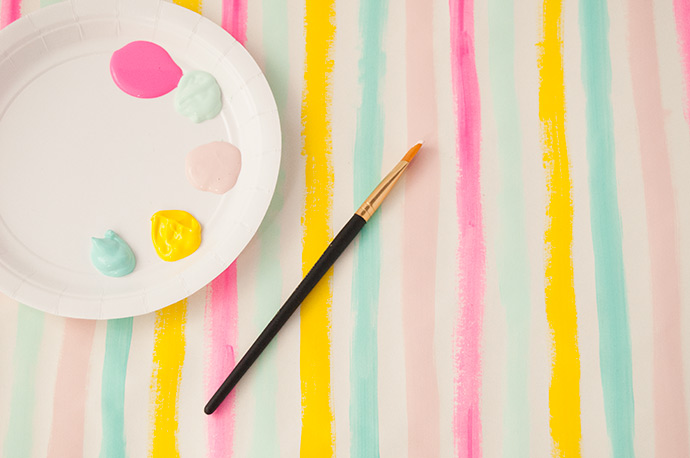
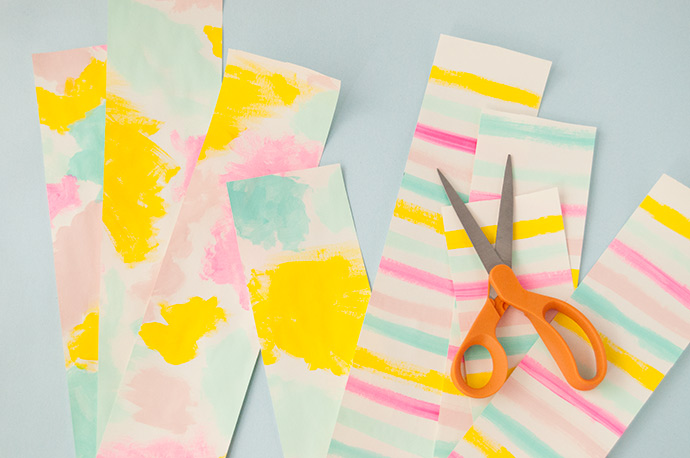
Begin by unrolling a long piece of white paper onto your work surface. Pick out your colors and squeeze onto a plate – we picked five bright shades for these colorful, summery lanterns.
Paint the paper in whatever pattern you like. We did one long piece with stripes, and another piece with abstract painterly patches.
Step 2
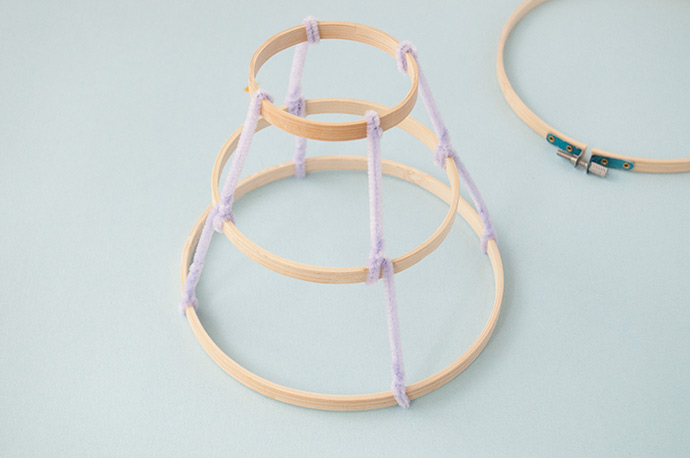
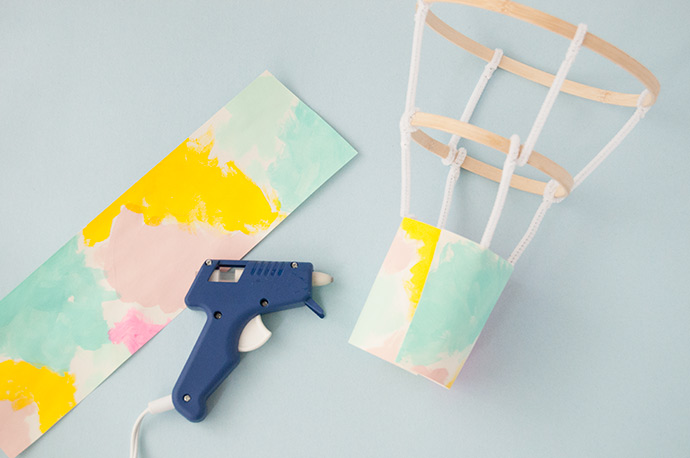
While the paint dries, assemble the frame for your lantern. You can use whatever sizes of embroidery hoops that you like but the ones pictured are 7″, 5″, and 3″. Remove the outer hoop from each and set aside. (You can use these hoops to make lanterns too, but the metal fixture will be visible.) Cut four pipe cleaners in half and twist one piece around the 12, 3, 6, and 9 o’clock spots on the largest hoop. Next twist the other ends of these pipe cleaners onto the medium hoop, keeping it as even as possible, using hot glue to secure the pipe cleaners in place if needed. Finally, add the remaining four pipe cleaners onto the medium hoop, twisting in place, and then adding the smallest hoop on as well.
Step 3
Once the paint is dry, cut your painted paper into strips. We made these ones 4″ wide but double-check by measuring your own lantern frame – you want the strips to be at least as wide as the distance between the tiers. The strips can be as long as you like, but they should at least be as long as the circumference of the largest circle.
Note: when cutting these strips, make sure to leave about half of the paint paper as-is for now. You’ll need this for the pointed top of the lanterns later.
Step 4
Start at the bottom tier and apply a couple of inches of hot glue along the embroidery hoop. Attach the edge of one of the strips, pressing to secure. Continue to glue it around the entire hoop until it’s covered, and trim any excess.
Step 5
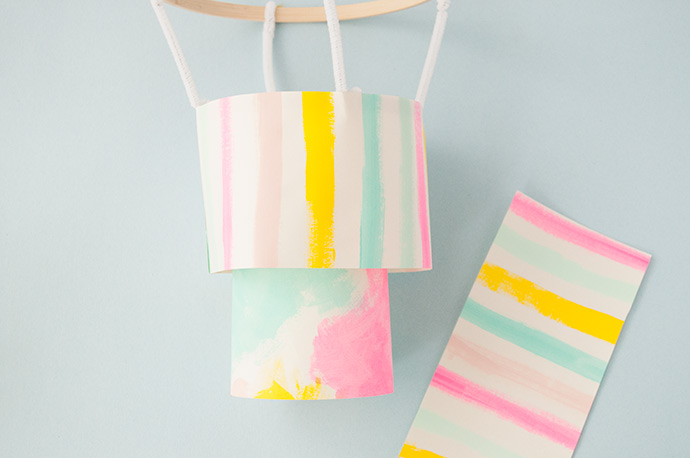
Repeat this process on the second tier in the same way. We alternated patterns on the tiers to give it a playful look.
Step 6
And repeat again on the top tier.
Step 7
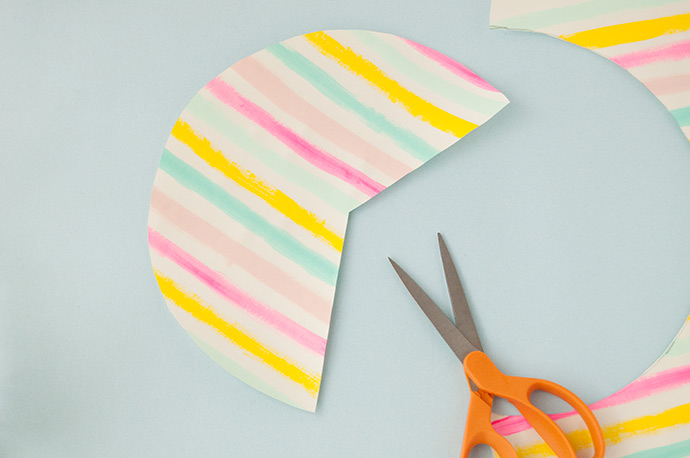
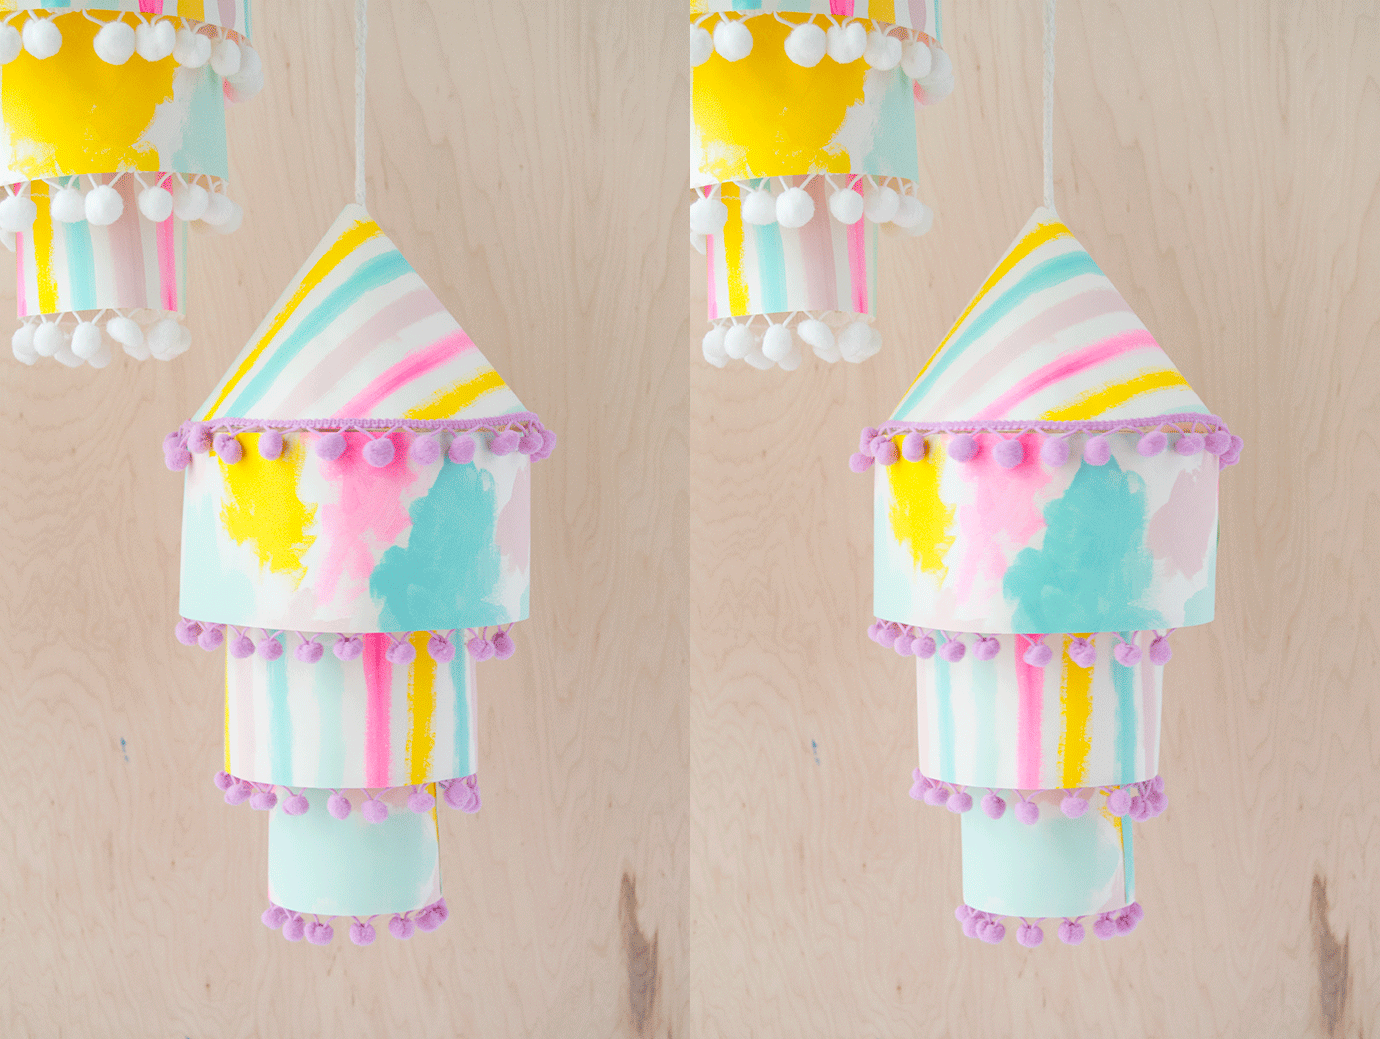
Time to make the pointed top of the lantern. To do this, find a large circular object that you can trace – we used an empty waste paper bin that was 12″ across. Trace this onto the remaining painted paper and cut out, cutting a wedge out so that the paper rolls nicely into a cone. Make sure that the cone is large enough to sit nicely on top of the largest embroidery hoop.
Step 8
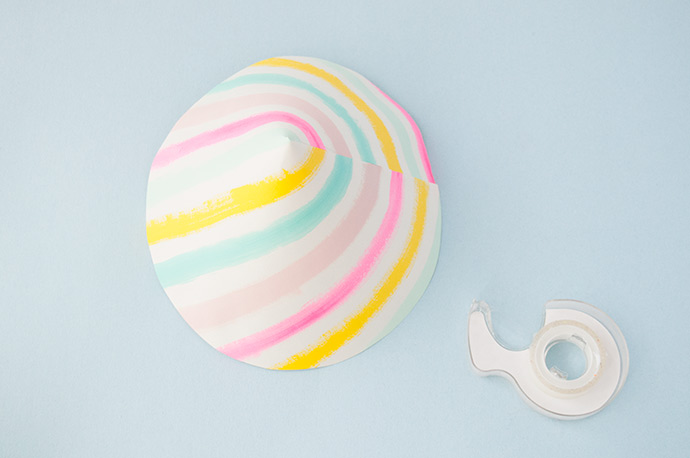
Use double-sided tape to secure the cone into shape.
Step 9
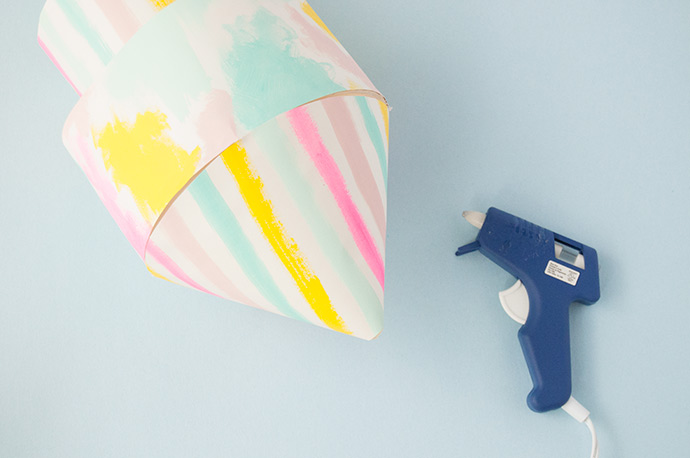
And use more hot glue to attach the cone onto the top of the lantern as shown.
Step 10
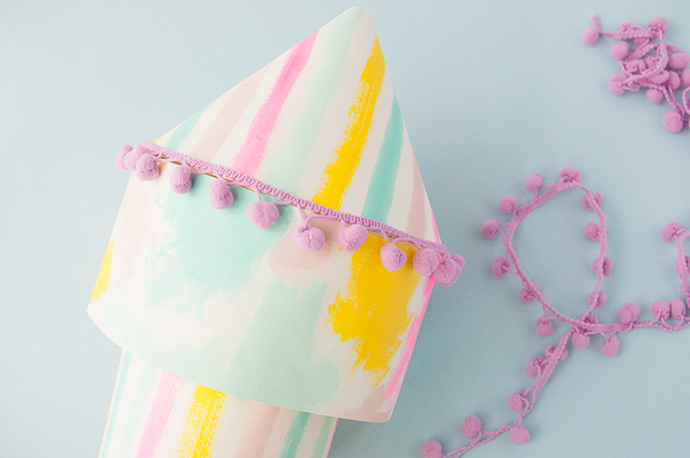
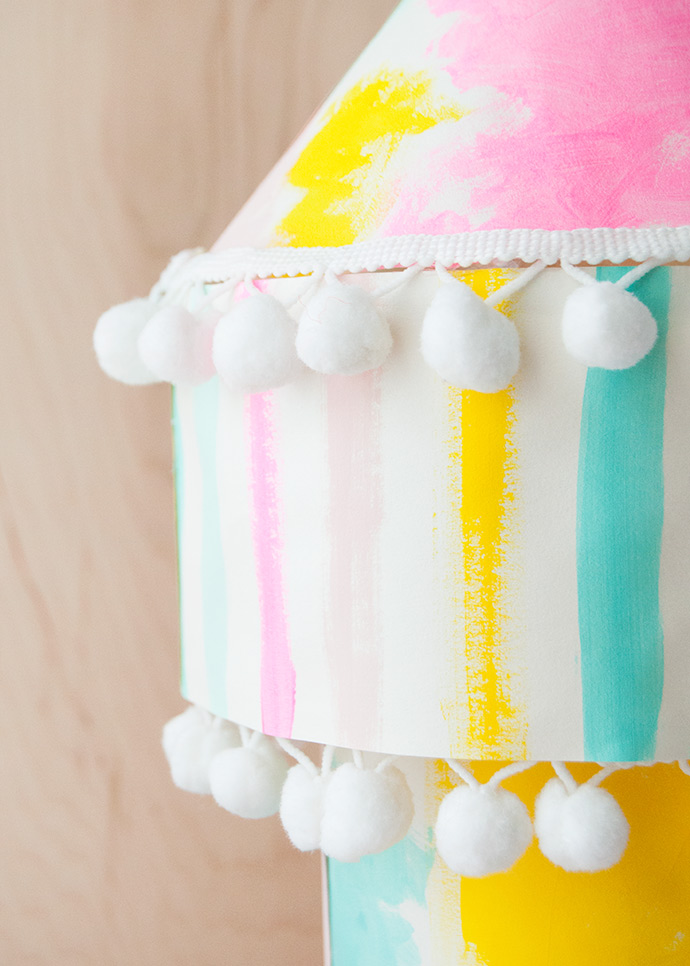
Add some extra fun with pom pom trim! We added this along the seam at the base of the cone, and then on the inside of each of the paper tiers.
Step 11
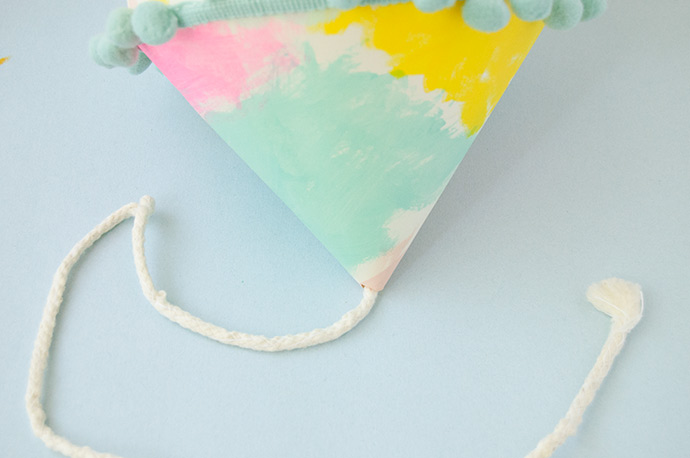
To hang, cut a small snip off the top of the paper cone and feed one end of a piece of rope inside. Attach the rope inside the lantern using tape – you should be able to get your hand inside the lantern through the bottom to secure the tape and rope down nicely.
Happy crafting!!
from Handmade Charlotte https://www.handmadecharlotte.com/painted-paper-lanterns/?utm_medium=feed&utm_source=feedpress.me&utm_campaign=Feed%3A+hcrss