
Diorama. Whether the word reminds you of grade school art projects or detailed Christmas ornaments, the enchantment is similar. There’s just something about a world you design and keep in a shoebox, container, or nutshell—made just to your specs.
Unexpected things in an ornament can be sweet and endearing, and make a wonderful one-of-a-kind gift. (Unless you totally finished your shopping already, in which case, just make some of these for your own tree.)
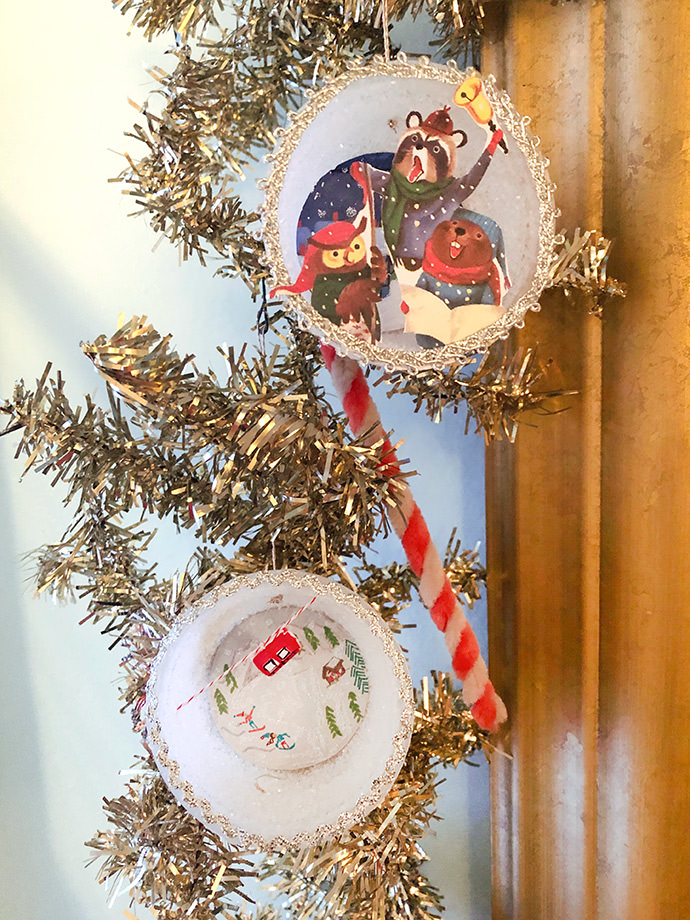
what you need:
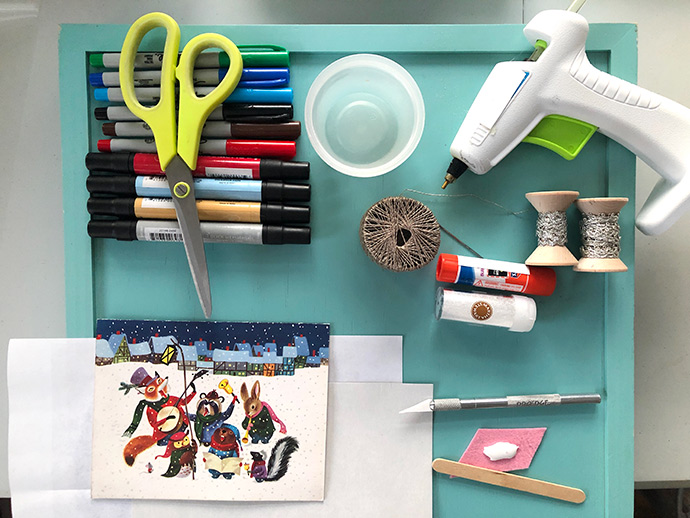
- Recyclables such as single-serve plastic applesauce cups, cleaned and dry
- Cardstock
- Pencil
- Markers
- Trim or ribbon to go around the opening (silver ric rac and picot trim used here)
- String, yarn or similar to hang the ornaments, 8” per ornament
- White, snow-like glitter
- Scissors to cut cardstock
- Scratch paper, 81/2 x 11 is good
- Glue gun, low heat
- White glue
- Glue stick
- Wooden stick or similar for spreading white glue
- 10” Thread for “gondola cable” (red and white baker’s twine used here)
- Sewing needle with eye big enough to draw thread through
how-to:
Brainstorm ideas for your dioramas. Make many of one design, or dream up something unique for each ornament.
Here’s are two I came up with:

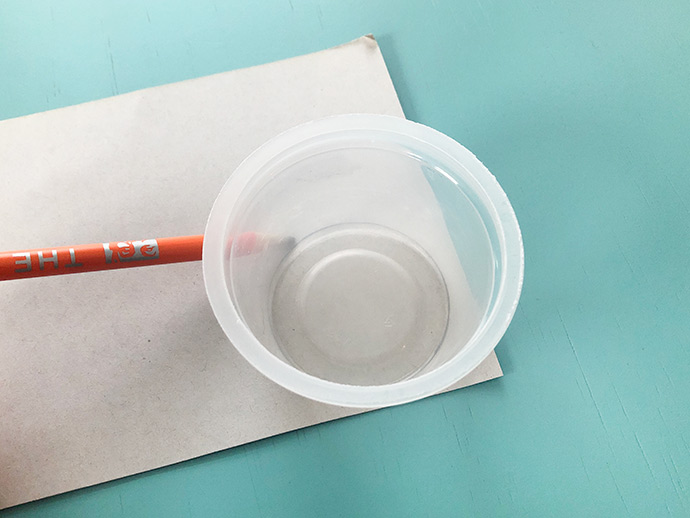
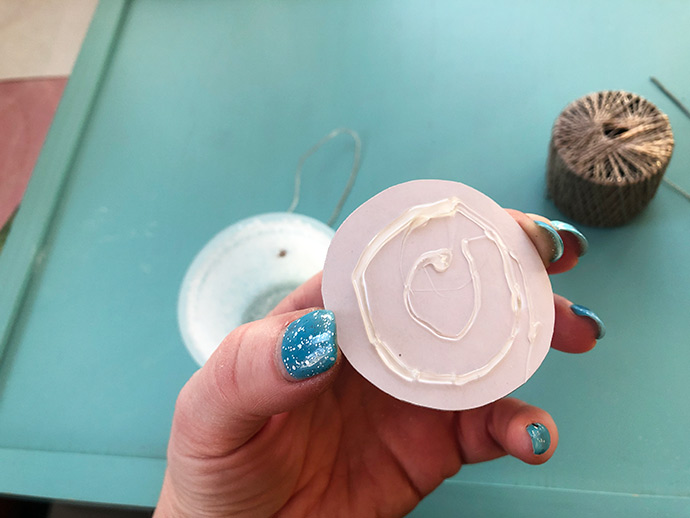
Pick a design and start making! Let’s start with Swiss mountain-scape. Place your container on the cardstock, open end facing you. Trace around the back of the container.
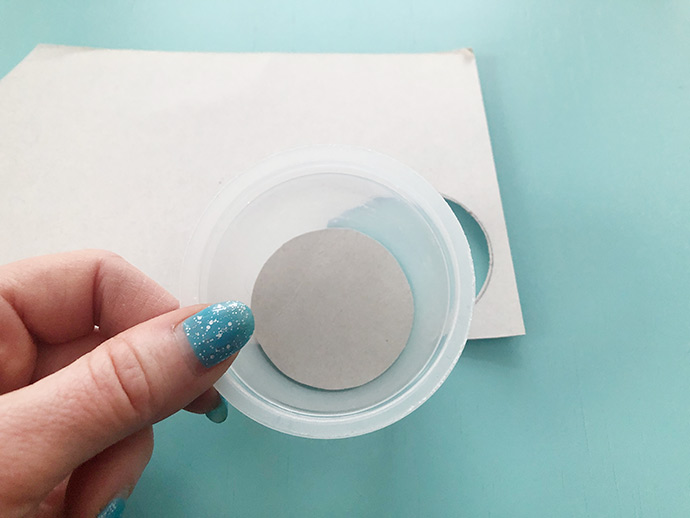
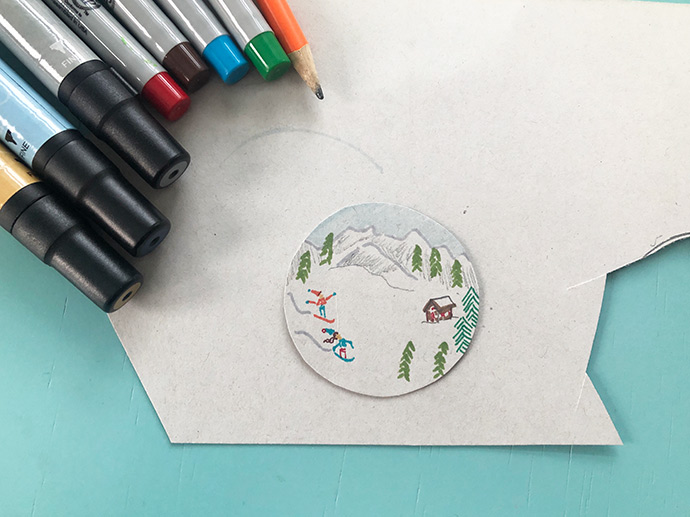
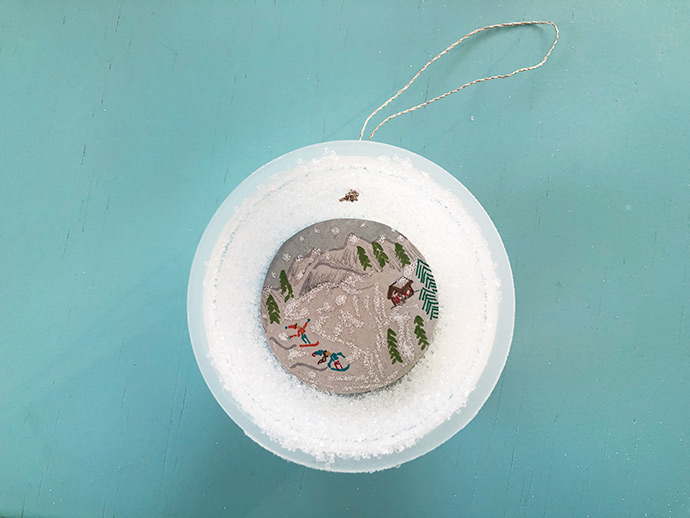
Draw and color in your scene. You might include skiers, trees, and buildings.
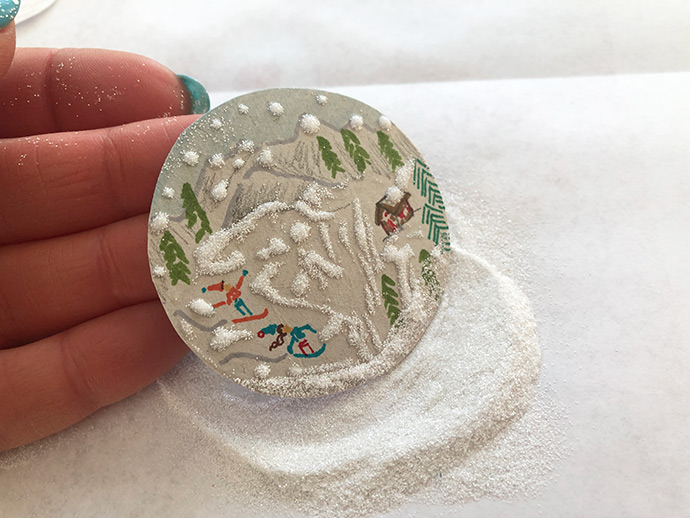
Squeeze drops of glue directly onto the mountain, being careful to touch only areas you wish to glitter. Use a wooden stick to spread the glue thin, if you wish.
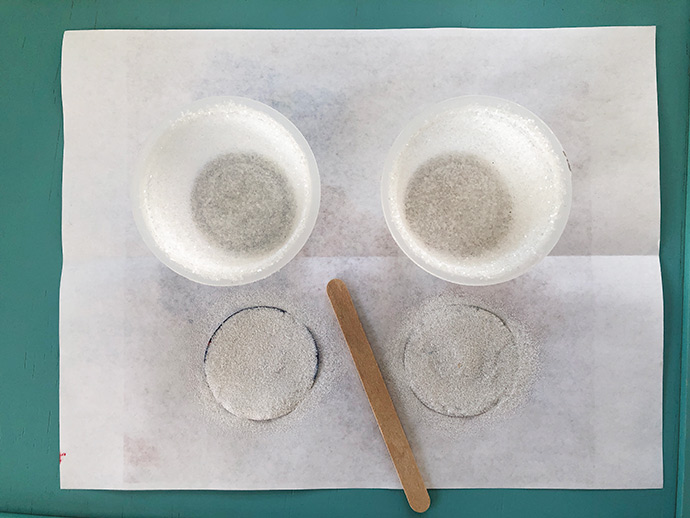
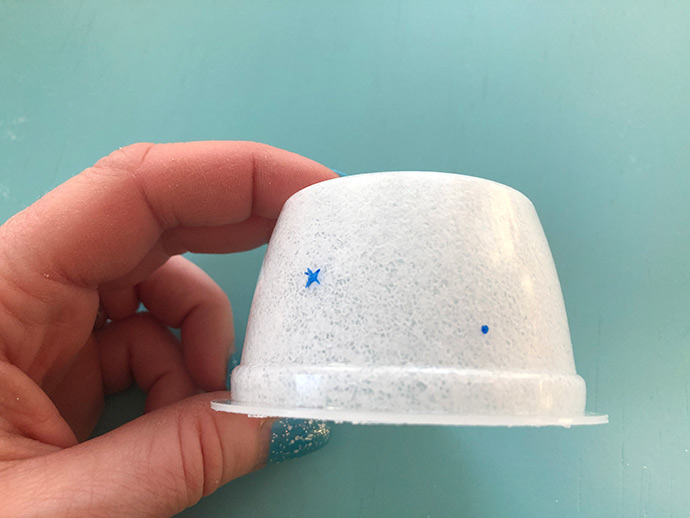
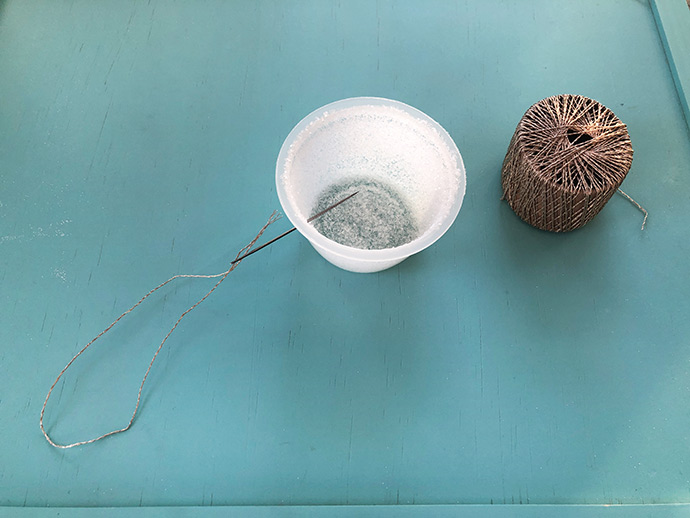
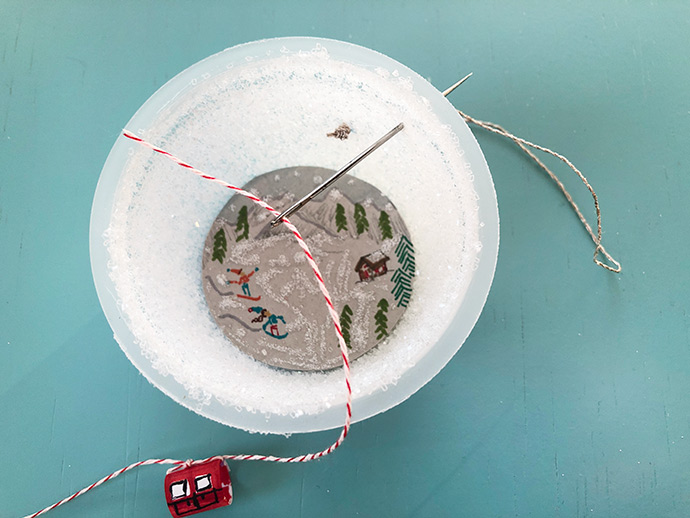
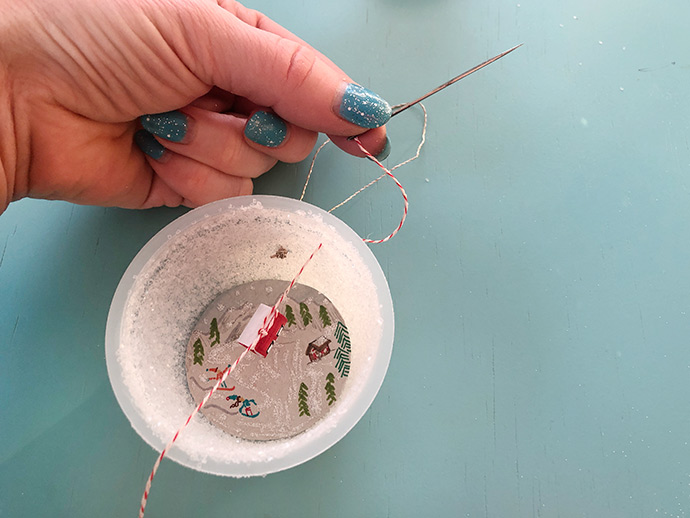
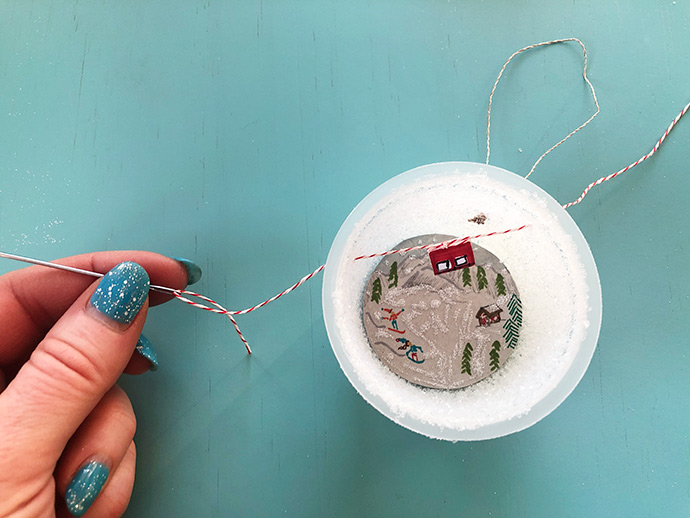
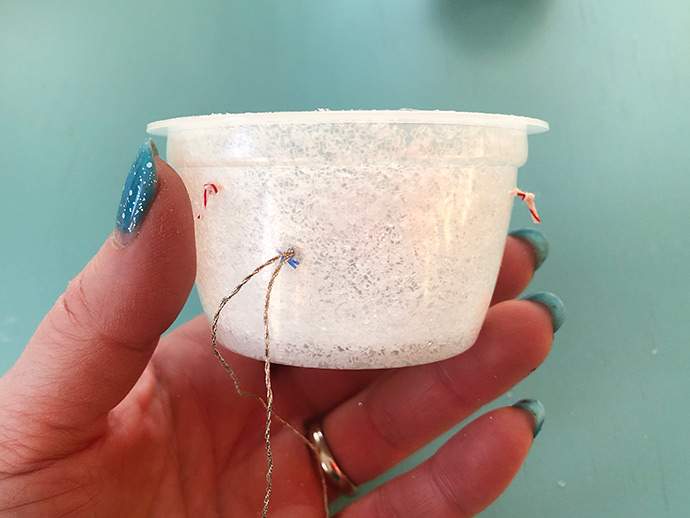
Next double the hanging string to form a loop, and guide it through the eye of your needle LOOP FIRST. Pierce the side of the ornament cup with the needle (shown with an “x” here), pushing it from the outside, in. The blue dot is where one end of the gondola cable string will go. (Skip drawing on the ornament—it’s just done here to help you visualize your next step.)
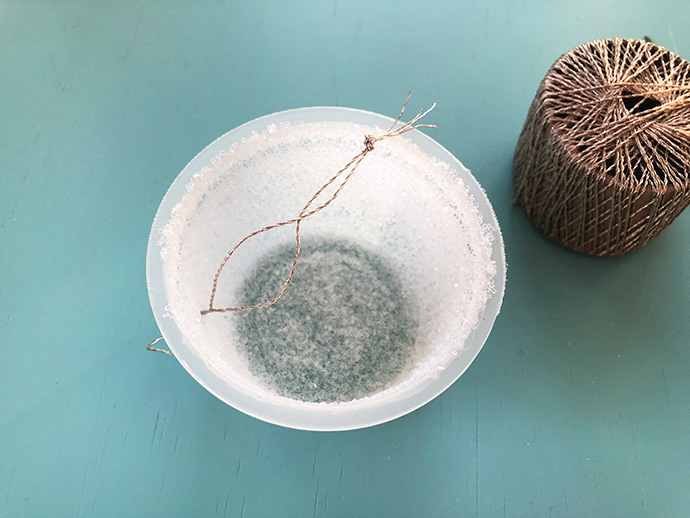
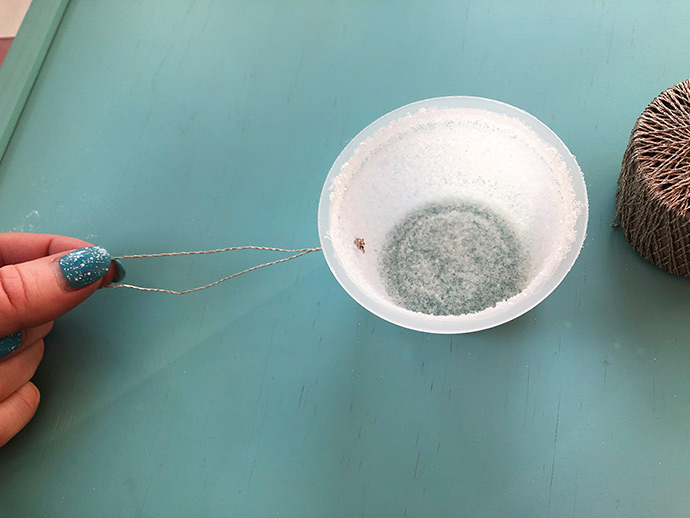
Tie a knot inside the ornament (double, if needed). Carefully pull the hanging loop up, drawing the knot to the inside top of the ornament.
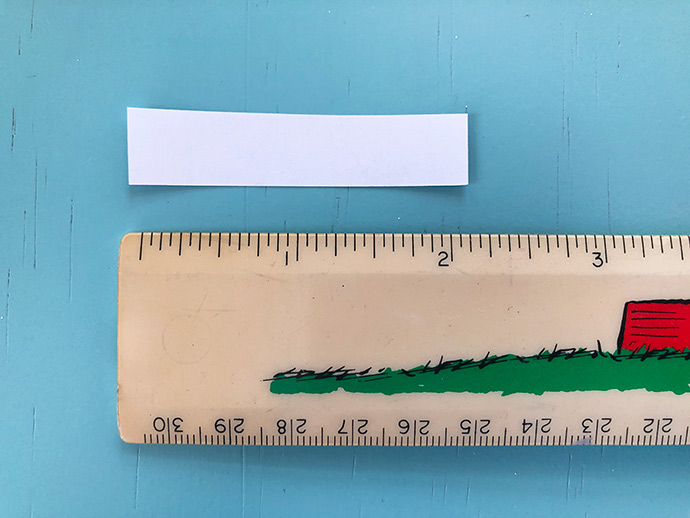
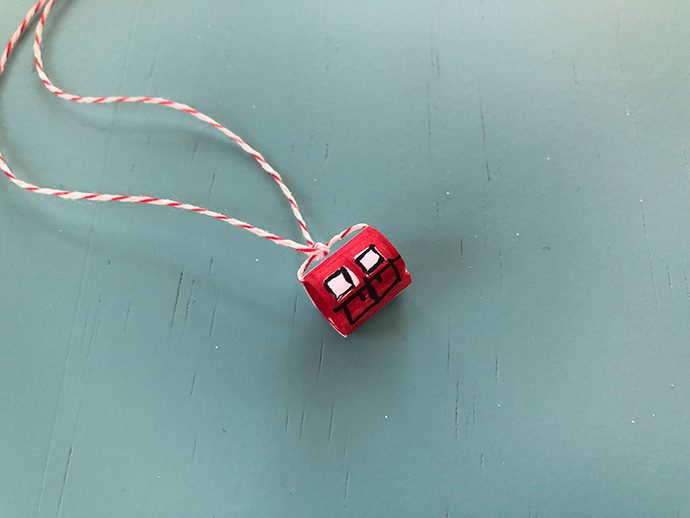
Gondola time! (A tiny gondola in a diorama? SQUEEEE!) Take a strip of paper that will be rolled up to make the gondola body.

Roll it into a loop, securing with a dab of glue stick inside. Thread the baker’s twine through the loop, then tie it in a knot. Now the gondola is secure on the cable.
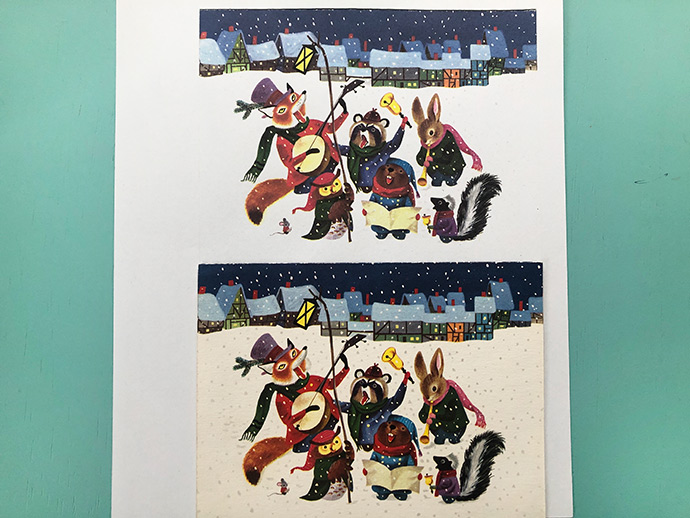
Here is a vintage Christmas Card (yes, it’s Richard Scarry!) that I will use. (Just kidding—how could I cut that beautiful thing? I’ll use a color copy thereof and save the original.) I can see the town in the background would make a sweet ornament background, and I will trim the carolers down to a few that will look best in my ornament foreground.
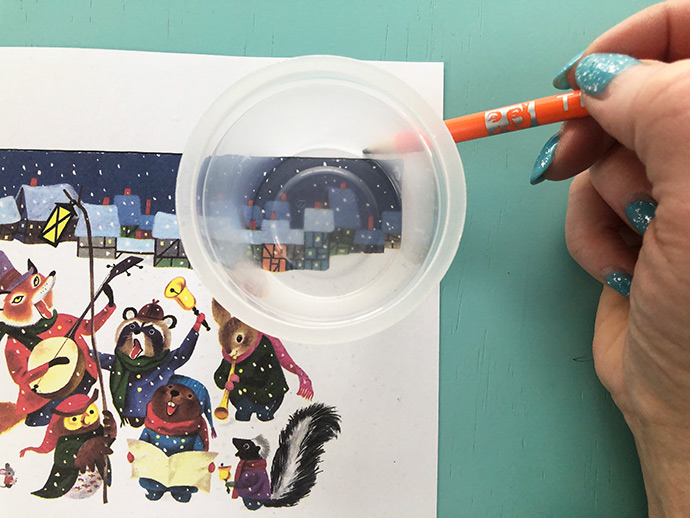

Place it in cup to confirm it fits. Trim if needed; set circle background aside.
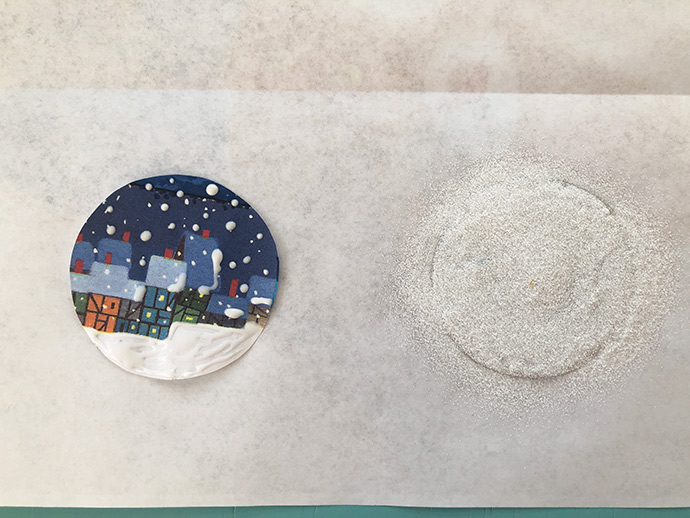
Dot and spread glue on the background areas you wish to glitter. Working over your scratch paper, pour glitter over design. Spread glue around inside the cup, covering the sides. Pour glitter in to cover glue.
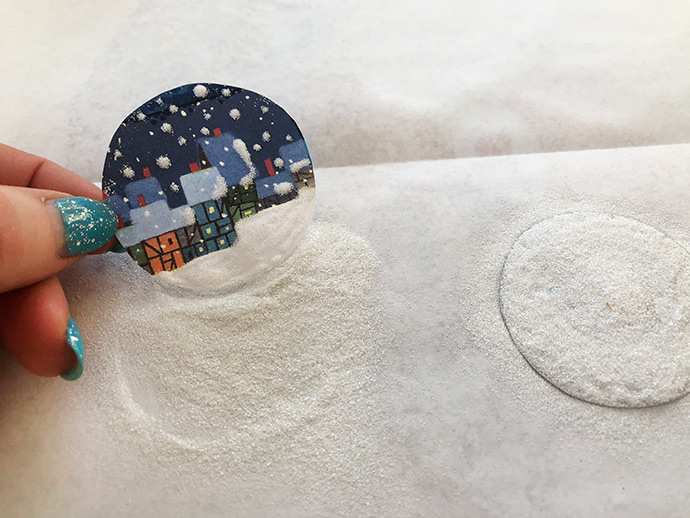
Shake off excess glitter from background onto the scratch paper; sake extra glitter out of cup.
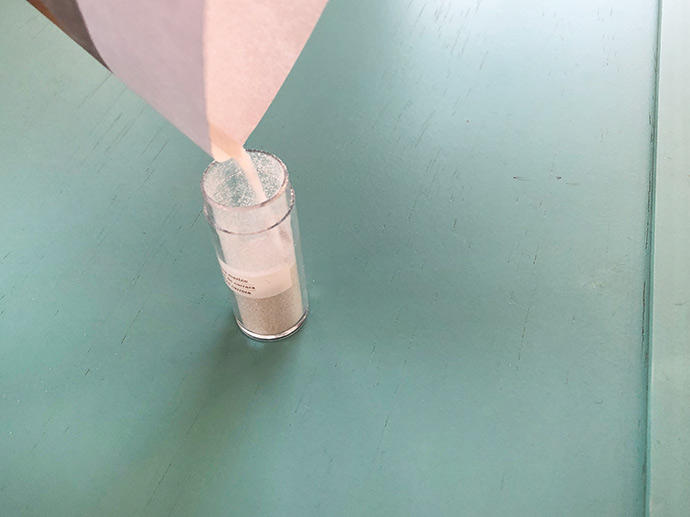
Slide the excess glitter back into the bottle.
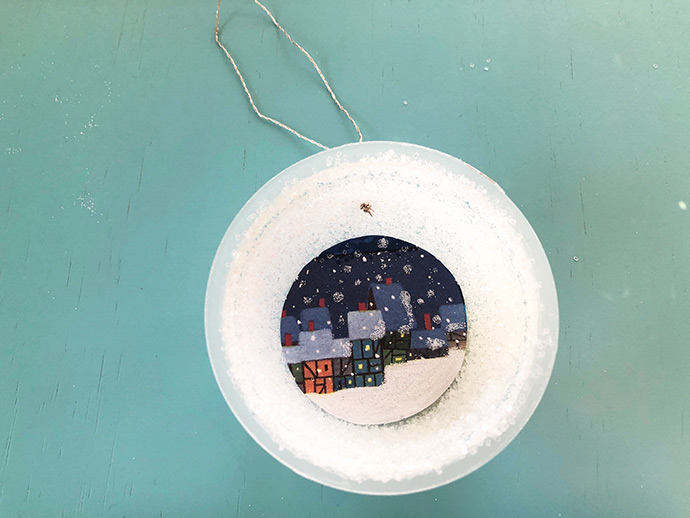
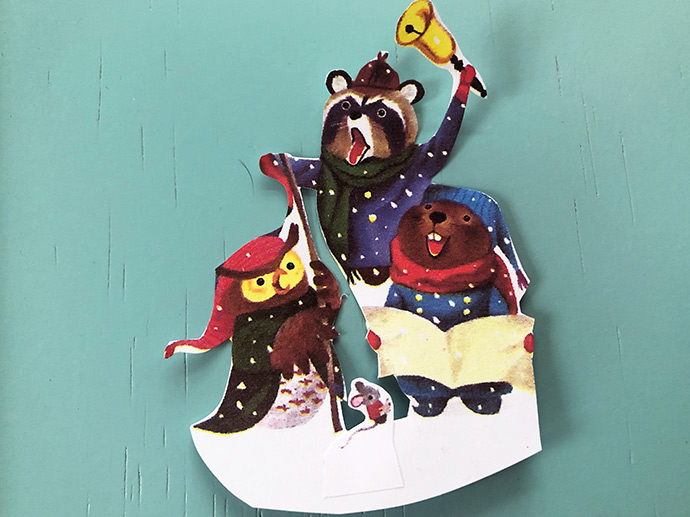
Cut out the part of the card that will become the foreground of the ornament. Merge elements as needed-I added the mouse to the center of the group.
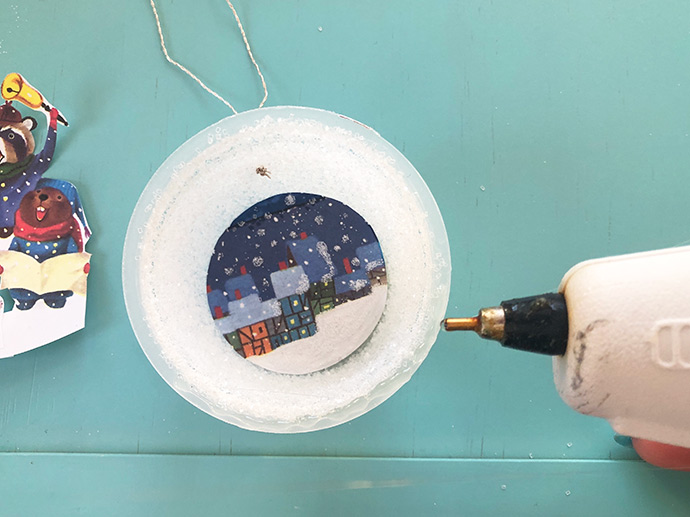
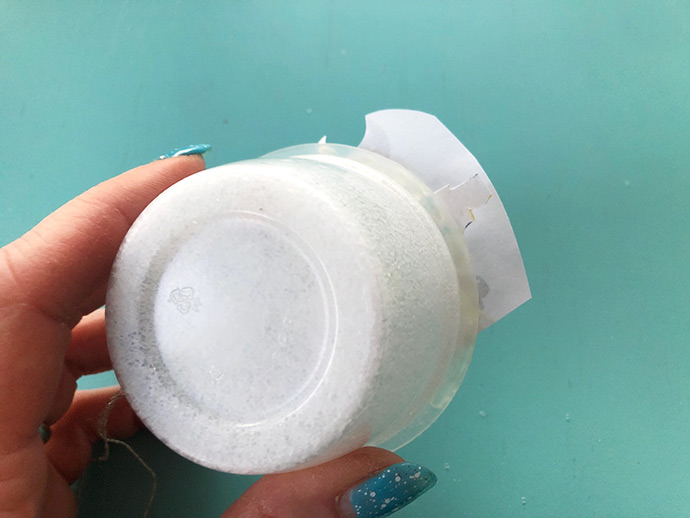
Turn over and trim excess as needed.
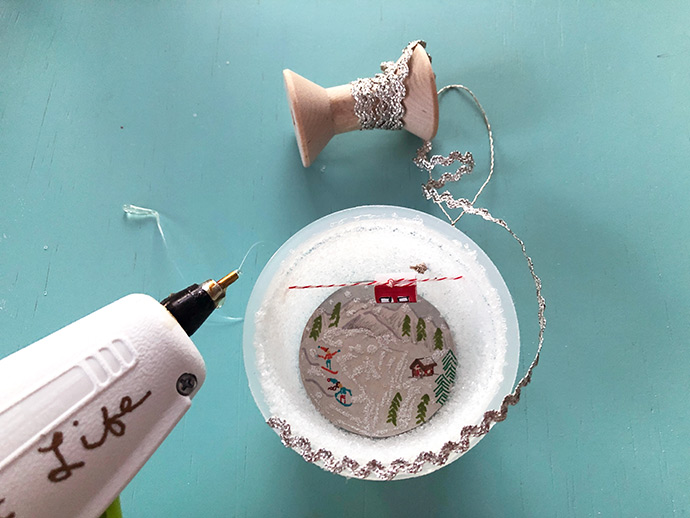
Hot glue the trim in place, as instructed in step 14 above for the other ornament.
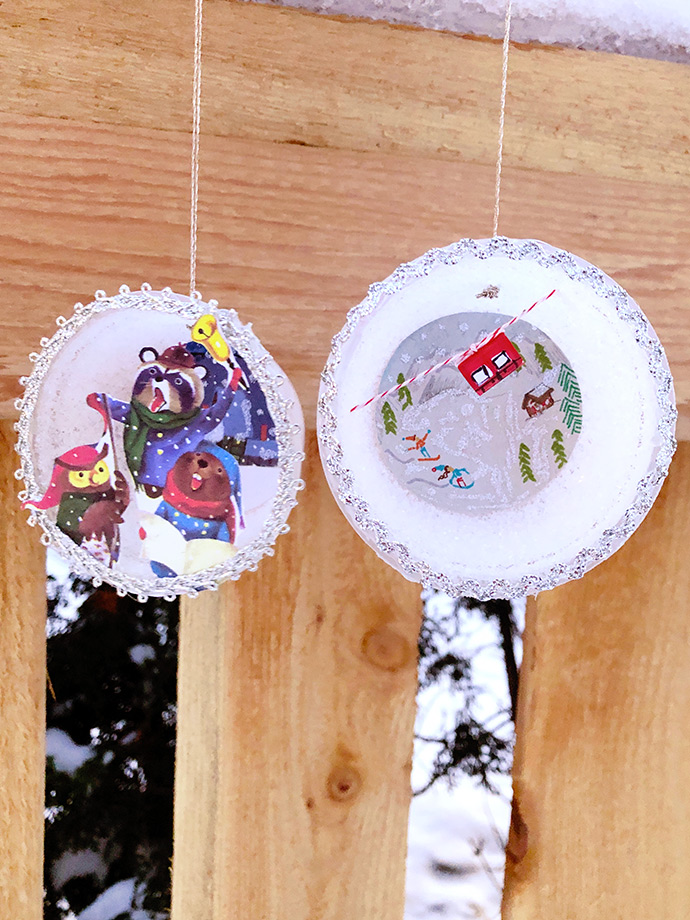
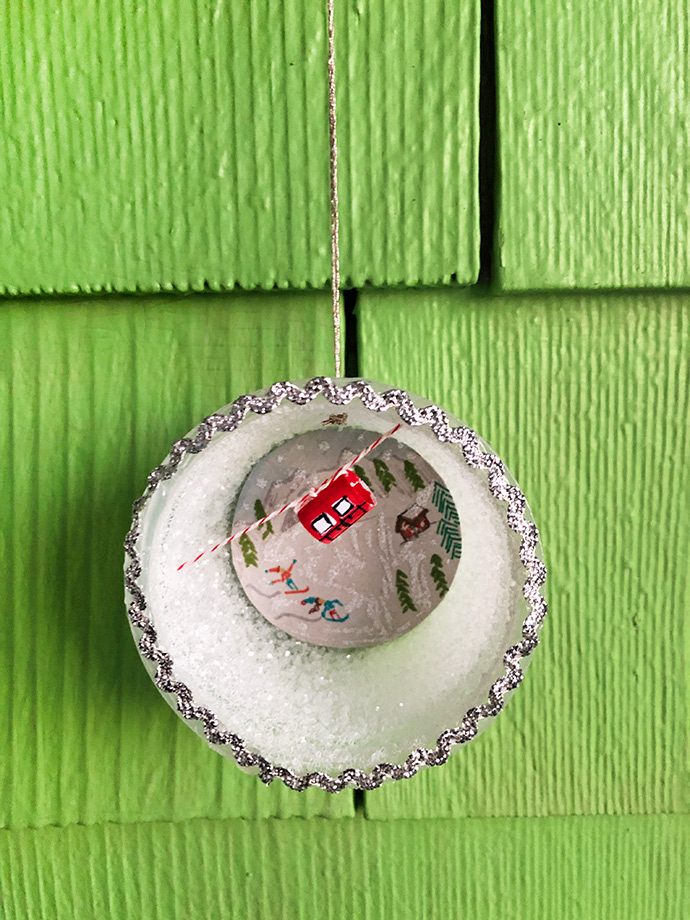
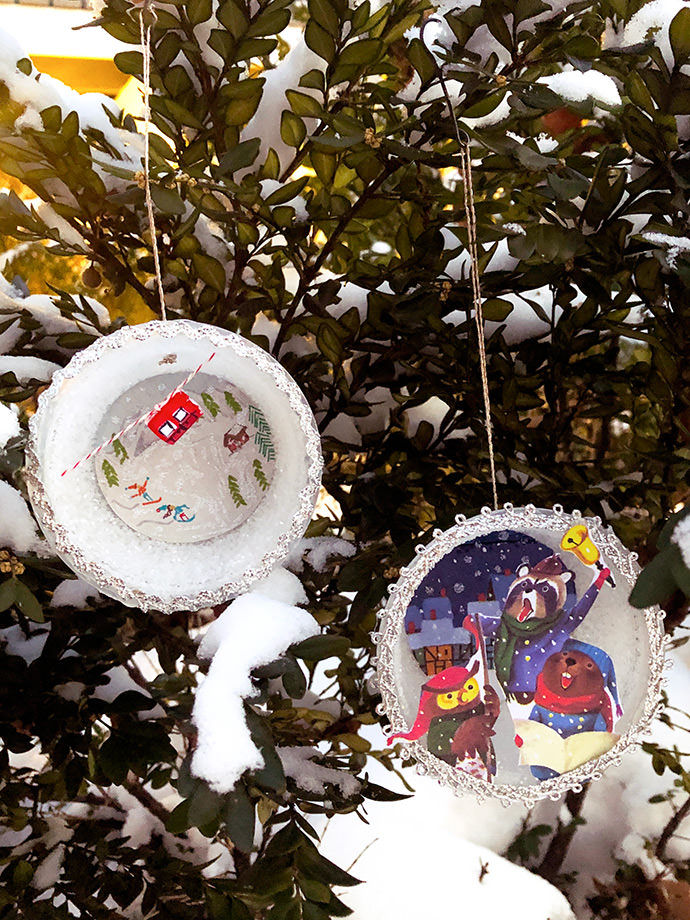
Have fun crafting these ornaments that are sure to be enjoyed for years to come!
from Handmade Charlotte https://www.handmadecharlotte.com/diorama-ornaments/

No comments:
Post a Comment