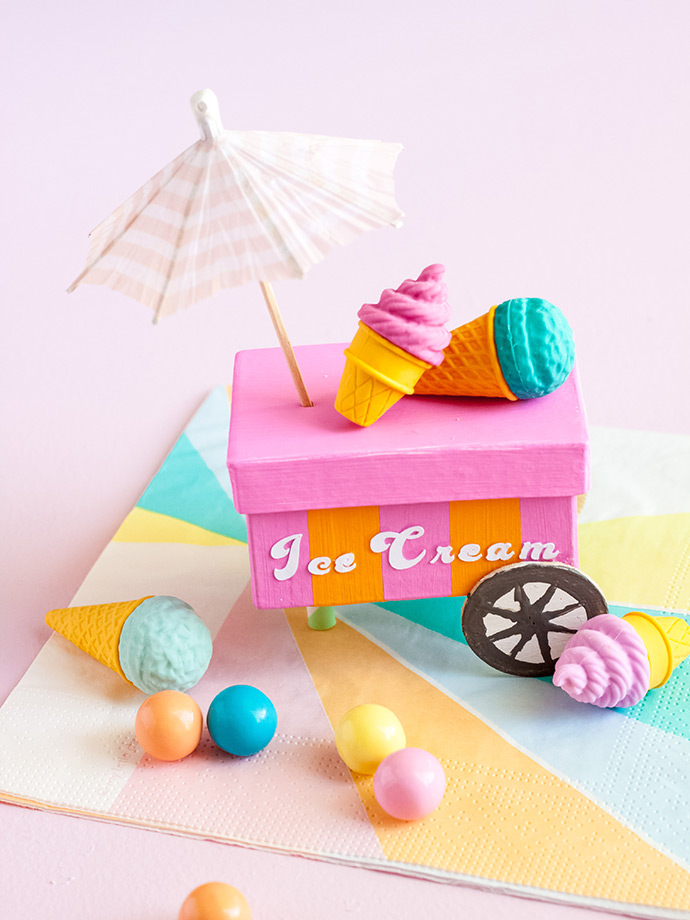
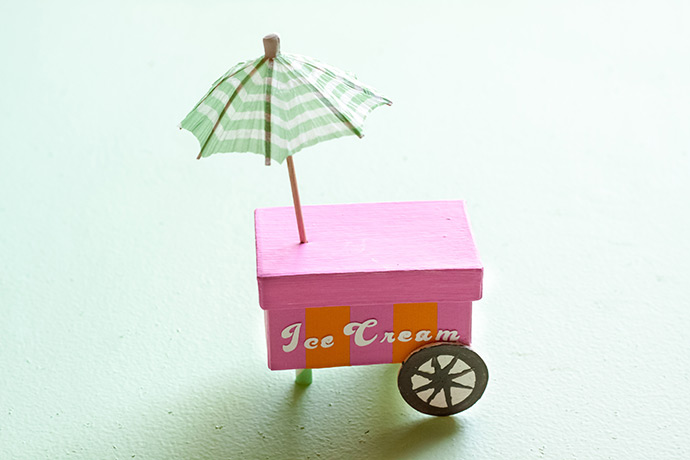
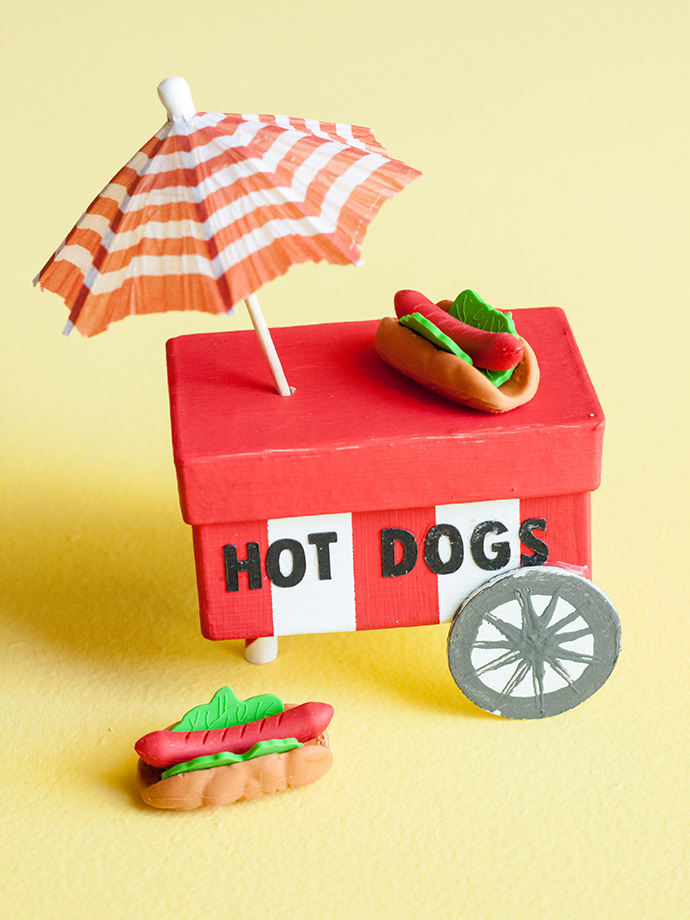
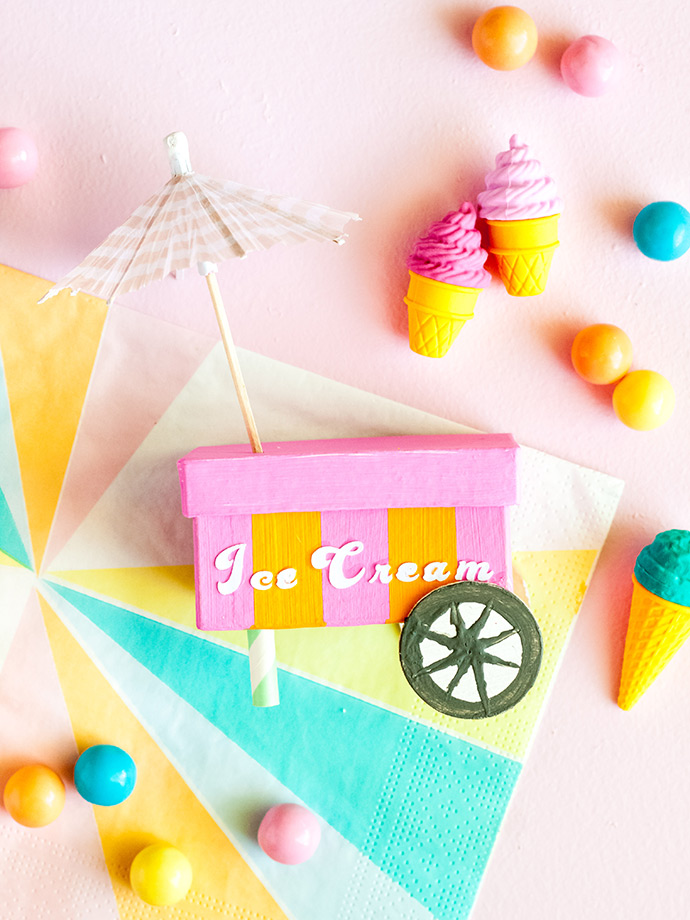
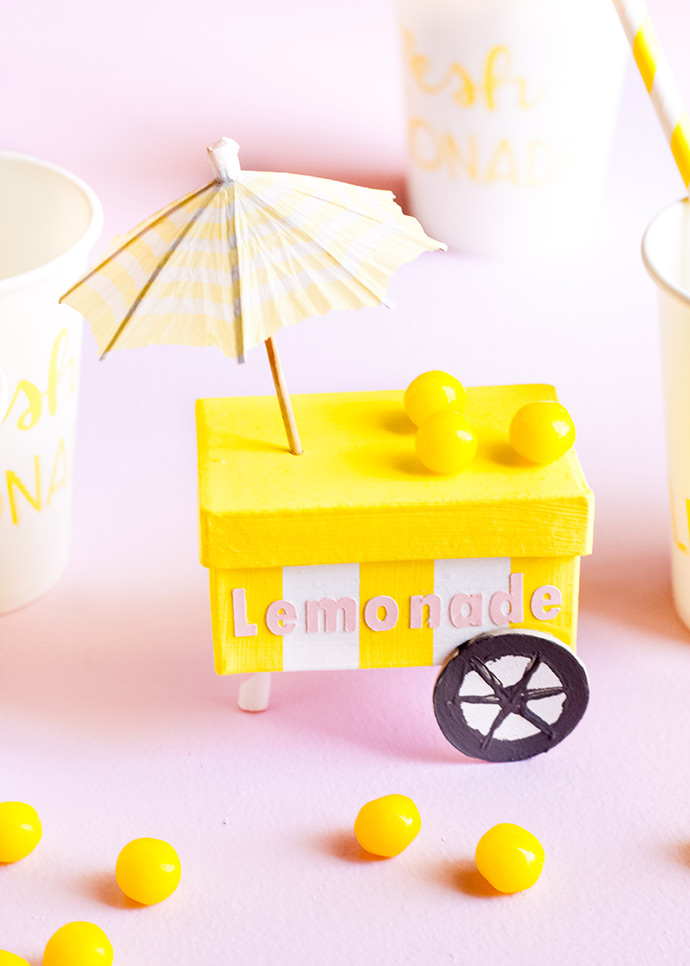
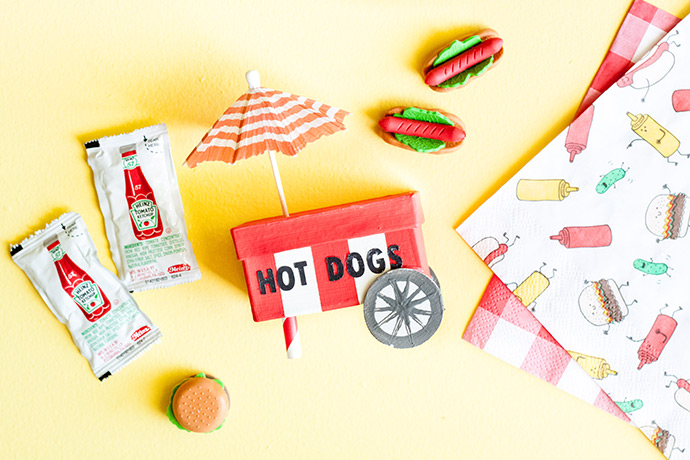
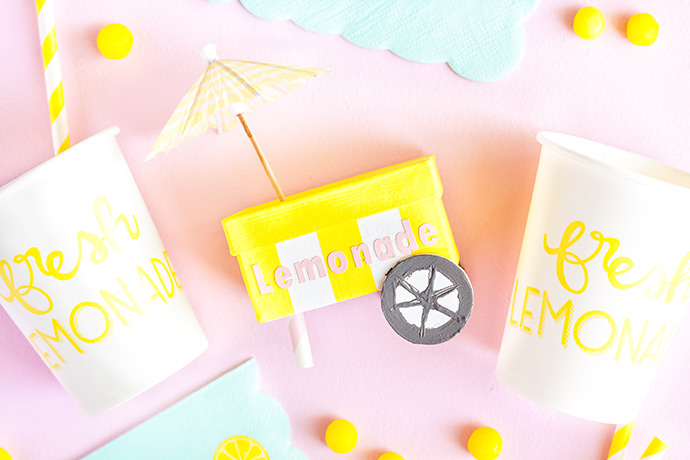
Summer has me dreaming about lazy days at the pool, late nights by the fire pit, lemonade stands, cookouts, and lots and LOTS of ice cream! Oh, and fruit salad. Gotta love fresh fruit! I imagine we will host a gathering or two with my kids’ friends, and my initial thought was to make some miniature ice-cream-cart boxes to hold sundae toppings, but when I found little cocktail umbrellas in so many fun colors, I had to add the lemonade, fresh fruit, and hot dog cart as well!
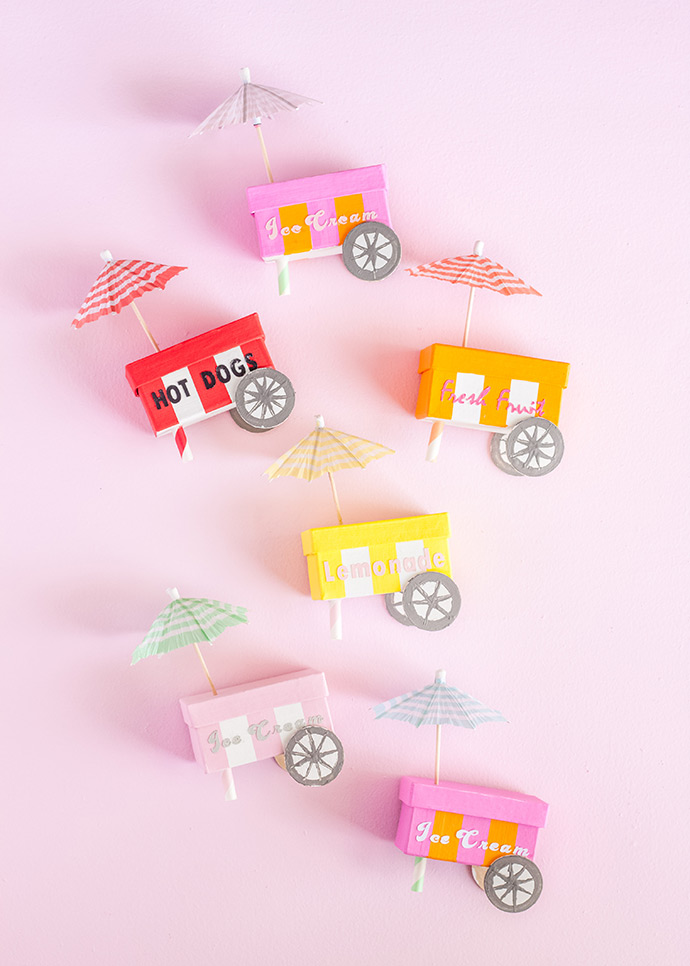
You can make these favors for any summer soiree, or use them as place cards with names instead of “cart titles”. You could even create an entire mini carnival or farmer’s market!
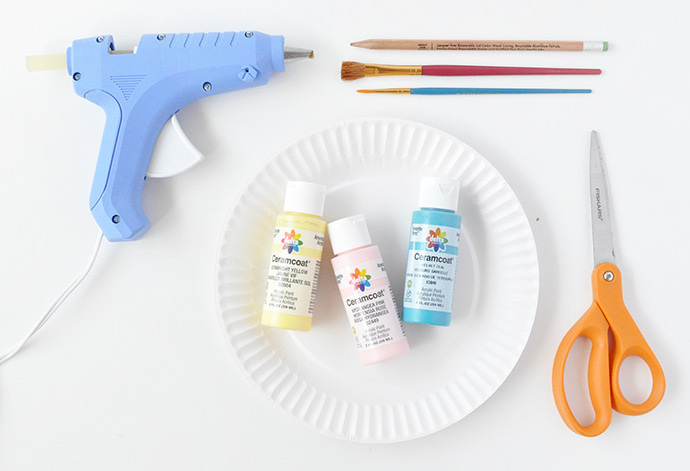
what you need:
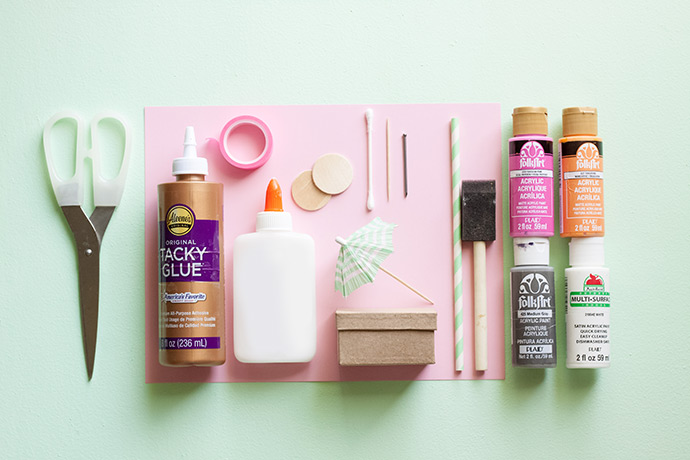
• Rectangular papier mache boxes (3” x 2” x 1.5”)
• Apple Barrel Acrylic Craft Paint (white, dark gray + colors of your choice)
• Cocktail umbrellas (we used “French beach umbrellas”)
• Nail (We used a 2” fastener nail)
• Paper straw
• Tacky glue
• Mod Podge
• Small letters (stickers, stamps, or cut from cardstock)
• 5/8 inch wide washi tape
• Sponge brush
• Scissors
• Q-tips
• Toothpicks
• 1.26-inch wooden circles (2 per food cart)
Food cart “filler”
• Ice cream cart: Ice cream cone erasers, pastel gumballs, lip balm, sundae toppings
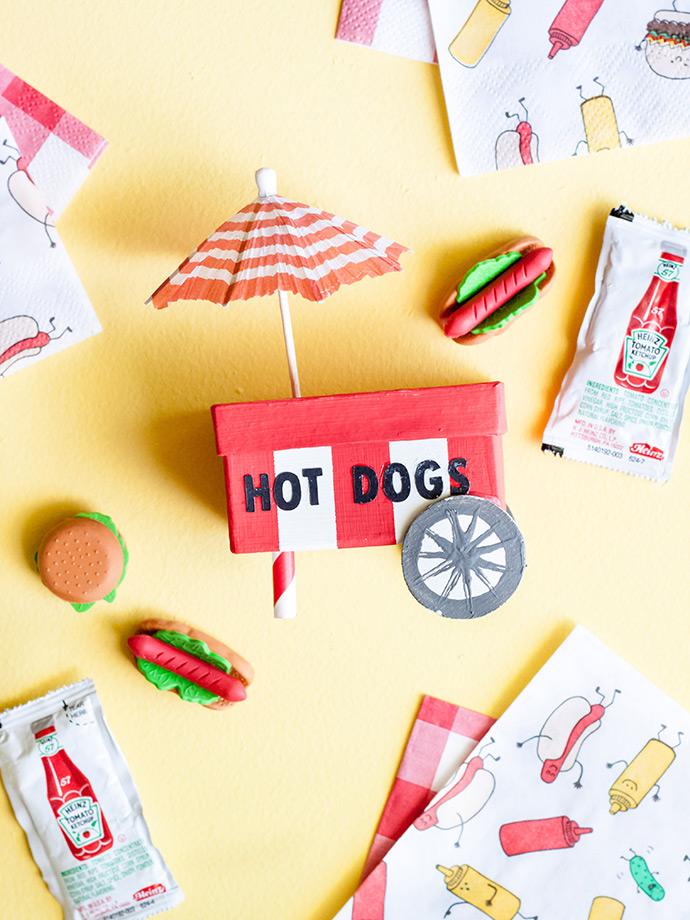
• Hot dog cart: Hot dog erasers, gummy hot dogs, red and yellow candies, condiment packets
• Lemonade cart: Individual lemonade mix packets, Lemonhead candies
• Fresh fruit cart: Runts candies, gummy fruit candy, dried fruit
how-to:
Step 1
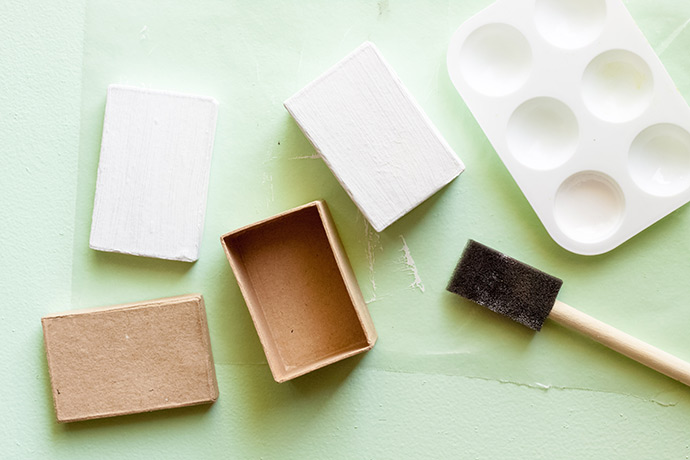
Paint the entire papier mache box white, including the lid.
Step 2
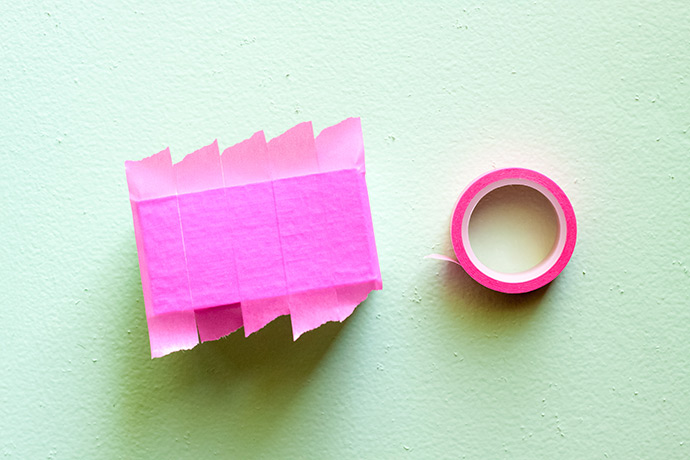
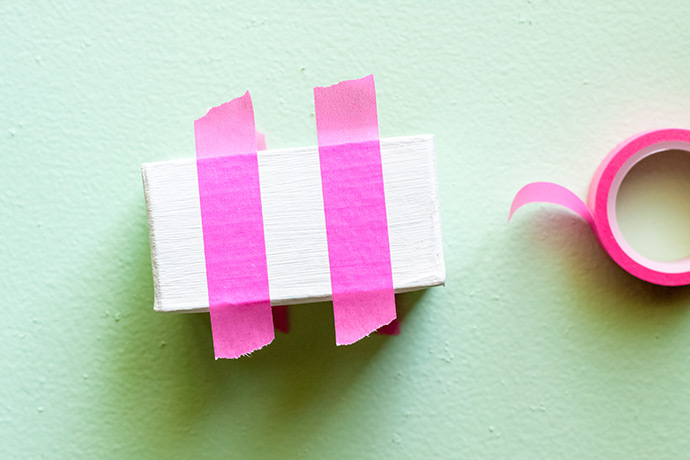
To create stripes, put a piece of washi tape on the end of the long side of the box. Leave a teeny tiny bit hanging off the left side, and a small tab on the top and bottom as well. Continue to lay pieces of washi tape across the side of the box so the sides are touching, until it is completely covered. Next, peel off the pieces on the two ends and in the middle. Repeat this step on the opposite side of the box. Paint all of the areas that do not have tape, in the color of your choice. Peel off the tape immediately when you are done, and allow the stripes to dry. Paint the lid in the same color as one set of stripes.
Step 3 (optional)
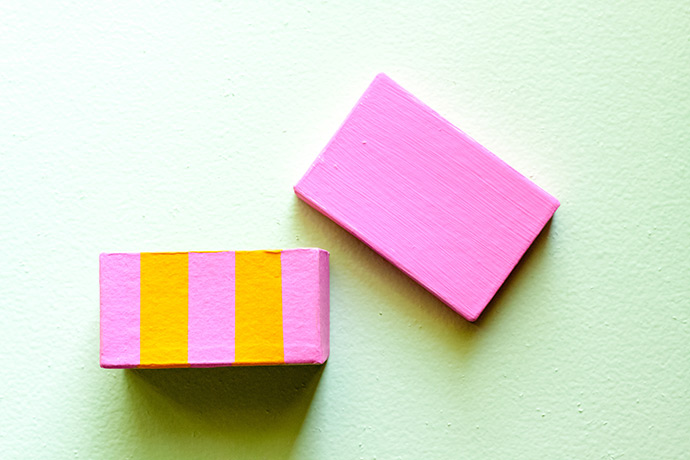
You may choose to keep the other stripes white, or you may place washi tape over the colored stripes (once dry), and paint the white stripes a second color.
Step 4
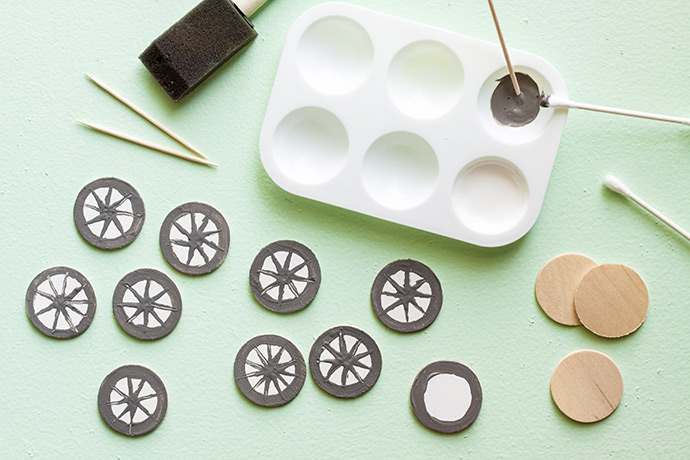
Paint your wooden circles white, and allow to dry. Dip a Q-tip in gray paint, and use it to paint a strip the width of the Q-tip head around the perimeter of the circles. Next, use the Q-tip to paint one dot in the very center of the circle. Use a toothpick to paint lines (spokes) from the center dot to the perimeter. Allow to dry, and repeat this step on the second side.
Step 5
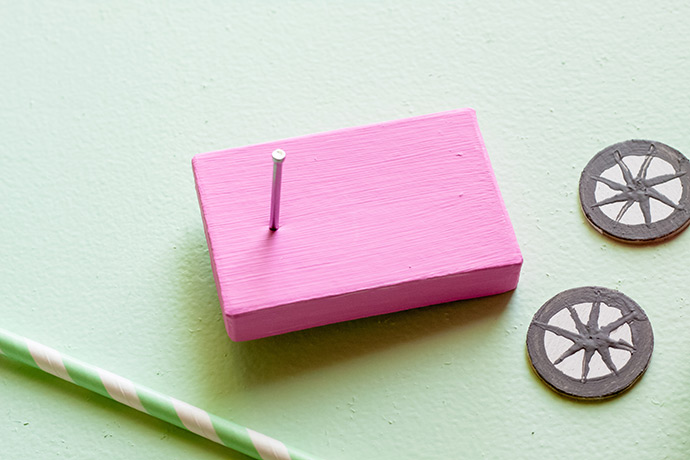
Use your nail to poke a small hole in the left and center side of the box lid. You may have to wiggle and twist the nail through to the other side.
Step 6
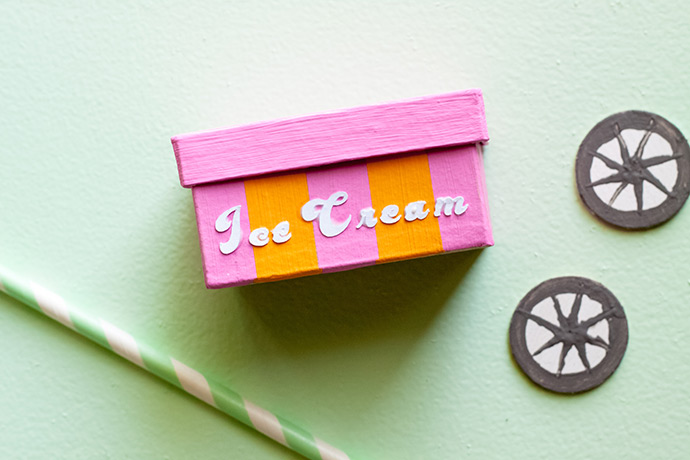
Place the lid on the box, and then stick, Mod Podge or stamp your words on the front side of the box. Place the words close to the center, leaving room on the bottom for the wheels.
Step 7
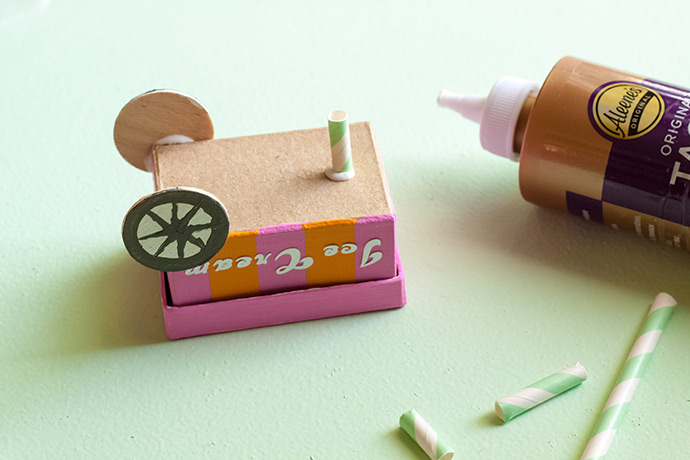
Use tacky glue to place a wheel on the right corner of the front of the box, under the words, and then flip the box over and glue your second wheel parallel to the first. Allow to dry.
Lay the box on its lid, so the wheels are facing up. Place a paper straw on the bottom of the box, and cut it off so that it is even with the top of the wheels (the edge of the wheel that is not attached to the box). Glue the piece of straw to the bottom of the box, in the middle of the opposite side of the wheels. It will function as a sort of kickstand!
Step 8
Once the glue has dried, place a cocktail umbrella in the hole that you poked on the top of the box. Place food cart filler inside.
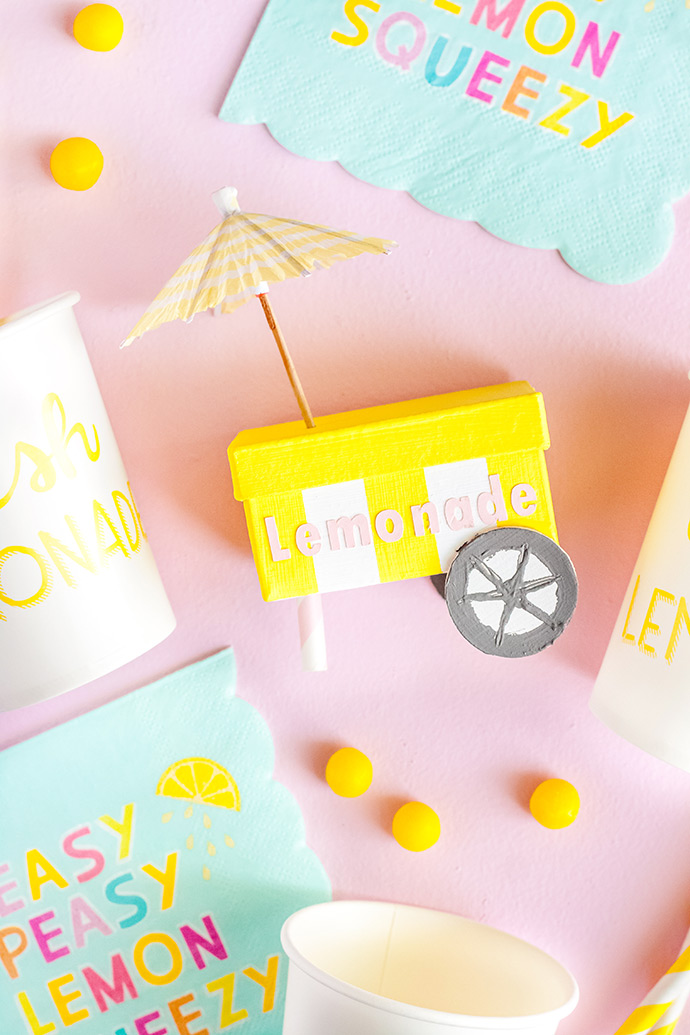
Your food carts are ready for service!
Happy crafting!
from Handmade Charlotte https://www.handmadecharlotte.com/diy-food-cart-favors/?utm_medium=feed&utm_source=feedpress.me&utm_campaign=Feed%3A+hcrss


