Showing posts with label Handmade Charlotte. Show all posts

Tuesday, 7 April 2020

Gumdrop Chick Cupcake Toppers

Gumdrop Chick Cupcake Toppers

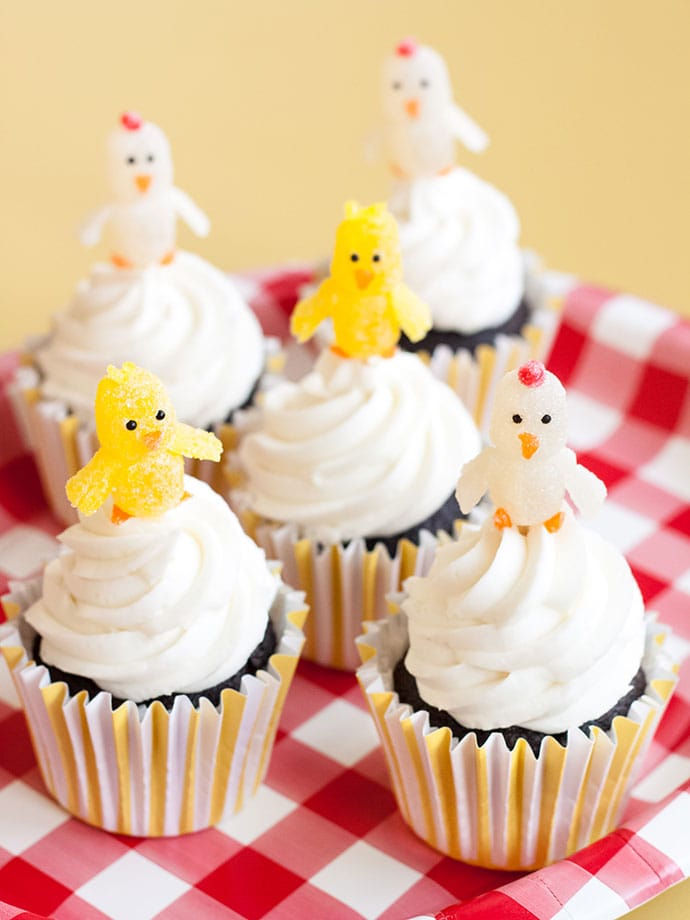
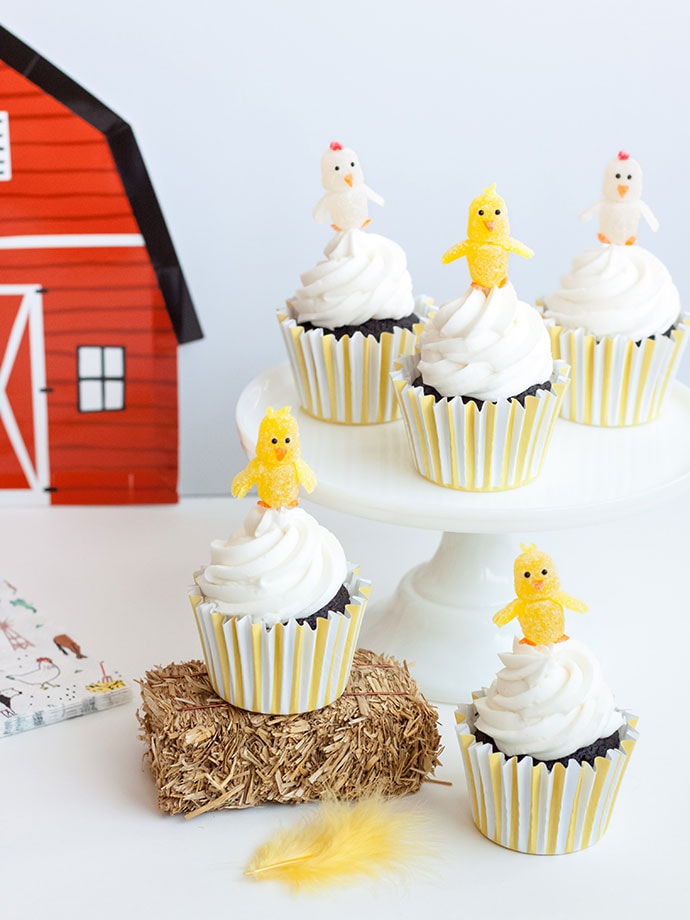
Bunnies aren’t the only cuties featured around Eastertime! Chicks are very much associated with the holiday as well, and while we’re making chicks, we might as well make some hens too! Jodi Levine of super make it made the cutest gumdrop menorah, and these Easter cupcake toppers are definitely inspired by her adorable creation. These are easy enough for kids to make, with a little guidance, and are perfect for Easter, or even a farm themed birthday celebration! Gumdrop Chick Cupcake Toppers

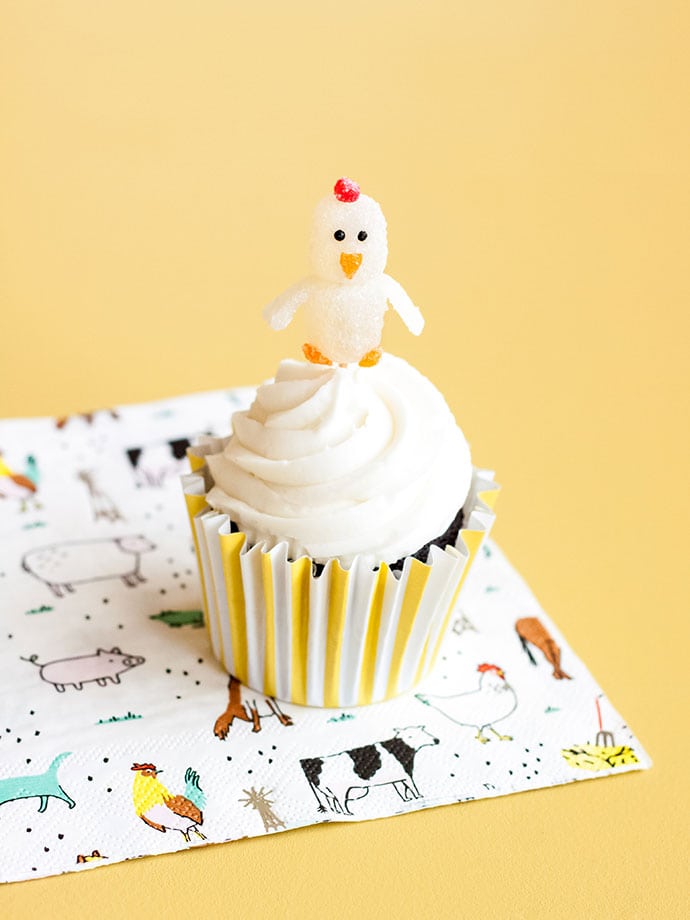
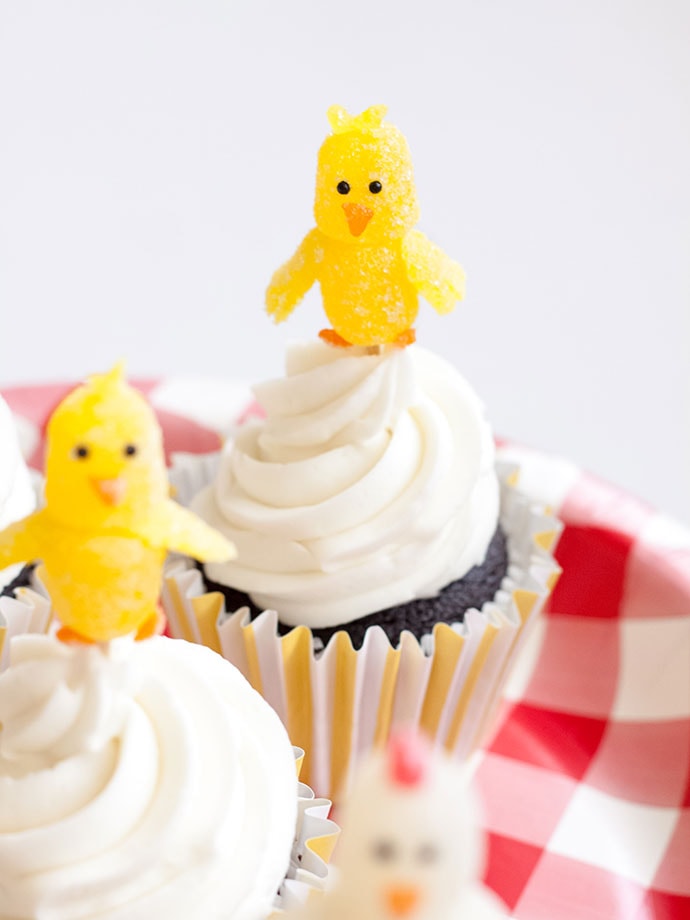
The current situation may allow for some extra time to bake cupcakes with the kiddos, and these gumdrop chicks add a little springtime whimsy, and a whole lot of joy. They’re almost too cute to eat!
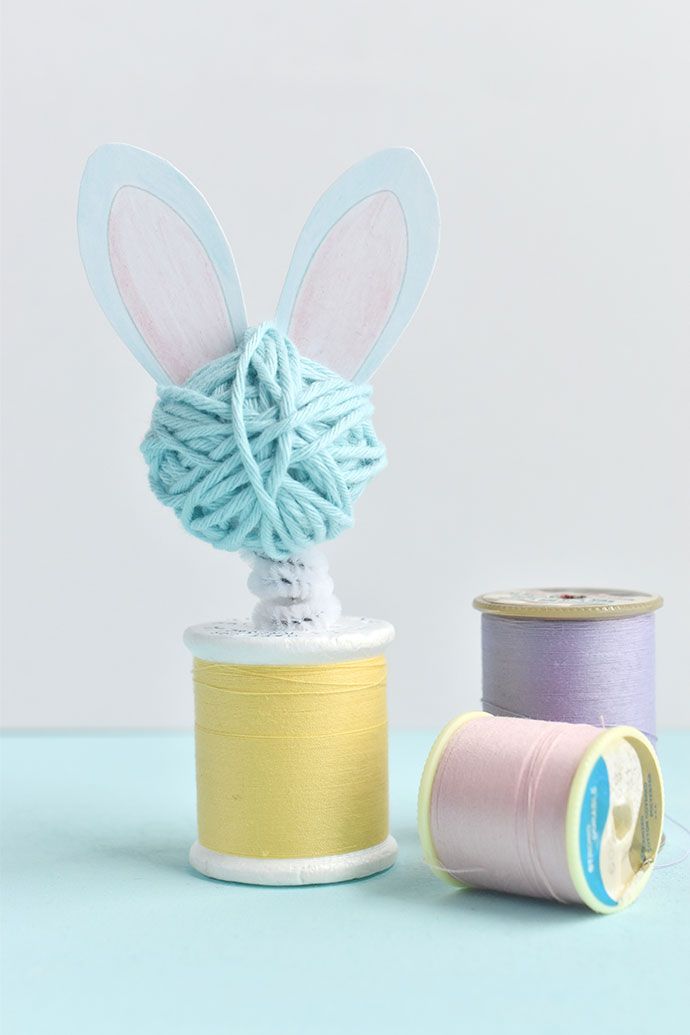
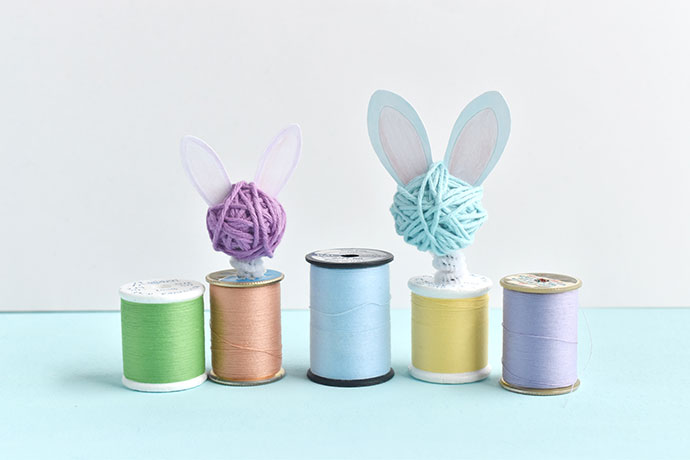
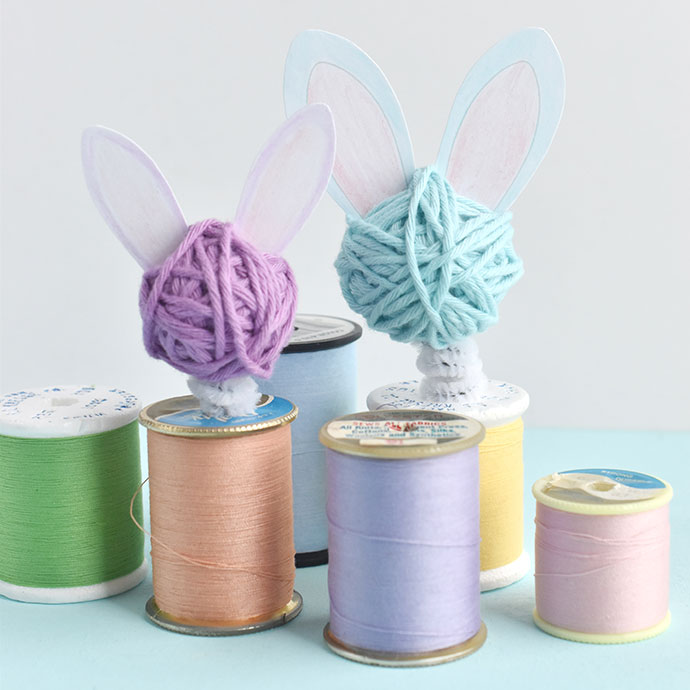
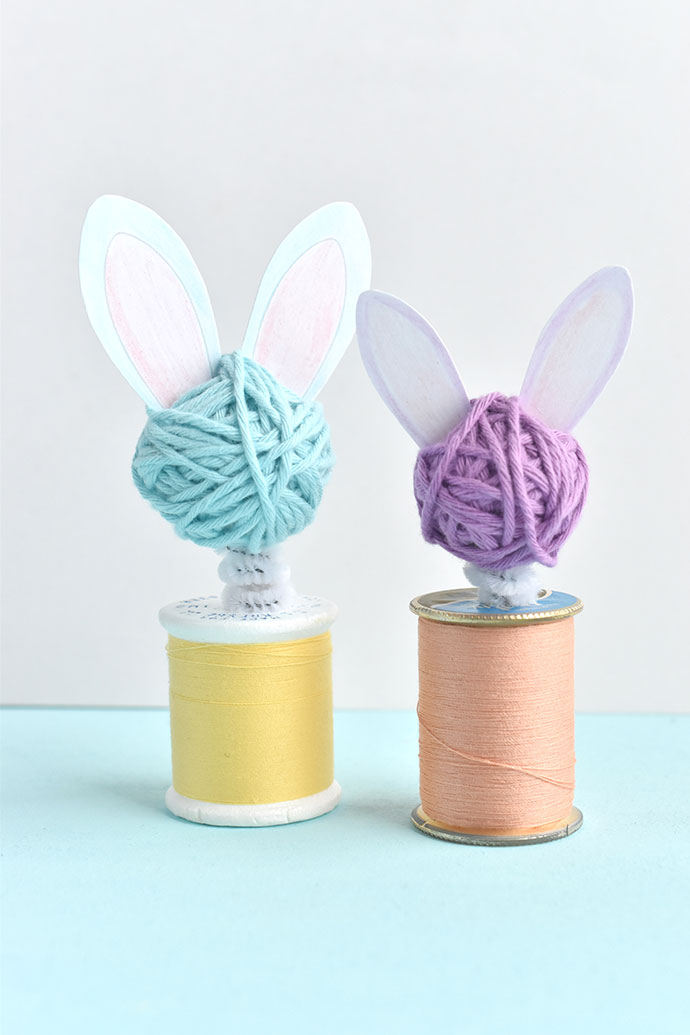
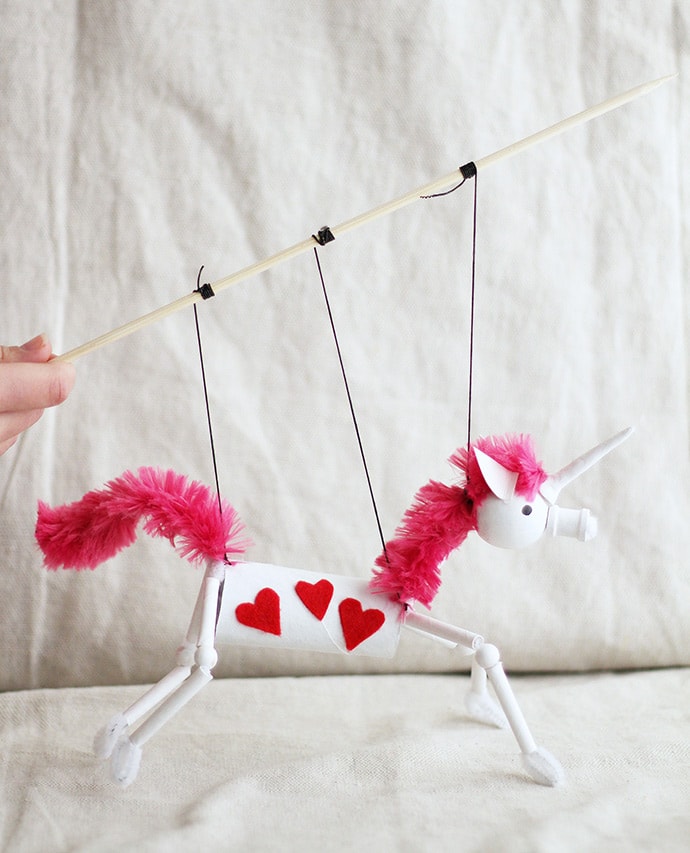
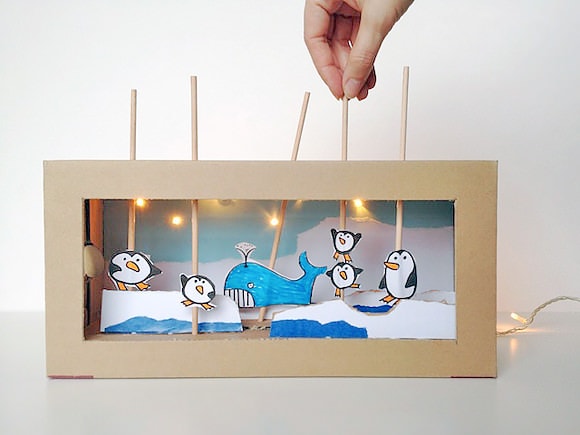
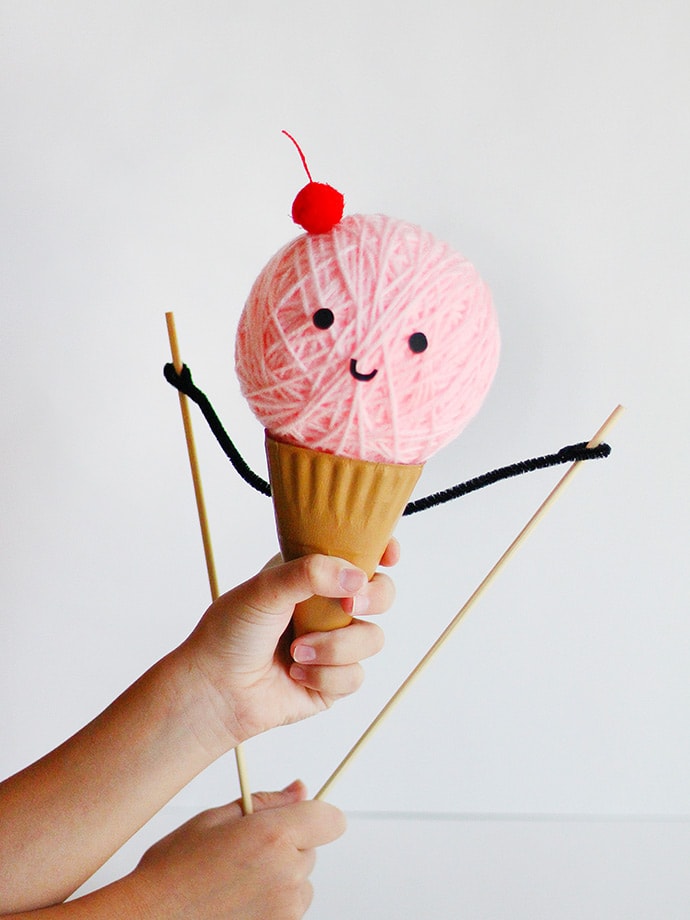
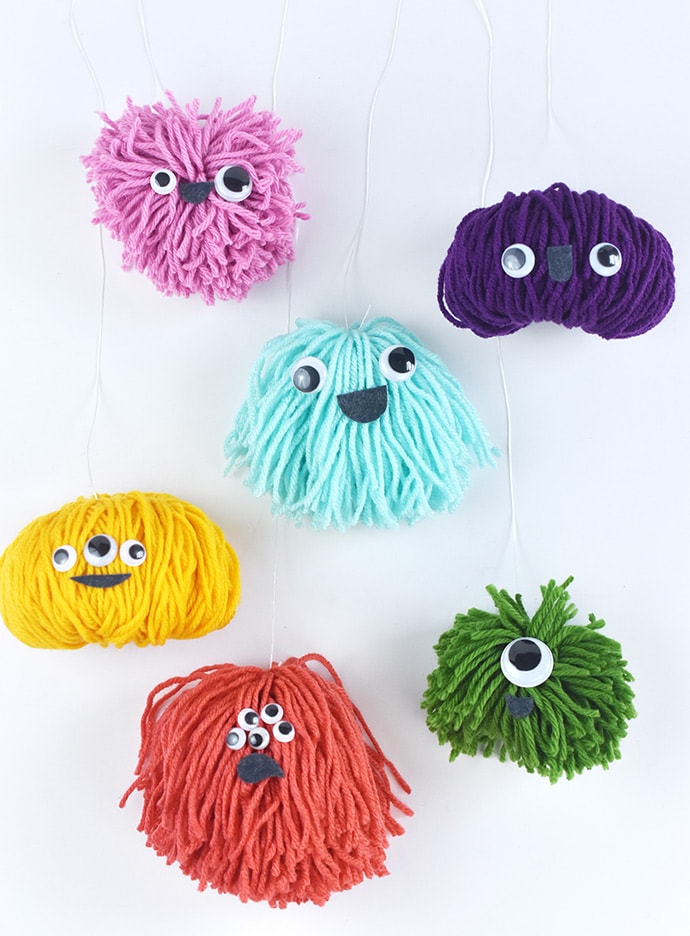
For other fun Easter ideas, check out these pipe cleaner bunnies, veggie stamped decorations, dioramas, and some more darling cupcake critters!
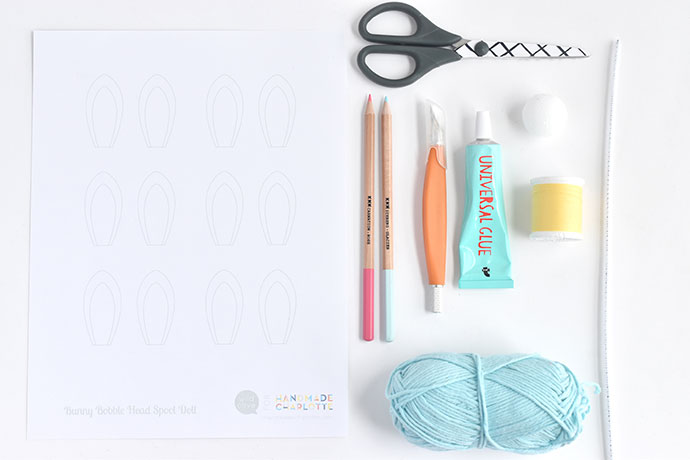
Gumdrop Chick Cupcake Toppers

what you need:

Gumdrop Chick Cupcake Toppers

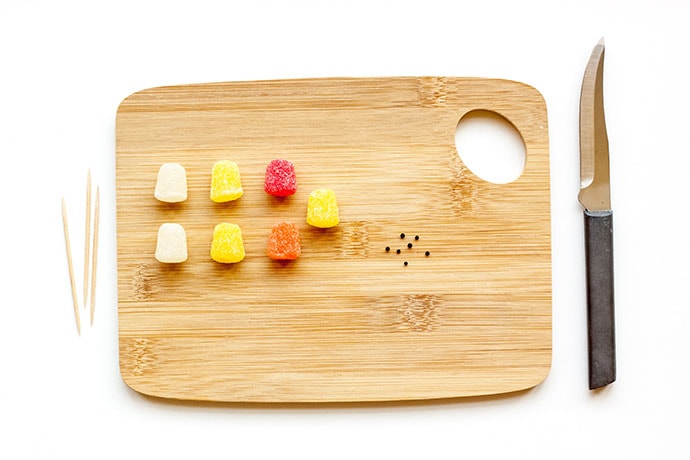
• Spice Drops (yellow, white, red, orange)
• Toothpicks
• Black ball sprinkles
• Cutting board
• Sharp knife

how-to:

Gumdrop Chick Cupcake Toppers
Step 1
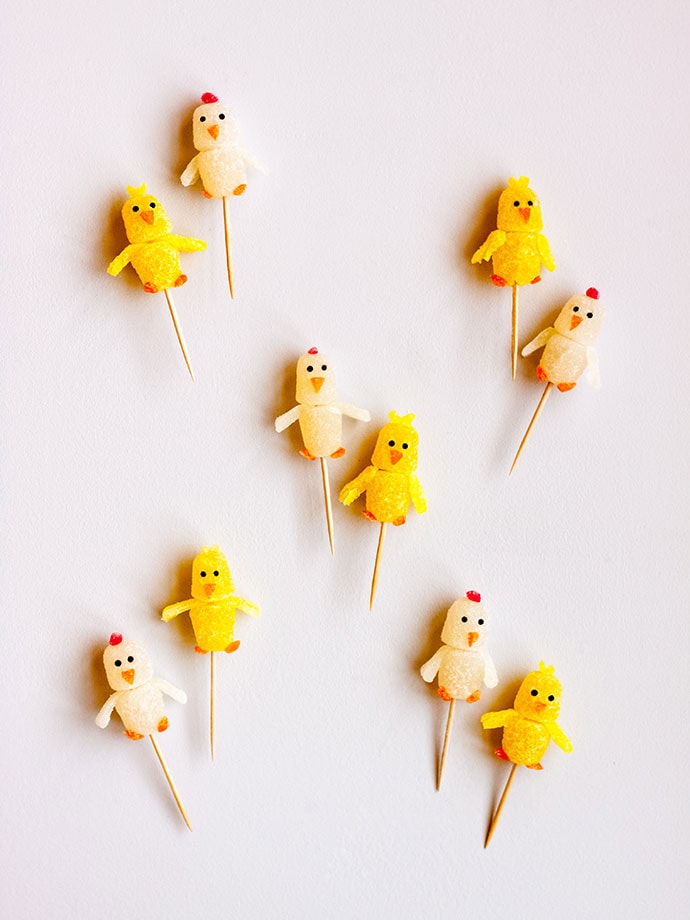
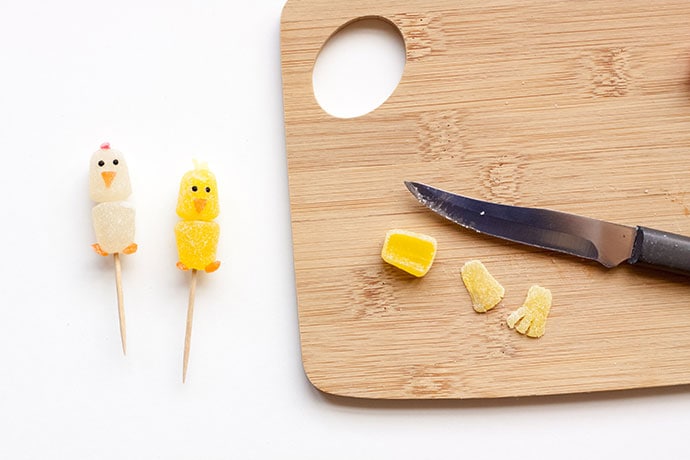
Use yellow gumdrops to make the chick body, and white for the hen. Place your first gumdrop on the top of the toothpick with the narrow end facing downward. Place the second gumdrop on the toothpick with the wide end facing downward, and touching the other gumdrop.
Gumdrop Chick Cupcake Toppers
Step 2
Cut off a small piece of your orange gumdrop, and cut that piece into a small, triangular shape. Place it on the top gumdrop (face) as the beak.
Gumdrop Chick Cupcake Toppers
Step 3
Above the beak, use a toothpick to poke two tiny eye sockets, and place your black sprinkles in the holes. You may need to use a toothpick to poke them in deep enough to stay in place.
Gumdrop Chick Cupcake Toppers
Step 4
For the yellow chick, cut off a tiny piece of another yellow gumdrop, and cut the piece into two even tinier pieces. One should be slightly longer than the other. Place them in a “v” on top of the chick’s head to look like two little feathers sticking up. For the hen, cut one tiny strip off of a red gumdrop, and angle the cut so that it has a wide and narrow end. Place it in the middle of the hen’s head, like a Mohawk, with the wide end by the face, and the narrow end in the back.
Gumdrop Chick Cupcake Toppers
Step 5
Cut off a tiny piece of an orange gumdrop, and cut that in two. It really doesn’t matter how these are shaped…somehow, it ends up working out! Place them at the bottom of the chick or hen to look like feet.
Gumdrop Chick Cupcake Toppers
Step 6
Stand a gumdrop on its base, and cut a skinny sliver off each side. Cut 3-4 slits in the wide end of each sliver, and fan them out to look like wings.
Gumdrop Chick Cupcake Toppers
Step 7
Place the wings on the sides of the body (not head). You may even lift the head a bit, and place the tips of the wings on top of the body, and then squish the head down onto the wings and body. This makes them stick out a bit.
Gumdrop Chick Cupcake Toppers
If you’re going for a farm theme, you might need this printable alpaca farm diorama, and the darling farm party collection from Daydream Society.
Gumdrop Chick Cupcake ToppersGumdrop Chick Cupcake Toppers
Gumdrop Chick Cupcake Toppers
Your gumdrop chicks are ready to celebrate. Happy Easter!


from Handmade Charlotte https://www.handmadecharlotte.com/gumdrop-chick-cupcake-toppers/

Monday, 6 April 2020

Bunny Bobble-Head Spool Dolls

Bunny Bobble-Head Spool Dolls

Bunnies are a springtime and Easter favorite, and they are the theme of these spool dolls springy heads! A bobblehead is a little figure that has a spring holding the head to the body. This DIY version uses pipe cleaners to give these crafty bunny rabbits a bit of bobble and wobble.

Bunny Bobble-Head Spool Dolls Bunny Bobble-Head Spool Dolls

The basic idea for this project is like making a spool doll. You start with a spool of thread (either with or without the thread) and attach a ball of some kind for the head. In this case, we’re using foam balls because they are easy to attach as a bobblehead.

You can make a bunny bobblehead for each person in your family and place them by their plate for a special Easter meal or you can set it on a desk or dresser to bring you some wobbly, bobbly joy!

Bunny Bobble-Head Spool Dolls

Put some spring in your step (and crafting!) as you get started!

what you need:

Bunny Bobble-Head Spool Dolls
  • Card Stock
  • Colored Pencils or Other Coloring Tools
  • Scissors
  • 1 to 1-1/4″ Foam Ball
  • Craft Knife
  • Craft Glue
  • Yarn
  • Spool
  • Pipe Cleaner
  • Printable bunny ears

NOTE: If you don’t have all the materials listed, keep reading! We have tips for other supplies that you can use instead.

how-to:

Step 1
Print the PDF ears template on card stock. If you’re using a smaller foam ball for the head, you can cut the ears on the inside line.

Color the ears. For the smaller version, draw your own line for the inside and outside of the ears.

Step 2
Use a craft knife to make two small slits in the top of the foam ball. Slide the ears in the slits, leaving a small gap between the ears.

If you don’t have a foam ball, you can also use a ping pong ball. It’s a little larger than the foam balls shown here, but that just makes it a little more comical! A tiny ball of yarn works too, but it’s harder to attach the ears.

Bunny Bobble-Head Spool Dolls

Step 3
Start wrapping the yarn around the foam ball. Wrap in different directions, including around and between the ears. Try to cover as much of the ball as you can, but it doesn’t have to be solid.

If you don’t have yarn or you’d like to decorate your bunny bobblehead differently, you can also paint the foam ball instead of wrapping it! Use acrylic paint in whatever spring bunny color you like!

Bunny Bobble-Head Spool Dolls

Step 4
Trim the yarn and use a bit of glue on the back to secure the end. You can also tuck the end under a few wraps of the yarn.

Bunny Bobble-Head Spool Dolls

Step 5
Fold the end of a pipe cleaner so it’s the height of your spool. Then fold it a few more times so it’s thick enough to stay secure in the middle of the spool.

If you don’t have a thread spool, you can also use a cork. For this, use a skewer to make a hole in the cork, then stick the end of the pipe cleaner securely in the cork.

Bunny Bobble-Head Spool Dolls

Step 6
Wrap the pipe cleaner around a pencil 2 or 3 times to make a small spring. The spring part should be right above the folded end (or the top of the cork if you’re using that).

Trim the other end of the pipe cleaner so there’s about 1/2″ extending past the spring.

Bunny Bobble-Head Spool Dolls

Step 7
Bend the ends so you can insert the folded part in the spool and the other end in the bottom of the foam ball head. You may need to push some of the yarn aside a little, but you should be able to easily slide the pipe cleaner in place.

If you used a ping pong ball, you’ll need to make a small hole in the bottom with a pin.

Bunny Bobble-Head Spool Dolls Bunny Bobble-Head Spool Dolls

Now your bunny bobblehead is all finished and ready for you to try out! Give its head a little wobble and watch it bobble!

Grab a few more spools and foam balls and make some more bunny buddies!

Bunny Bobble-Head Spool Dolls Bunny Bobble-Head Spool Dolls

These would also be fun with wiggle eyes attached or maybe a pompom tail on the back. You can even get more creative with other kinds of bobblehead animals and characters. For example, you could use a foam egg and make a wobbly Easter egg!

Happy crafting!


from Handmade Charlotte https://www.handmadecharlotte.com/bunny-bobble-head-spool-dolls/

Thursday, 2 April 2020

Upcycled Cardboard Easter Eggs

This post is sponsored by Plaid Enterprises.

Upcycled Cardboard Easter Eggs

Easter has really snuck up on this year and we’re guessing you might be in the same boat! We look forward to spring and decorating for Easter every year – it’s always such a treat to add some bright and pastel colors to our home and we’re excited to be doing that today with these upcycled eggs! We always seem to have lots of cardboard boxes around and they came in perfectly handy for this project.

Upcycled Cardboard Easter Eggs

With a little help from Folk Art paint, this cardboard has a whole new life! These rolly polly eggs can be decorated in almost the exact same way as regular eggs and may even be easier for little hands since these eggs will sit nice and flat on the table. Make a handful to decorate your dining table, set them around your house, or even hide them for your kids to find in an Easter egg hunt! Keep reading for all the instructions below.

Upcycled Cardboard Easter Eggs

what you need:

Upcycled Cardboard Easter Eggs

how-to:

Upcycled Cardboard Easter Eggs
Step 1
On a piece of scrap paper, draw out the size of egg you would like to make. We made three slightly different sizes for variety. When you are drawing this egg shape, it helps to fold the scrap paper in half first so that you just have to draw half an egg on the fold and cut out for a more symmetrical shape.
Once you’re happy with the egg shape on paper, fold it in half so that the top little part of the egg and bottom larger part and touching. This will give you the midpoint of the egg’s height – mark this with a pencil.
When tracing the template onto cardboard, you’ll need two flat cardboard eggs to make one 3D egg. When you have the outline cut out, it’s time to add the slot down the middle to connect the two pieces together. On the first piece, cut the slot from the bottom of the egg to the midpoint and on the second egg make the slot from the top of the egg to the midpoint. Make sure that the slot is about as thick as the cardboard you’re using so that the two pieces slot snugly together. Test this out to make sure the fit is good and use scissors or a craft knife to adjust this if needed.
Upcycled Cardboard Easter Eggs
Step 2
Once your have all the cardboard egg pieces cut out, give them a coat of paint. We used pastel pink, blue, and purple. When the first sides are painted and dry, flip them over and paint the backs and sides as well. Let dry.
Upcycled Cardboard Easter Eggs
Step 3
Paint some patterns onto your eggs! We love a traditional speckled egg look, so mixed a little bit of water into some white paint and use a brush to shake and spatter little speckles onto both sides, allowing each side to dry first. You could paint any pattern you like: polka dots, stripes, anything really!
Upcycled Cardboard Easter Eggs
Step 4
Once the paint is completely dry, slot the eggs together! If some are tricky and too snug, use scissors to trim the slot as needed until they fit together.
Upcycled Cardboard Easter Eggs
Happy crafting!!


from Handmade Charlotte https://www.handmadecharlotte.com/upcycled-cardboard-easter-eggs/

Wednesday, 1 April 2020

How to Put on a Puppet Show at Home

We’ve long loved making puppets and today we’re sharing a whole bunch of our favorites from the blog archives! While everyone is staying home, making puppets is a super fun activity to keep busy with. Not only is it fun to craft the puppets and customize them however you like, but afterward kids can write stories, scripts, songs, and even choreograph dances for the puppets to perform. Keep reading for a whole bunch of ideas!

How to Put on a Puppet Show at Home

Dancing Daisy Pasta Puppet
Celebrate spring with this cheerful dancing daisy! We used a handful of pasta noodles for the daisy’s stem, but you could also use cut up paper straws if that’s what you have on hand.

How to Put on a Puppet Show at Home

Rabbit in the Hat Pop-Up Puppet
Not only can you put on a puppet show with this friendly rabbit, but a magic show too! Use duct tape and scraps of felt to put this disappearing cutie together.

How to Put on a Puppet Show at Home

Printable Pink Flamingo Puppet
Making a marionette has never been easier – just print out the free file, cut it out, and assemble!

How to Put on a Puppet Show at Home

Easy Upcycled Paper Doll Puppets
Turn paper towel rolls and scraps of paper into these playful puppets! Make little outfits for them of collars, crowns, and hats – don’t they look ready for a party?

How to Put on a Puppet Show at Home

Unicorn Puppet
This pink unicorn will be ready to prance, gallop, and trot around your home in no time! Utilize paper straws, a toilet paper roll, beads, and pipe cleaners to assemble this puppet.

How to Put on a Puppet Show at Home

Monster Hand Puppets
If you have a microfiber chenille glove or cloth in your cleaning supply, this silly monster puppet comes together in mere seconds. Plus, you might get some dusting done while the puppet show is going on!

How to Put on a Puppet Show at Home

How to Make a Light-Up Shoebox Theater
These penguins are ready for their big debut! With a shoebox, string lights, and wooden skewers, you can make your own completely custom theater too, featuring whatever animals you like!

How to Put on a Puppet Show at Home

DIY Ice Cream Cone Puppet
I scream, you scream, we all scream for ice cream … puppets! This yarn-wrapped puppet is adorable and uses supplies you likely already have at home.

How to Put on a Puppet Show at Home

Pom Pom Monster Puppet Pals
Turn pom poms into puppets and have them dance and parade around your house!

How to Put on a Puppet Show at Home

Rainbow Paper Plate Puppet
Grab a spare paper plate and turn it into this cheerful rainbow puppet – he’s sure to brighten even the cloudiest of days.


from Handmade Charlotte https://www.handmadecharlotte.com/put-puppet-show-home/