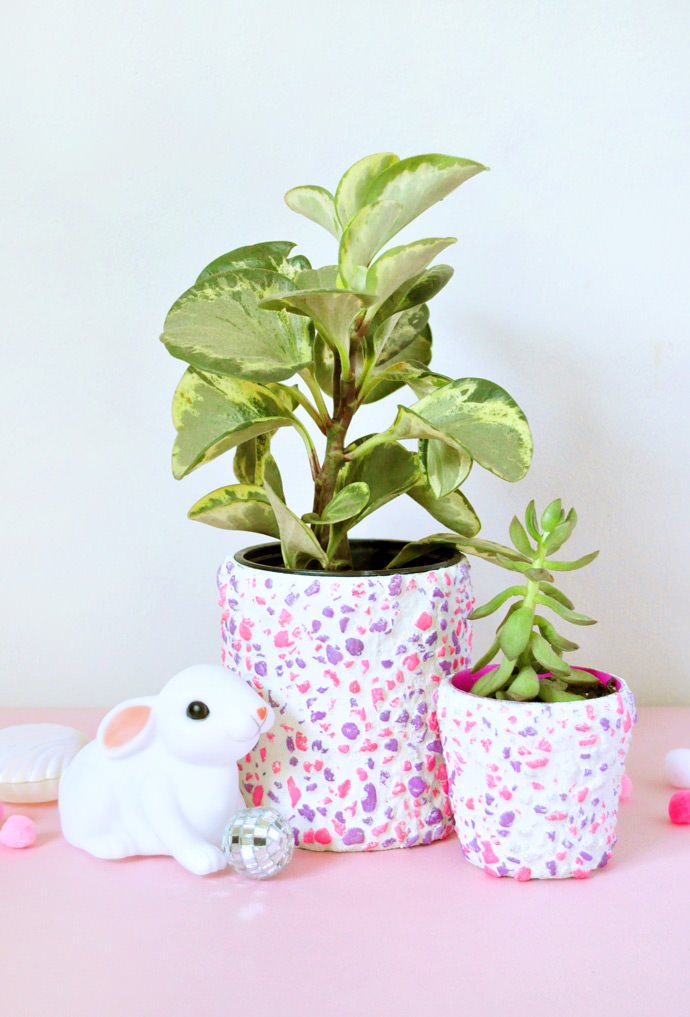
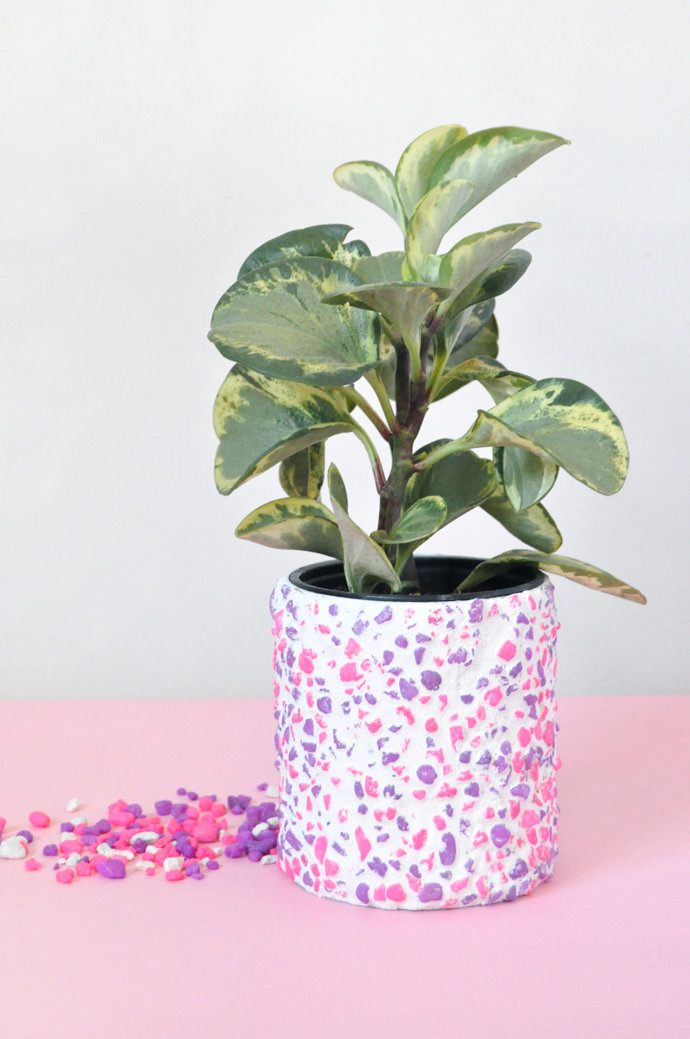
Yet again I’ve been inspired by the aquarium aisle at the pet store! Aquarium pebbles come in so many fun bright colors, it was hard to pick which ones to use for these DIY planters. I ended up picking a pink/purple mix this time – pretty fun, right?

Kind of like an abstract mosaic, pebbles and grout are the main materials in this project. Empty tin cans are a great base for the planters – the ridges make applying the grout a lot easier. Make a group in a bunch of sizes and colors for a neon rainbow of pebble planters!
What You Need
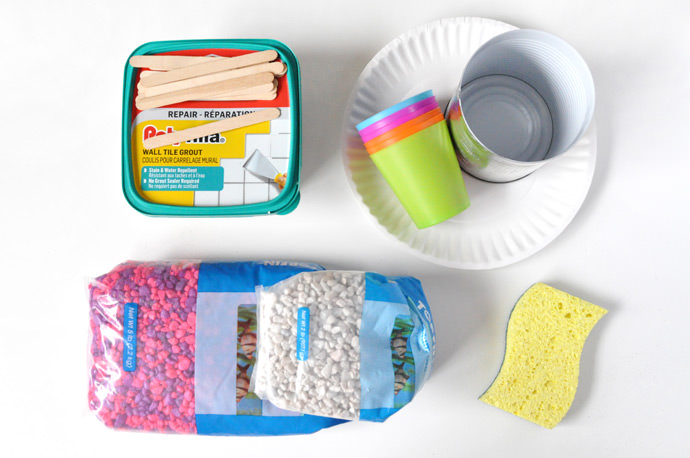
- Tile grout
- Empty cans/planters
- Popsicle sticks/putty knife
- Sponge
- Aquarium pebbles
- Paper plates
How-To
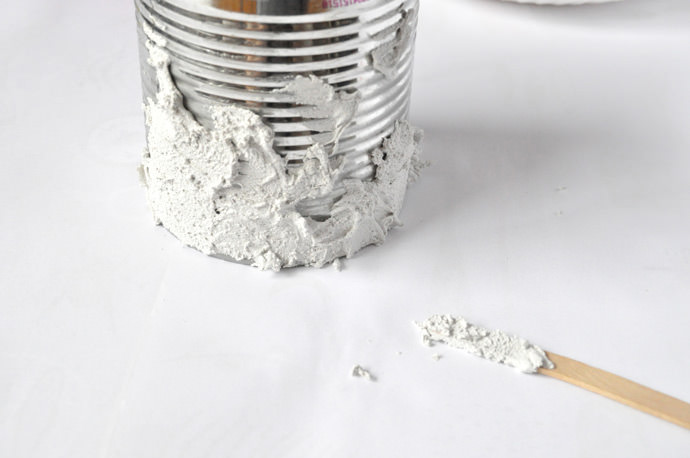
Step 1
Use a popsicle stick to apply grout onto the empty can – it can help to use your hands as well. If the planter is medium or large, work in segments so that the grout doesn’t dry out as you work.
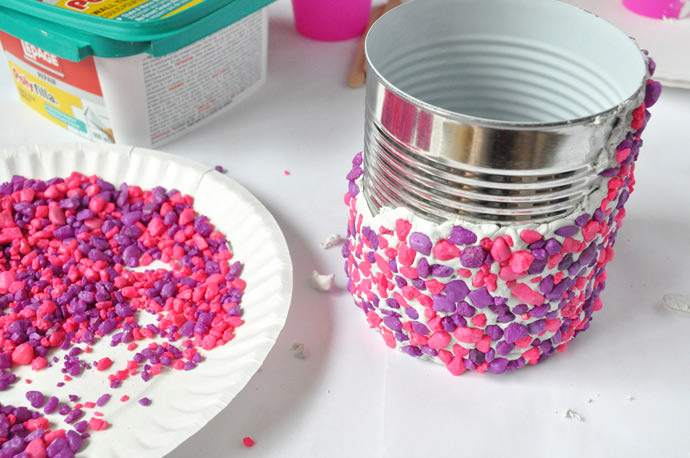
Step 2
Pour the aquarium pebbles onto a paper plate and roll and press the grouted area of the planter into it. If any spots stay empty, press them on by hand. Repeat until the entire planter is covered.

Step 3
Let dry overnight.

Step 4
Use a popsicle stick to apply more grout onto the pebbles all over the planter.
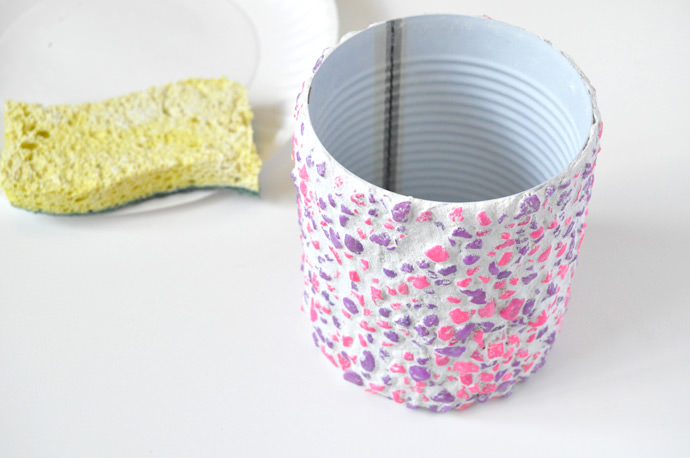
Step 5
Use a damp sponge to wipe off the excess grout so that the pebbles become visible again. Let dry completely and treat with a sealer if desired.


Happy crafting! :)
from Handmade Charlotte http://www.handmadecharlotte.com/diy-neon-pebble-planter/?utm_medium=feed&utm_source=feedpress.me&utm_campaign=Feed%3A+hcrss
No comments:
Post a Comment