Want to try your hand at designing quilts? These painted magnetic tiles let you create your own patterns and designs that look like a quilt!
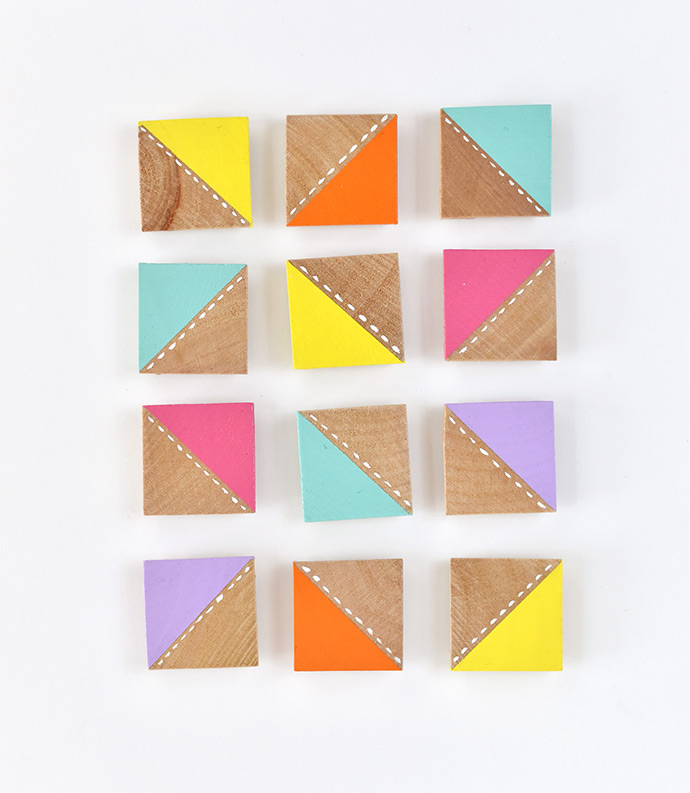
In quilt-making, a square made of two triangles is called half-square triangles. This simple quilt block is one of the most basic of quilt pieces. It’s used in lots of quilts because you can rearrange the squares to make so many different patterns.
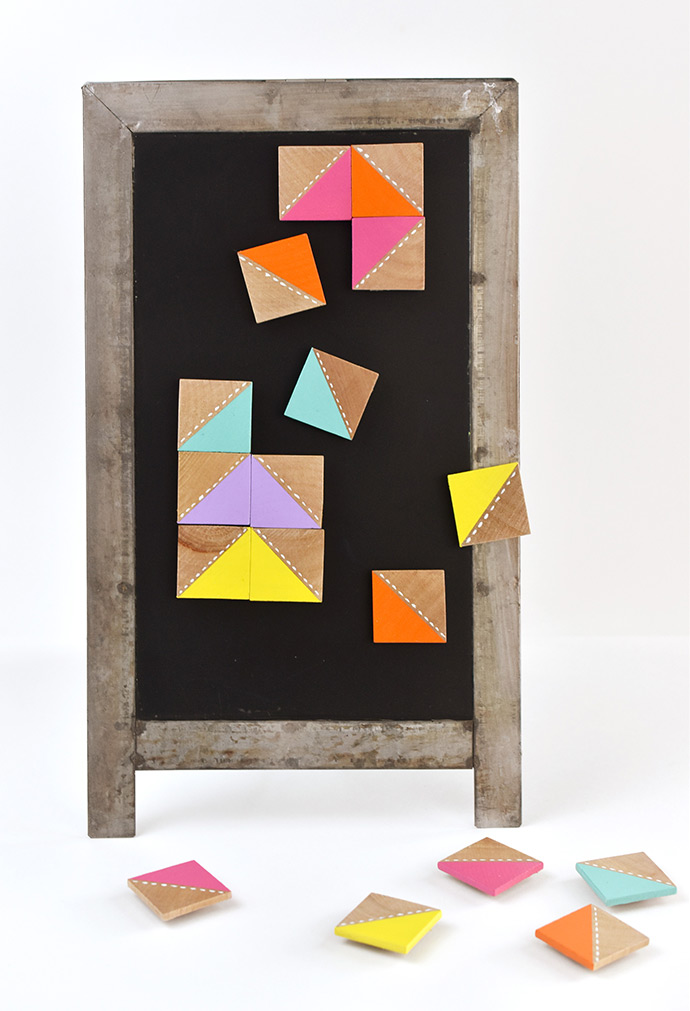
You don’t have to sew to create a quilt design when you make your half-square triangles out of wood squares. Just paint them with bright colors, then add a magnet so you can work with them on a magnet board—or use them on your fridge!.
Small wood tiles come in different sizes, but for best results with these design-a-quilt magnets, use all the same size and choose tiles that are sturdy.
Ready to make a magnetic wooden quilt?
what you need:
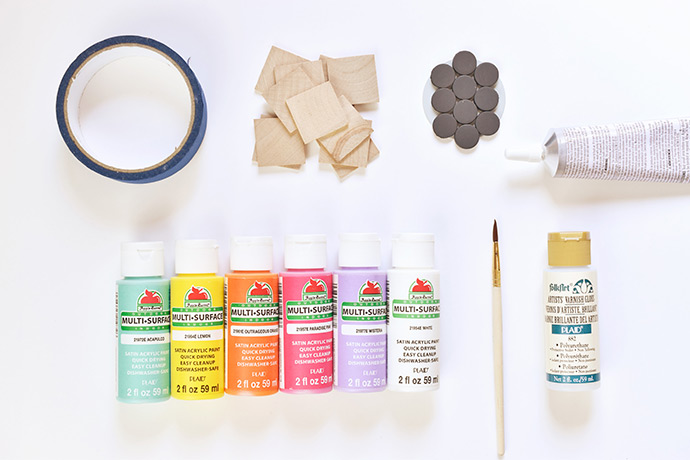
- Square wooden tiles
- Painter’s tape
- Apple Barrel Acrylic Craft Paint
- Paintbrush
- Gloss sealer
- Magnets
- Industrial strength glue
how-to:
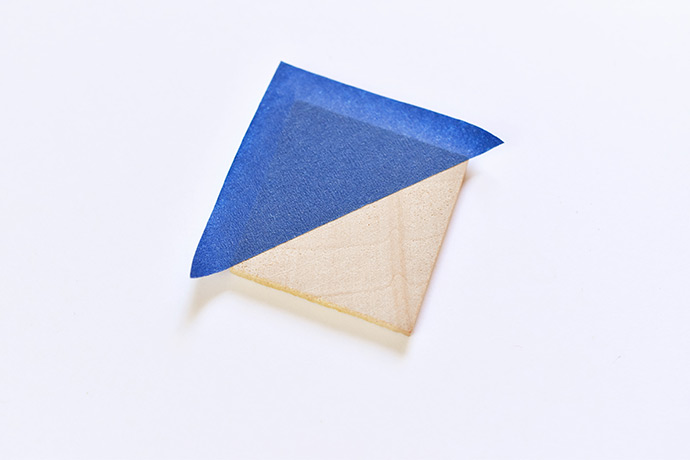
Step 1
Cover half of each wood tile with painter’s tape, pressing the tape on diagonally.
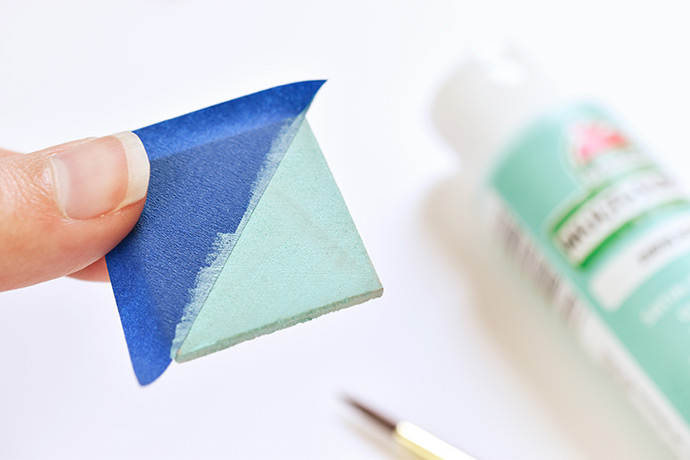
Step 2
Paint the non-taped side of the tiles with acrylic paint. You can paint the sides too.
Make lots of painted pieces with different colors. It’s good to have at least 4 of each color.
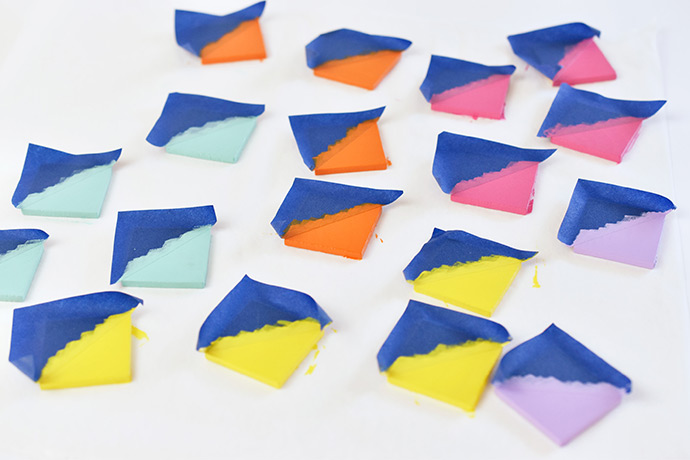
After you paint all the tiles, go back and add coats of paint until the color looks solid. Usually three coats is good.
Once the paint is totally dry, carefully peel off the tape. If you want to make your half-square triangles painted on both sides, add tape again and repeat the process.
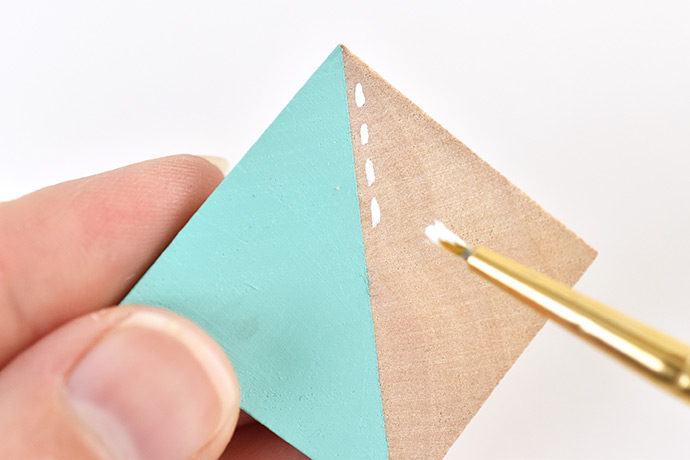
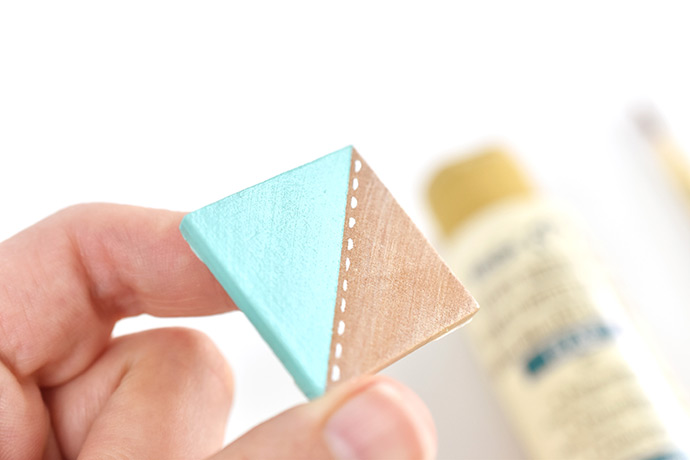
Step 3
To give these quilt block magnets the look of something sewn, use a tiny paintbrush or a toothpick to make a line of white stitches on one side of the diagonal line.
Step 4
After the painted stitches are dry, brush sealer over the entire top of the magnet as well as the sides. Add a second coat of sealer when the tiles dry.
The plain wood will look a little darker when it’s sealed, but it may not be shiny. That’s normal.
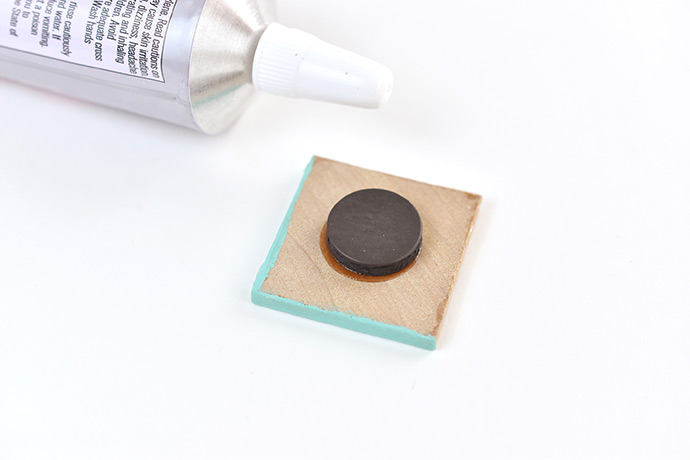
Step 5
Use strong glue to attach a magnet to the back of each painted tile, then let the magnets dry.
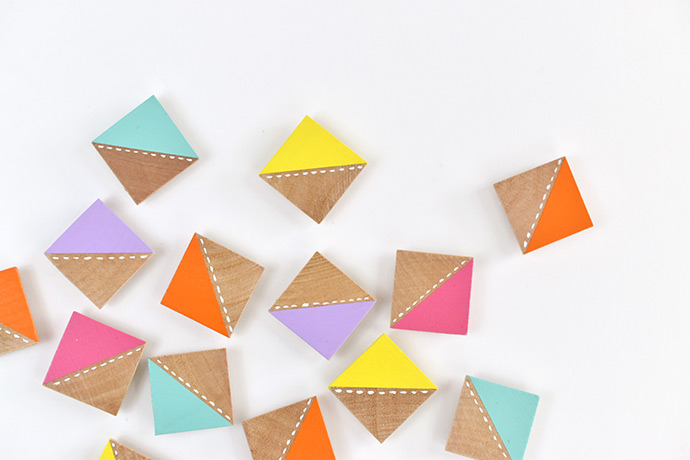
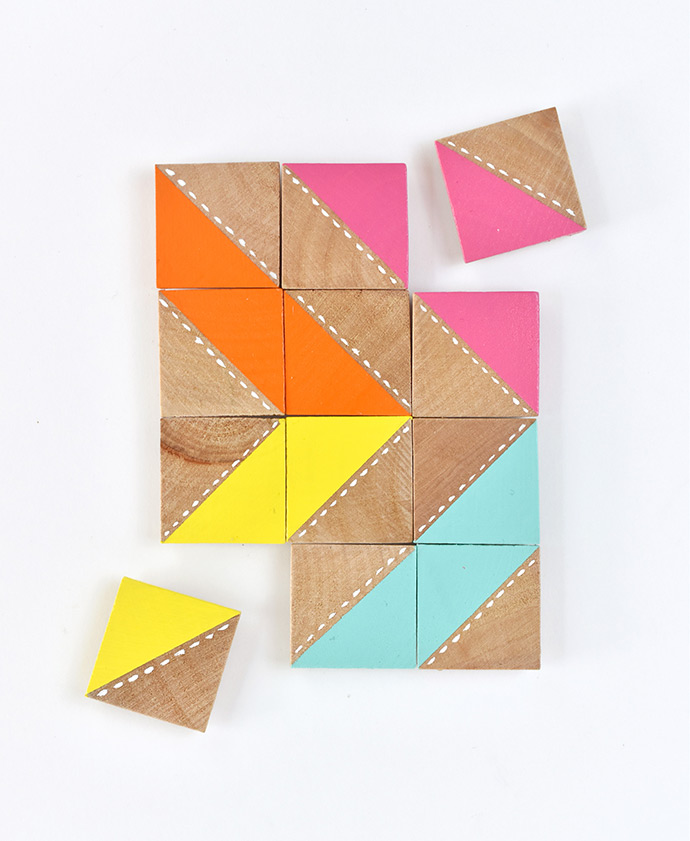
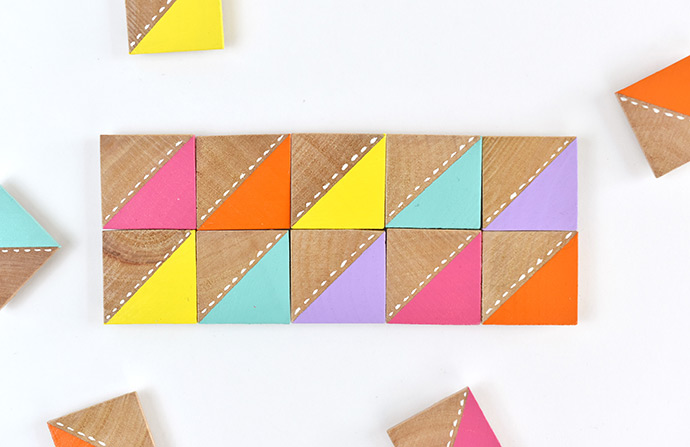
With all your half-square triangles finished, it’s time to arrange them into some quilt blocks.
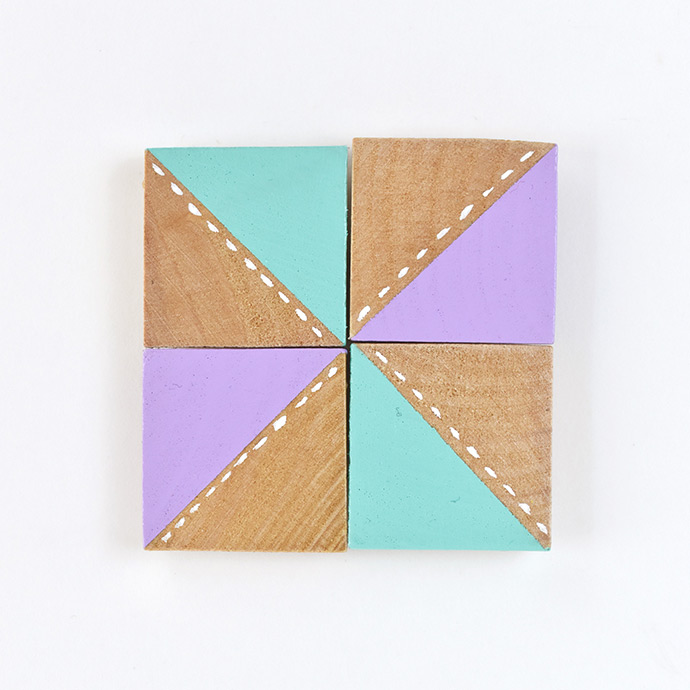
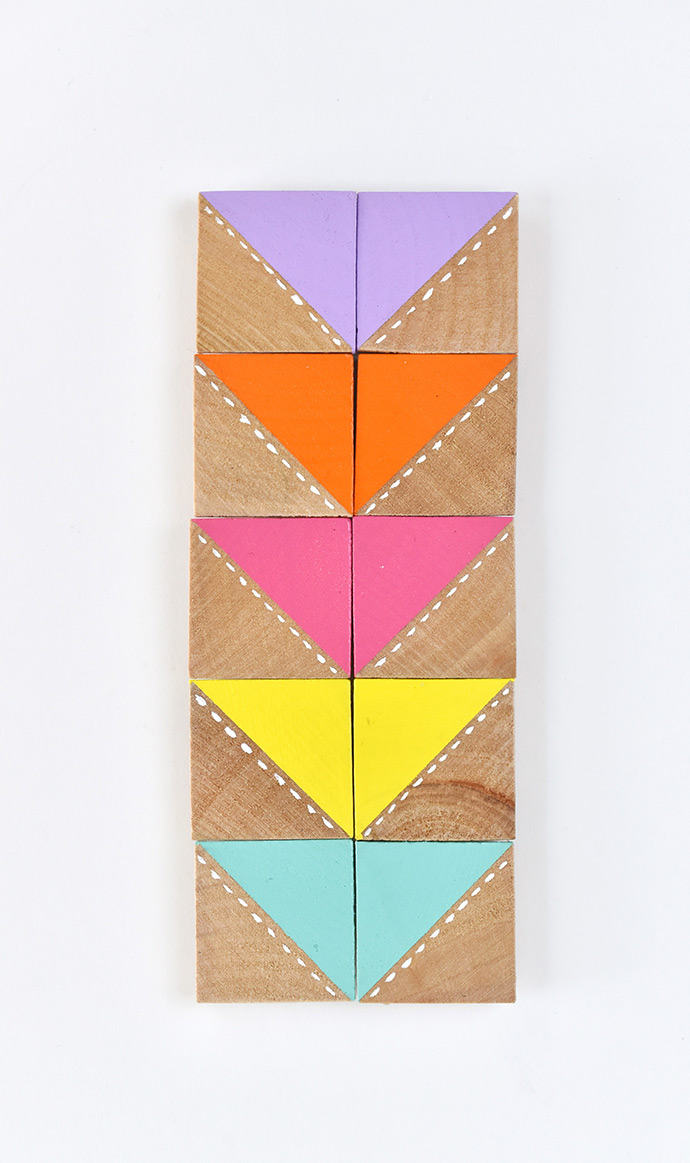
With four of these triangles, you can make a pinwheel shape! Or turn the pieces so they form larger triangles. In quilt-making, this shape is sometimes called “flying geese”.
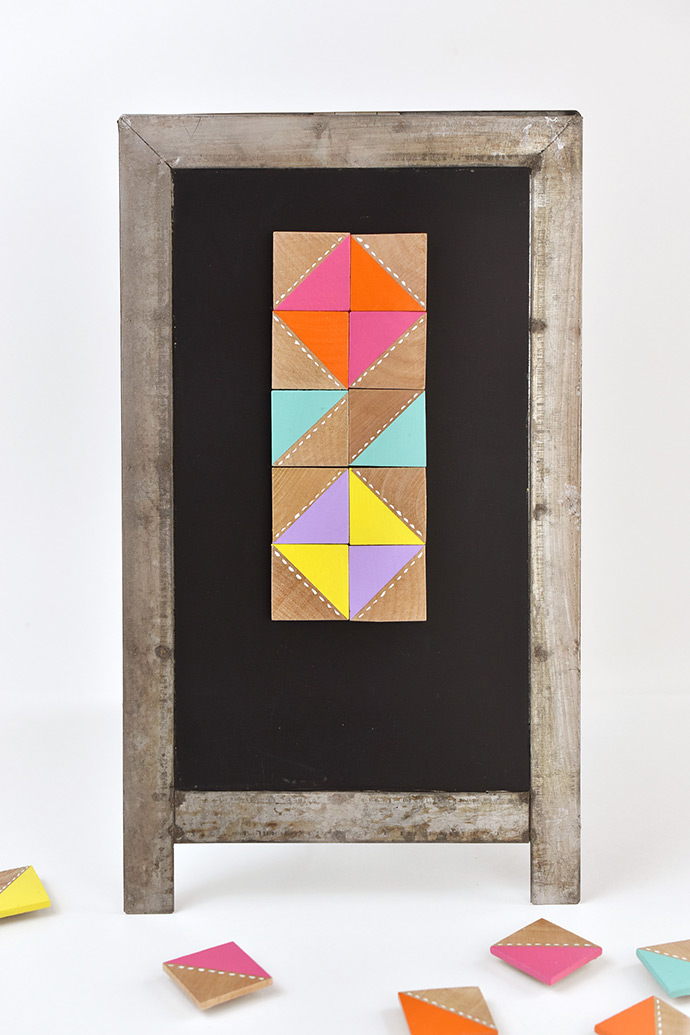
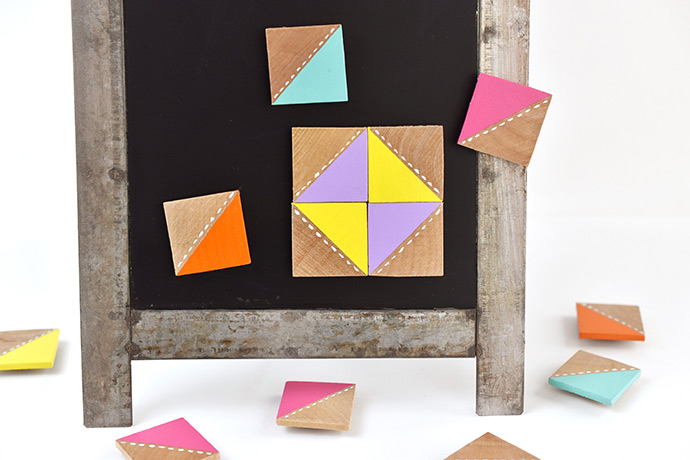
Next, try turning four pieces so the triangles meet in the center and form a large square. You can even arrange the pieces to make diagonal lines or zig zags! Keep moving them around to make as many patterns as you can. You could even use graph paper to draw a design that you’ve made…or draw the design first and then match it with your quilt magnets.
These magnets are a fun activity to play with and learn about geometric design, but of course, they also work as refrigerator magnets. Use them to hold the list of craft supplies you need to buy!
Happy crafting!
from Handmade Charlotte https://www.handmadecharlotte.com/design-quilt-painted-magnets/?utm_medium=feed&utm_source=feedpress.me&utm_campaign=Feed%3A+hcrss
No comments:
Post a Comment