This post is sponsored by Plaid Enterprises.
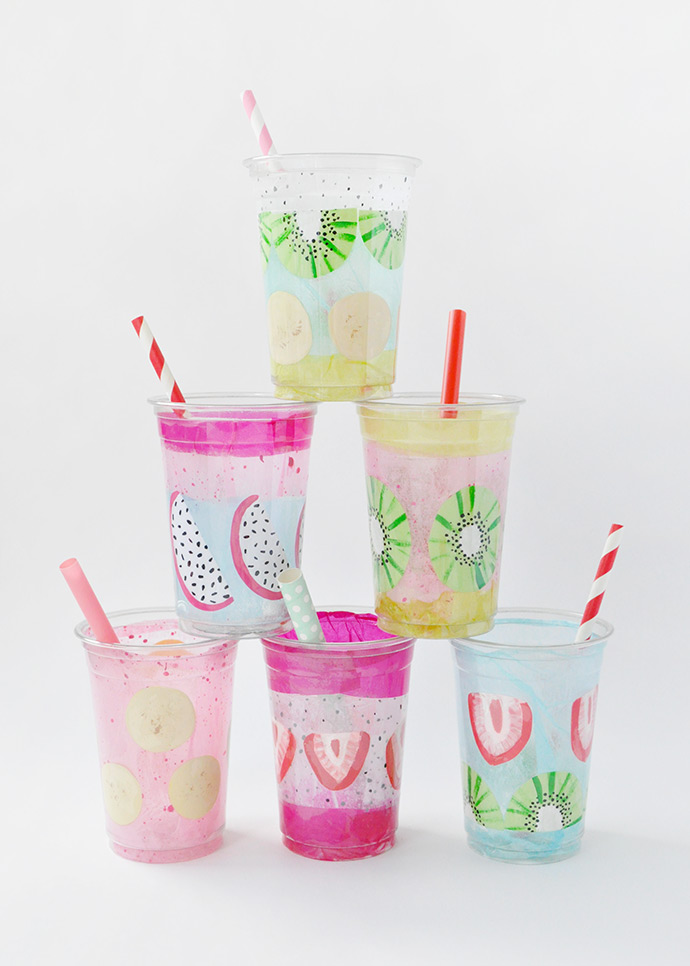
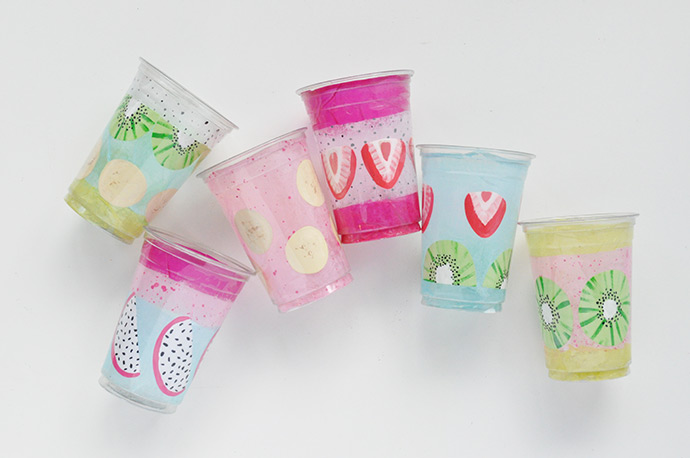
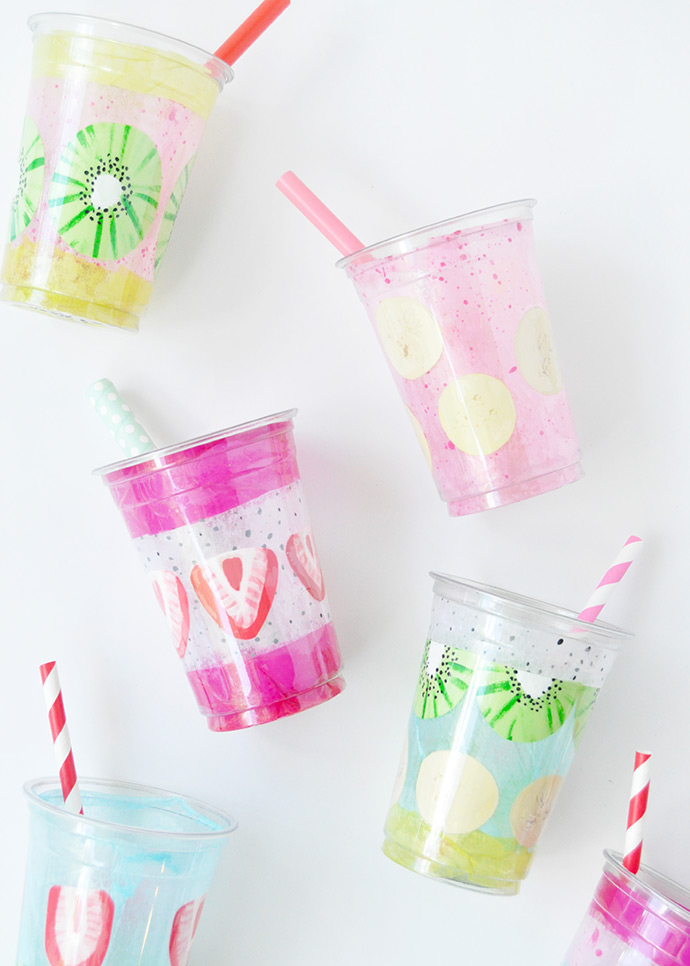
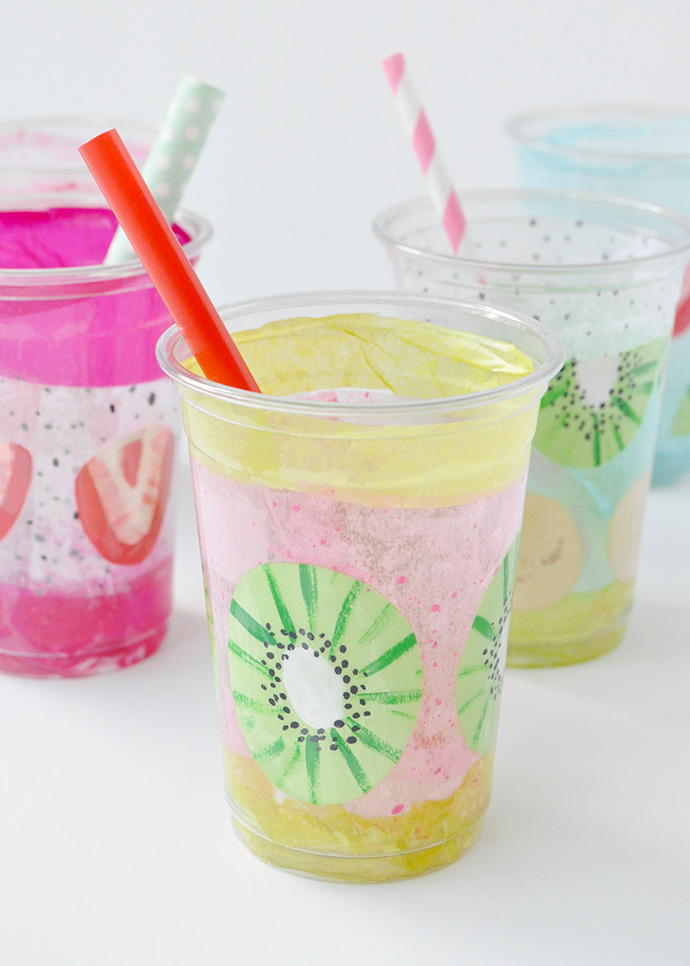
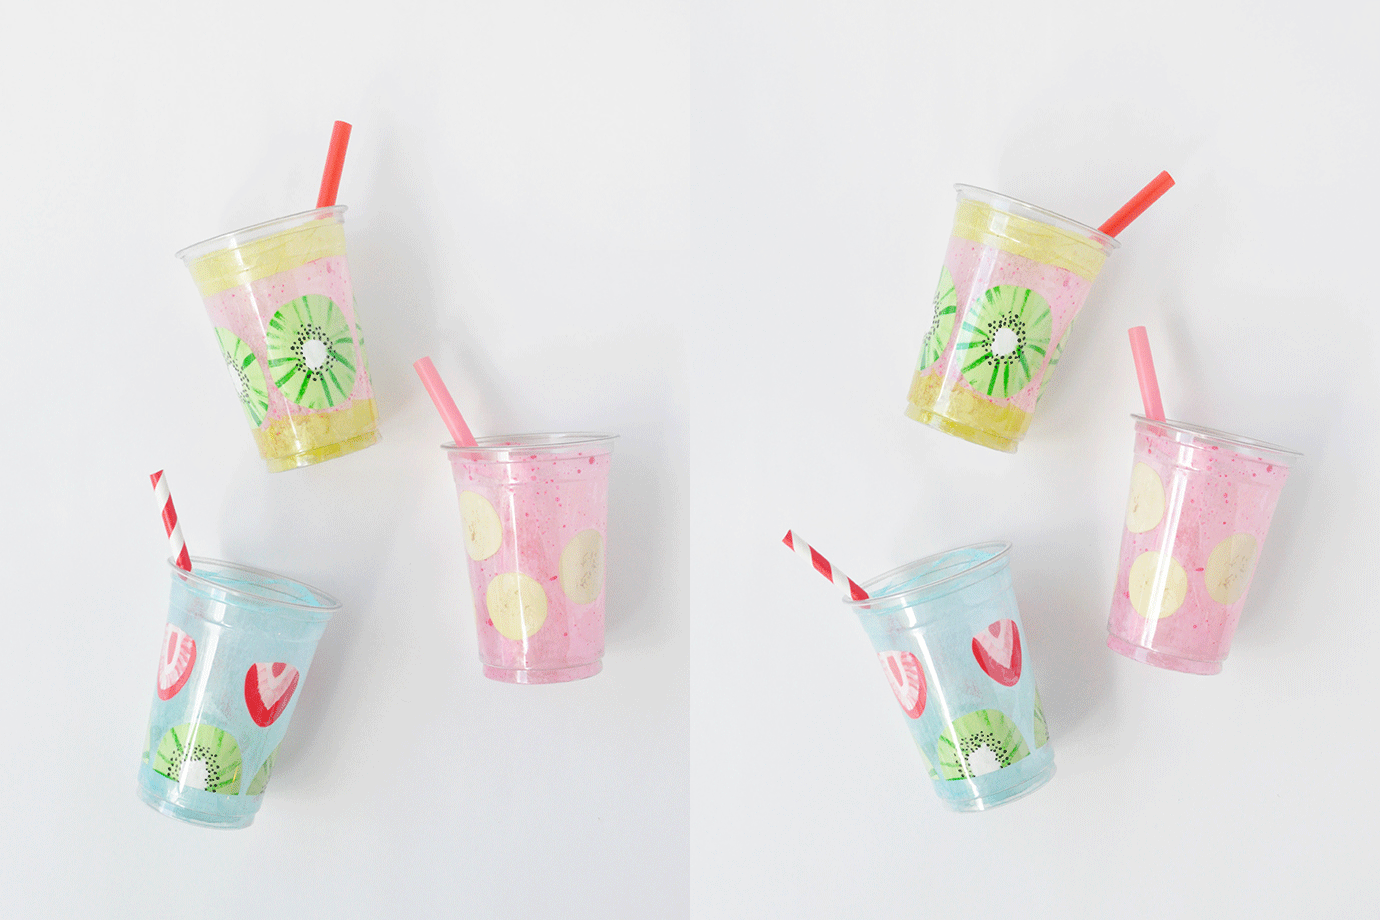
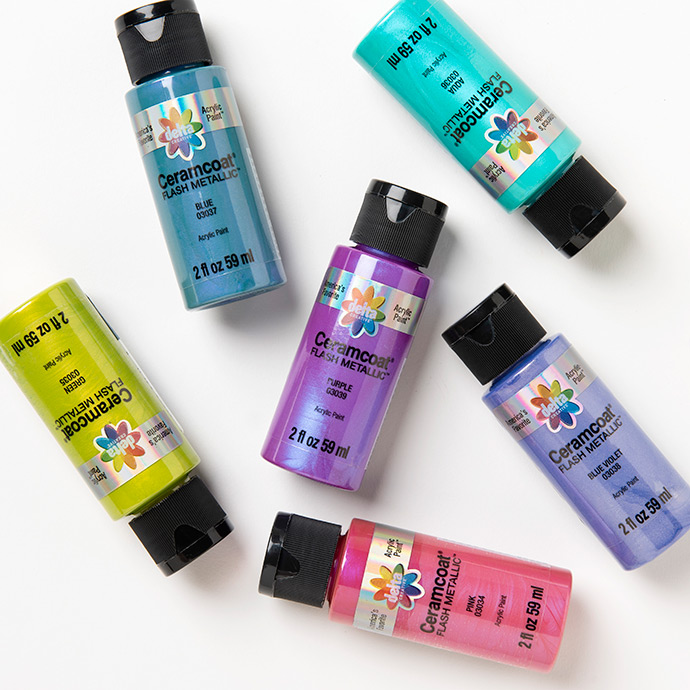
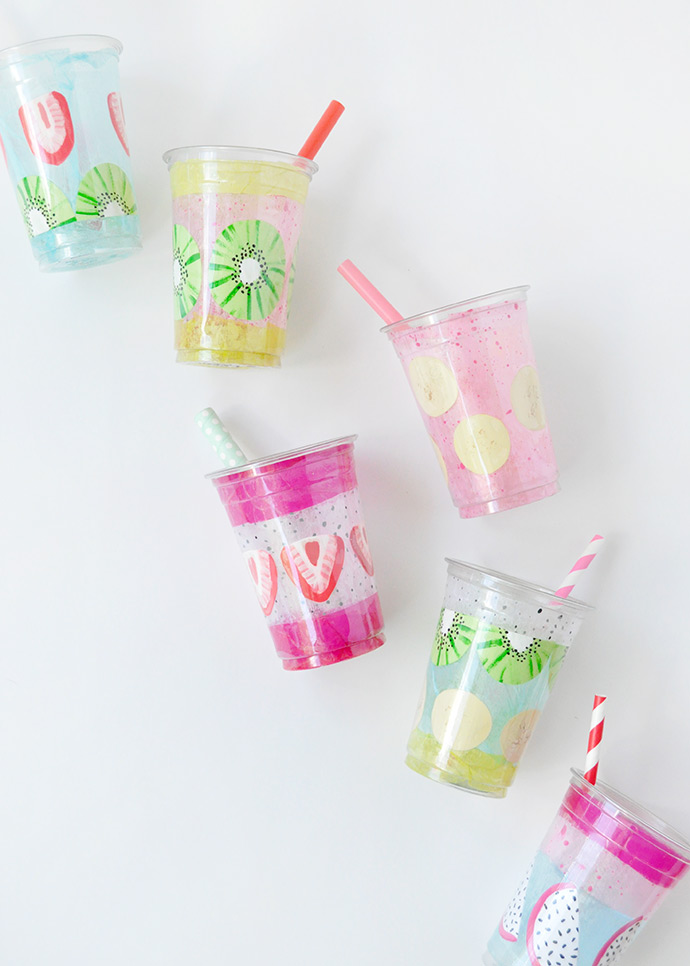
If you’re on Instagram or Pinterest, (and we’re betting you are!) you’ve likely seen some incredible food art that looks too good to eat. We’ve long admired the colorful and beautiful smoothies we’ve seen all over the internet so today we used them as inspiration for this craft! Part play food and part art project, these rainbow-hued smoothie cups are plain old fun to make. We of course used some handy dandy Mod Podge as well as our favorite shades from Delta Ceramcoat® Acrylic Paint. All 22 shades and 6 brand new Flash Metallic shades are available in the craft aisle at Target!
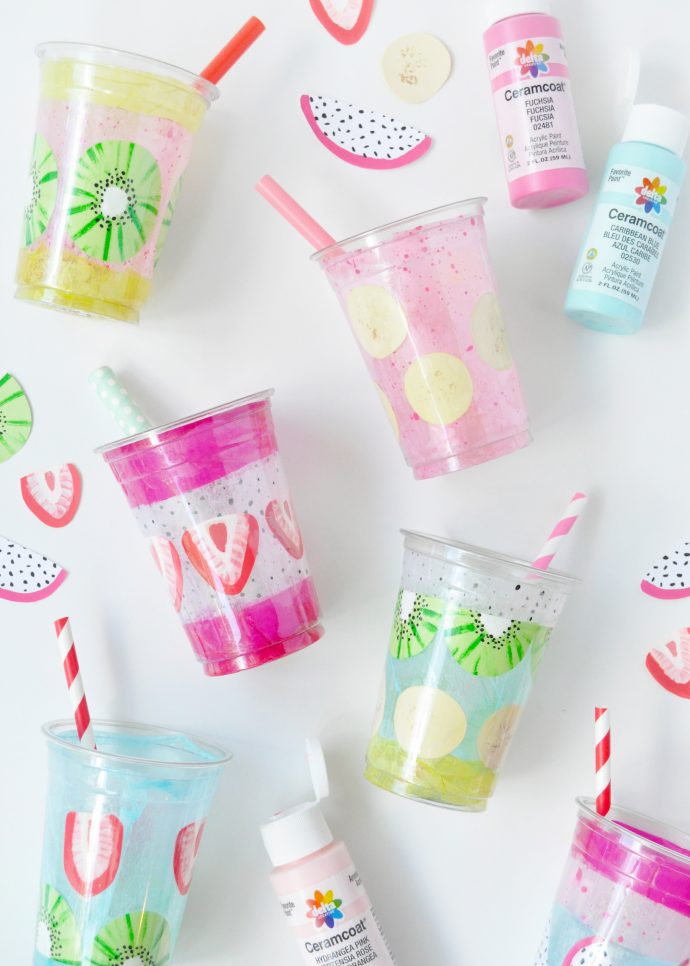
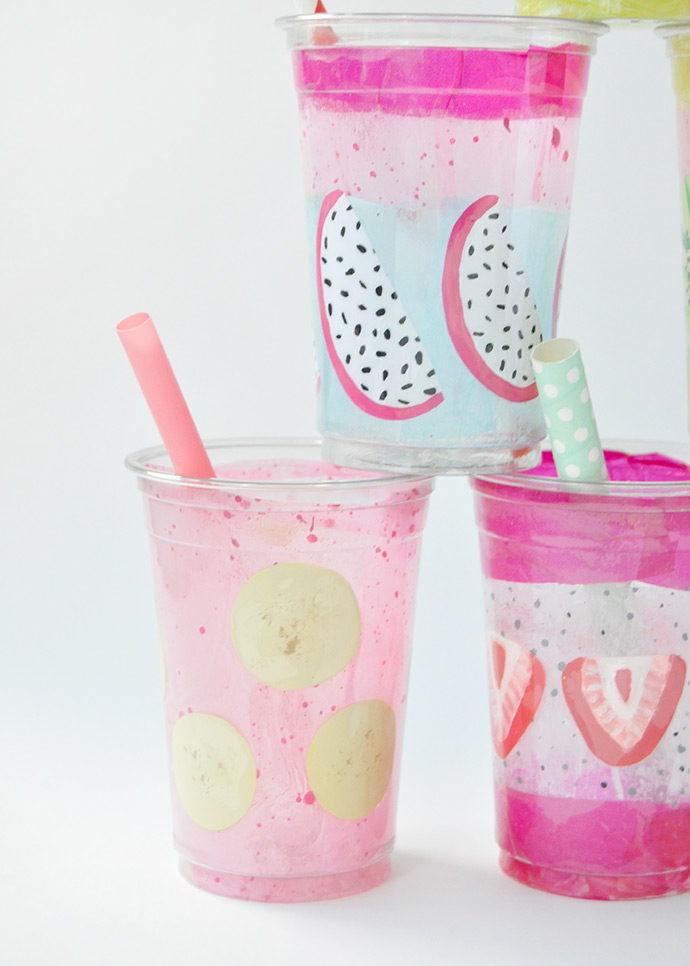
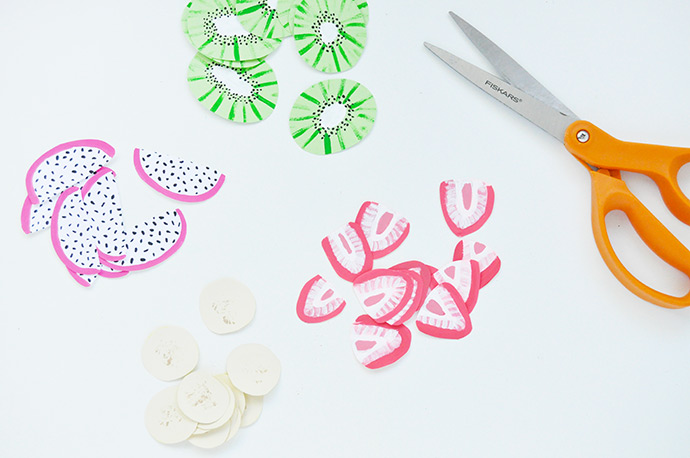
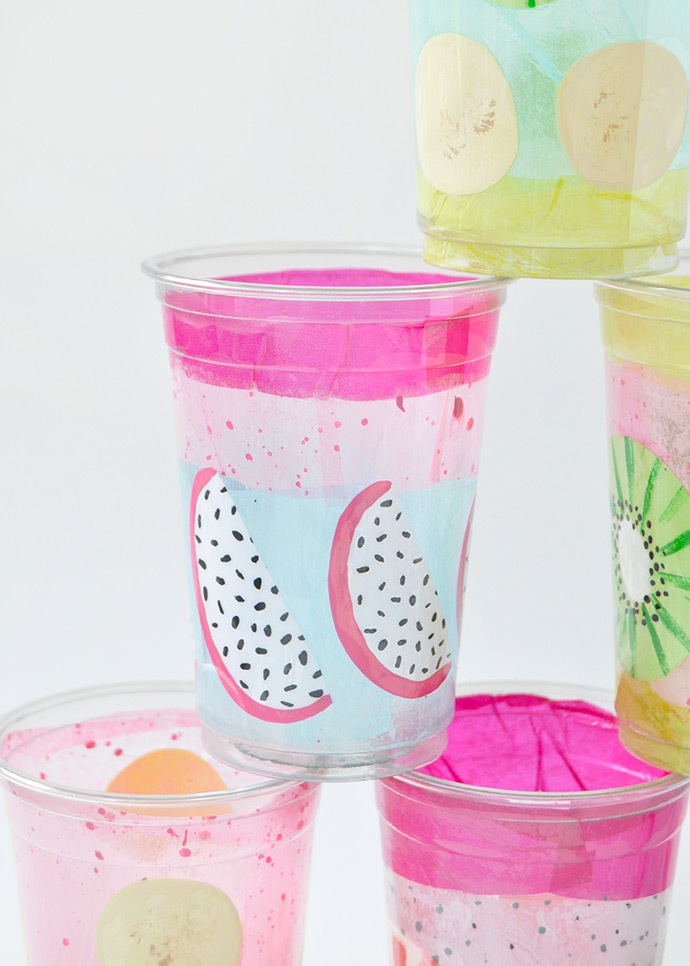
Painting up these paper fruit slices is SO much fun and we think they turned our pretty realistic too! This is a great exercise to do with kids – load up some inspiration photos on your computer (we used strawberry, kiwi, dragon fruit, &banana slices) and mix and match colors to paint the perfect little fruits! Delta Ceramcoat paints are available in some perfectly fruit-colored shades, so the whole process was really easy and fun! Once the cups are done, kids can use them as play food, stack them as décor in their bedroom, or even use them as playful desk storage! Keep reading for the full instructions.
what you need:
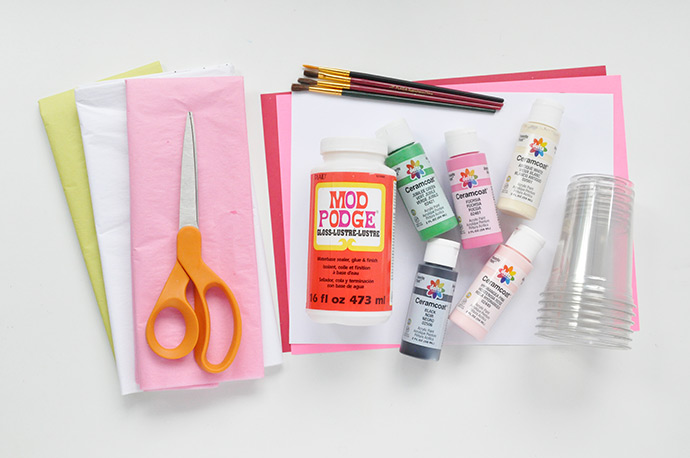
- Delta Ceramcoat Acrylic Paint
- Paintbrushes
- Mod Podge
- Tissue paper (variety of colors)
- Paper (colored & white)
- Scissors
- Clear plastic cups
- Straws (optional)
how-to:
Step 1
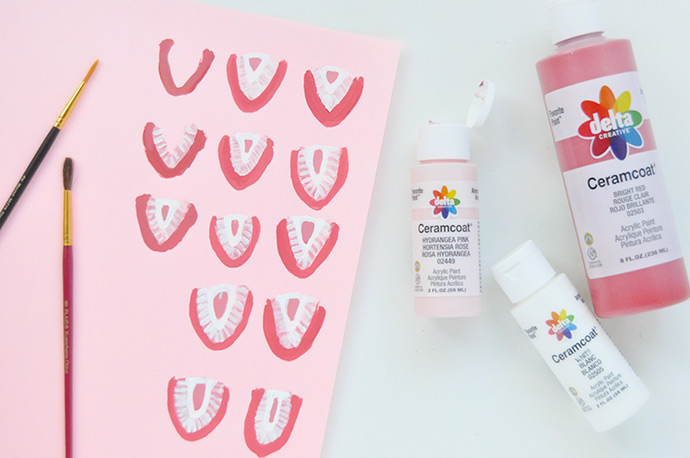
The first thing to do is paint your fruits! Take a look at cute smoothies online and decide which fruit slices you’d like to tackle. We started with the classic strawberry slice. Paint a rounded V in red paint and then use pink and white paint to make subtle stripes inward from the V. Then add a white triangle with a red triangle inside it and you’ve got a strawberry slice – repeat as many times as you like.
Step 2
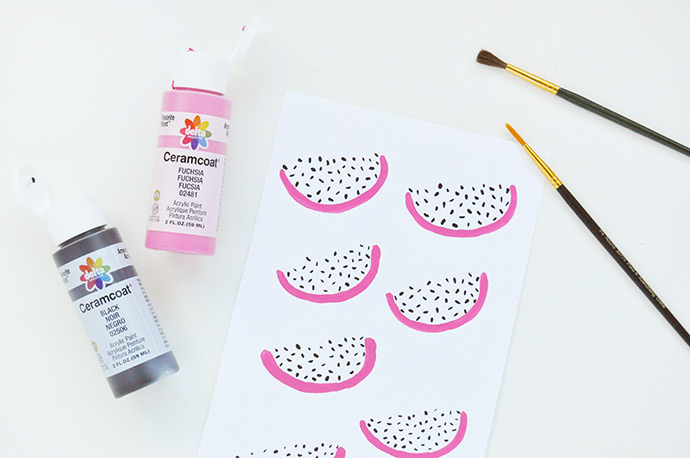
Dragon fruit slices are a really easy one – just paint fuchsia curves on white paper and then fill the white space with little black dots to be the seeds. Simple!
Step 3
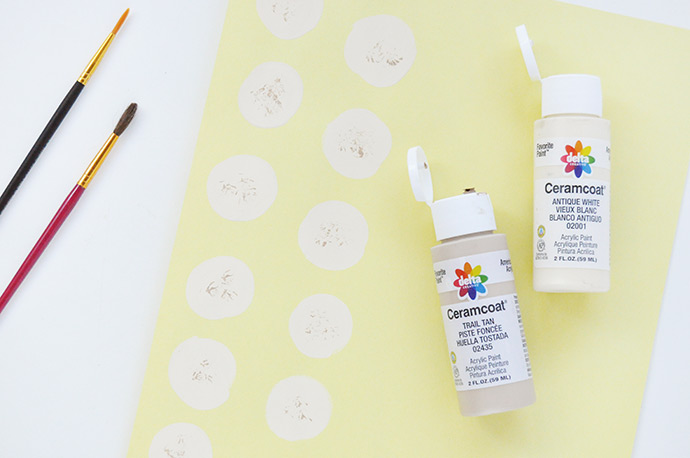
The banana slices are also really quick. Antique White was the perfect banana color, and then we added super subtle seeds with Trail Tan.
Step 4
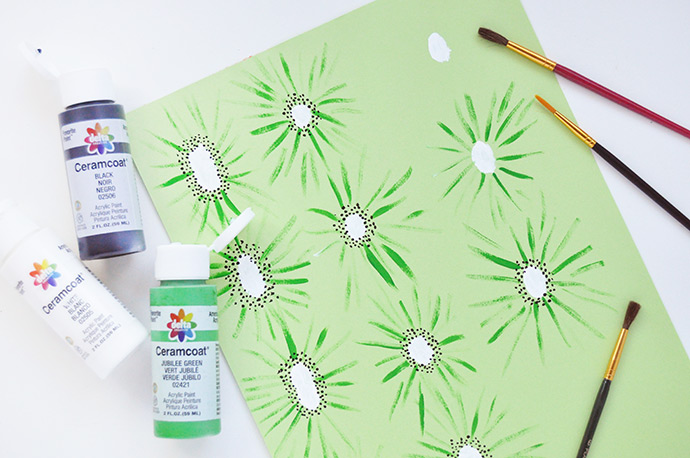
To paint the kiwi slices, start by painting a white oval on green paper. Then use green paint to make stripes radiating out from that white dot. Finally use a small paintbrush to add tiny black seeds all around the white center.
Step 5
Once all the paint has dried, cut those fruit slices out!
Step 6
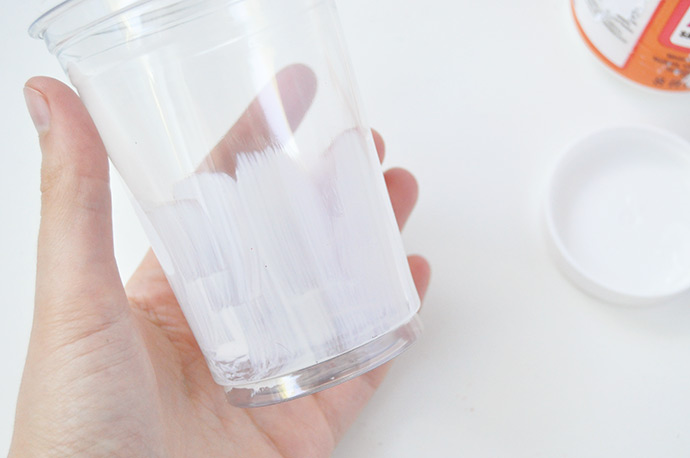
Time to make some smoothies. Apply some Mod Podge to the inside of a clear plastic cup – we made our smoothies symmetrical, so we put the Mod Podge all the way around the bottom to start.
Step 7
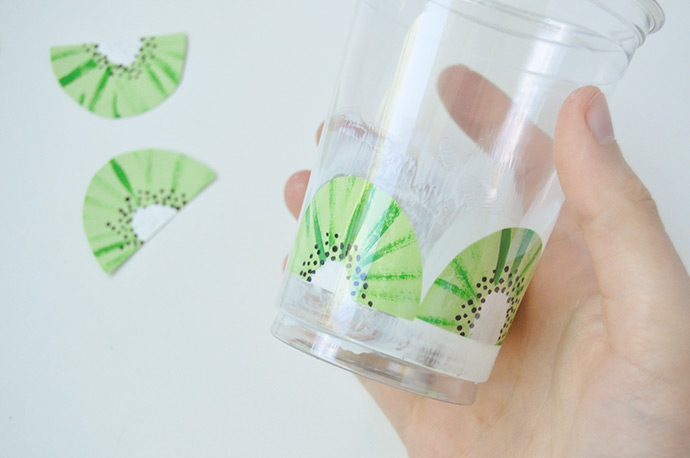
Add some fruit! We cut the kiwi slices in half and then attached them next to each other along the bottom.
Step 8
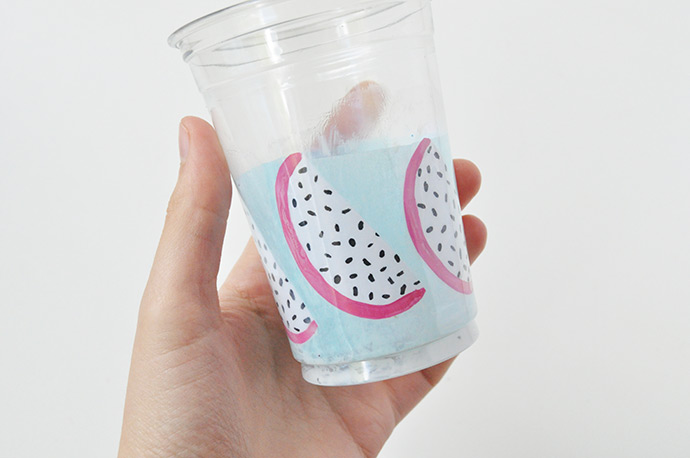
Once your have all the fruit inside, cut a piece of tissue paper to roughly fit inside the cup. We wanted to get some really fun layers, so only cut this blue piece to come partway up the cup. Apply Mod Podge to the inside of the cup and then carefully place and attach the tissue. It doesn’t have to be perfect, and most of the creases won’t be visible in the end. Younger kids might prefer to do this step with smaller pieces of tissue paper instead of one larger one.
Step 9
Repeat! You can mix and match these smoothie cups in so many ways. We even tried adding some small dot details onto some of the tissue paper to make them look even more like smoothies. Let dry completely.
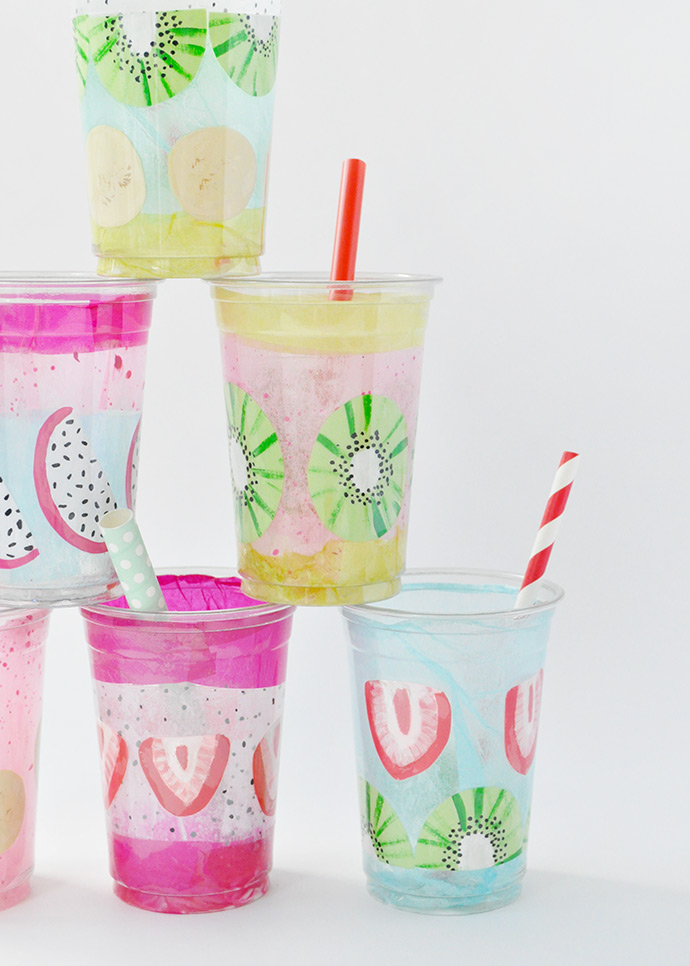
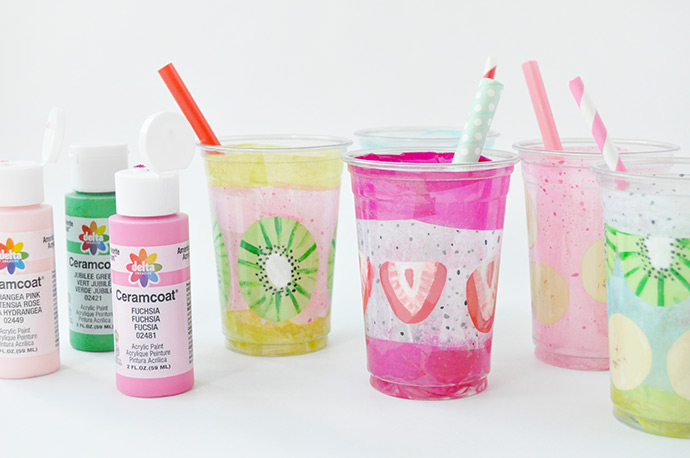
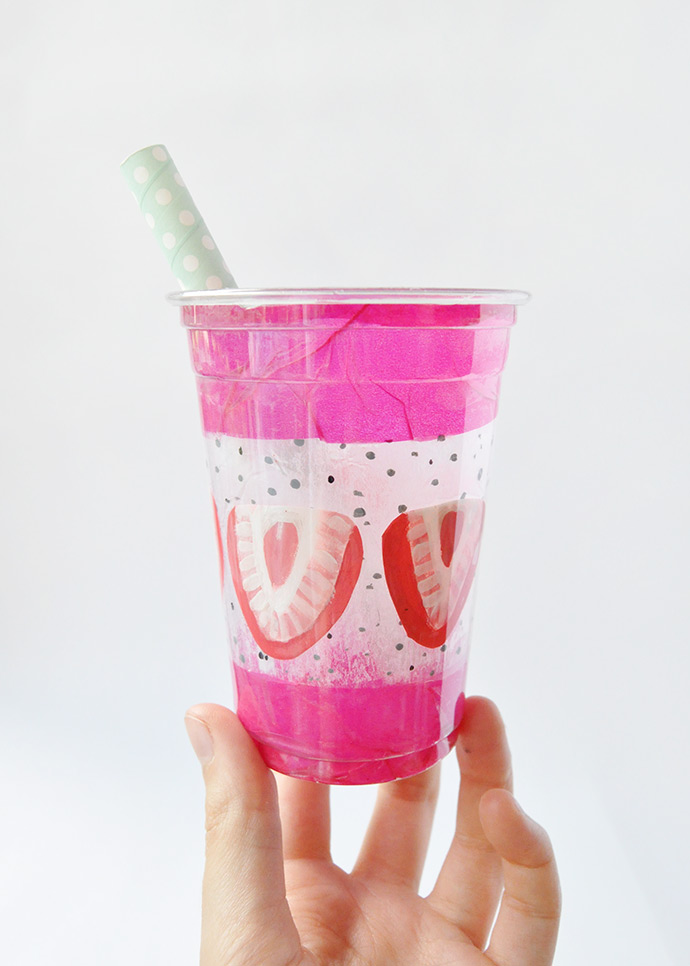
Is anyone else hungry all of a sudden? These smoothie cups just look so real!
Find all 22 colors of Delta Ceramcoat® Acrylic Paint at Target along with six brand new Flash Metallic colors in the craft aisle or at Target.com.
Make sure to follow Plaid on Instagram, Pinterest, Facebook, and YouTube to keep up with all upcoming products and DIYs!
Happy crafting!
from Handmade Charlotte https://www.handmadecharlotte.com/painted-smoothie-cups/?utm_medium=feed&utm_source=feedpress.me&utm_campaign=Feed%3A+hcrss
No comments:
Post a Comment