This post is sponsored by Kid Made Modern.
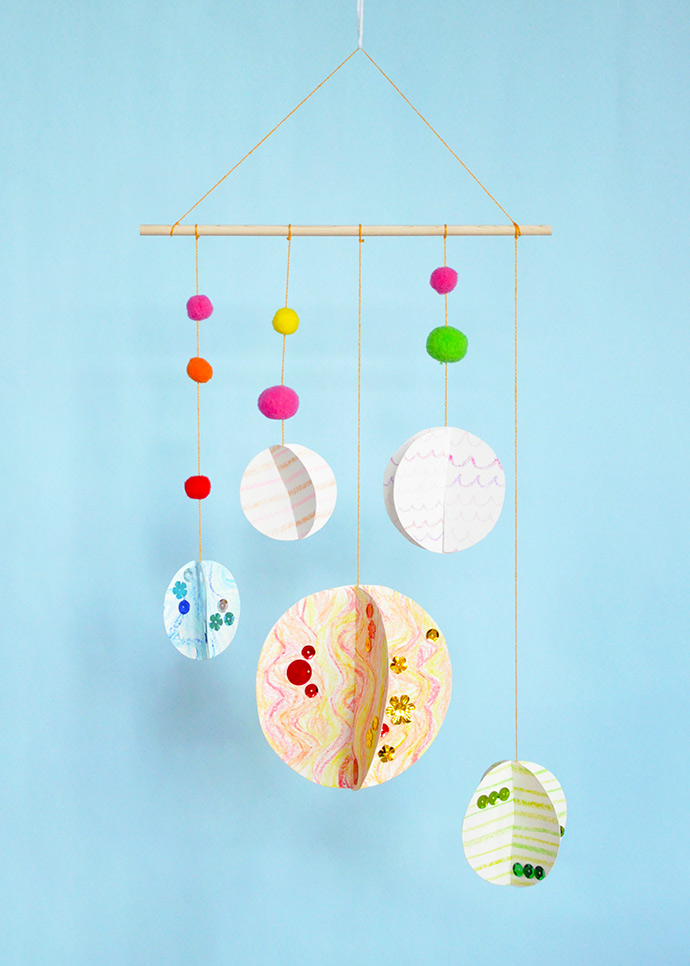
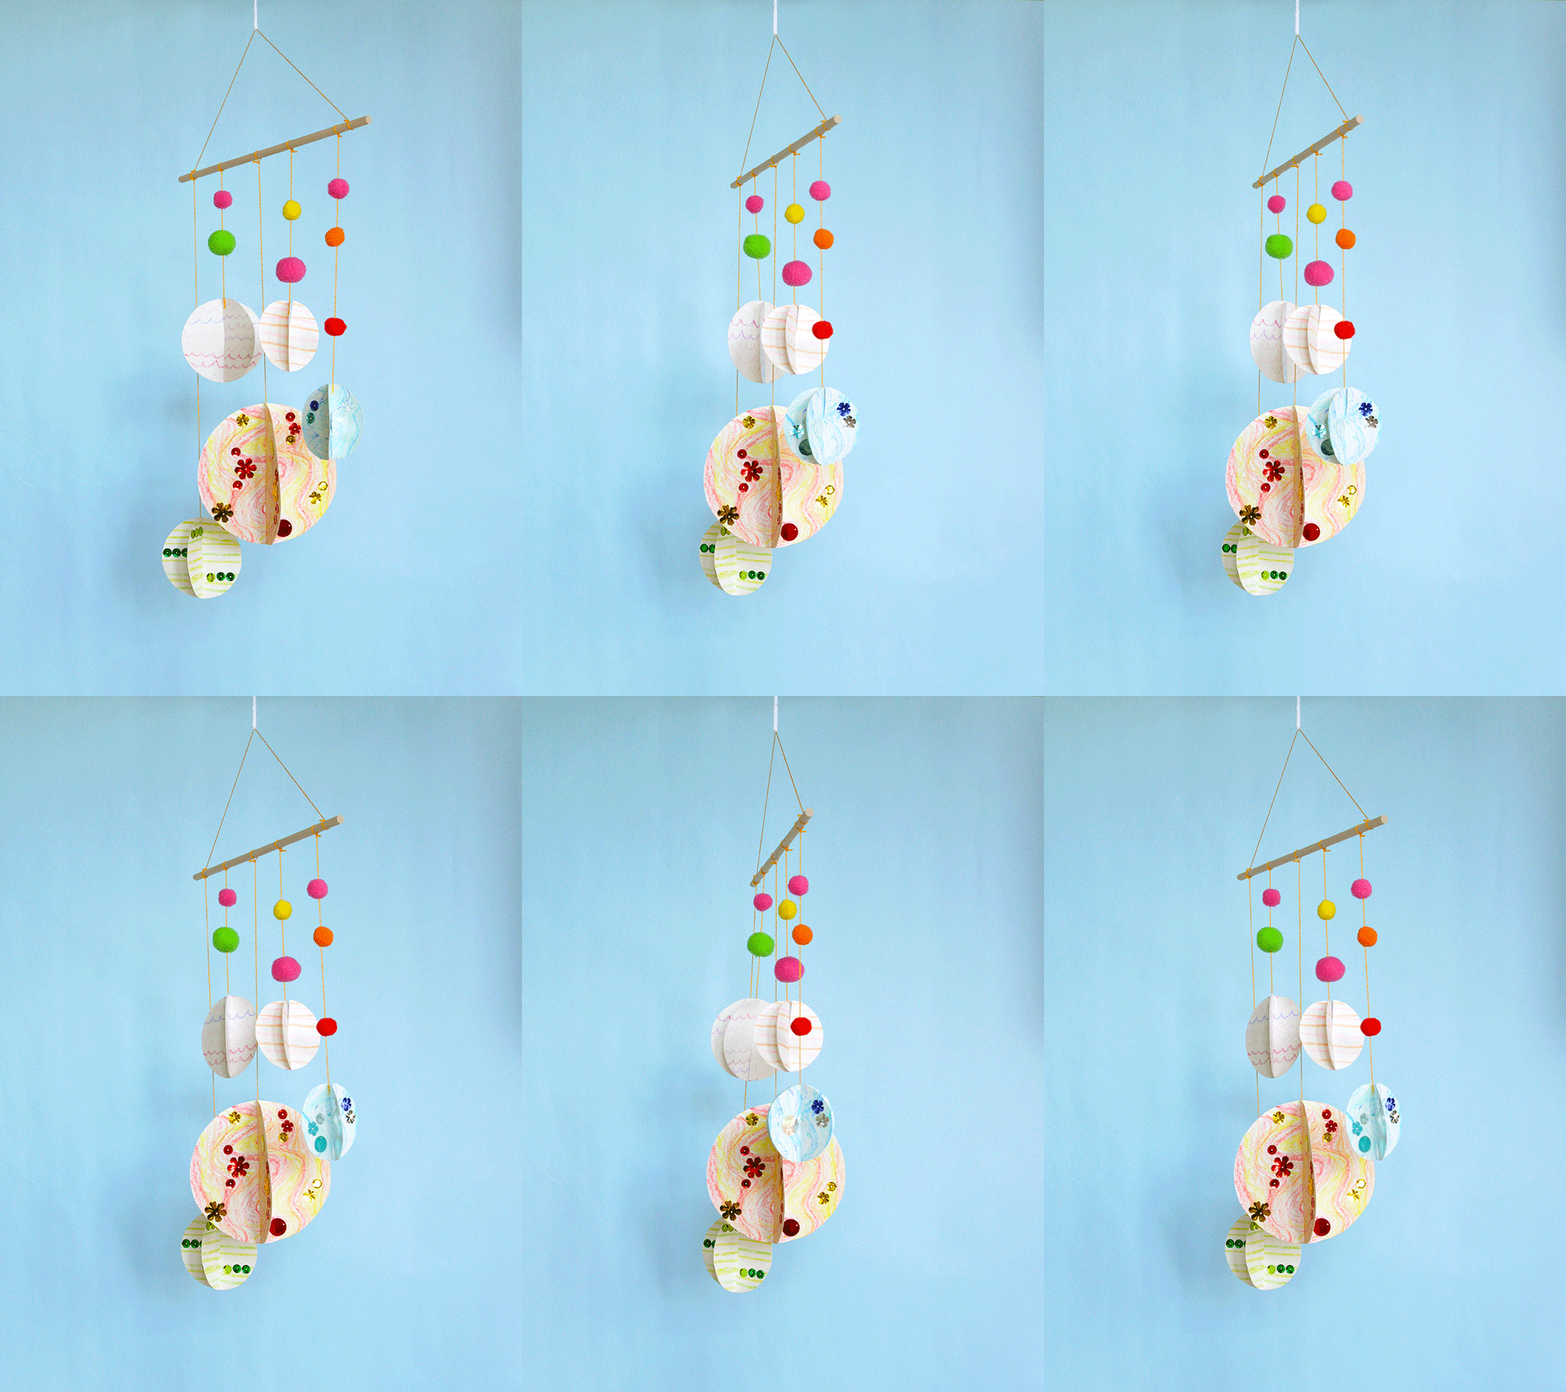
This DIY mobile is out of this world! We had a blast putting this together with just a few handy dandy Kid Made Modern craft supplies, inspired by their new line of bedding and room decor! Mobiles can sometimes be a little bit tricky to make so that everything is nice and balanced, which is why we kept it nice and simple for this one. Using a single dowel across the top (versus a hoop or two dowels crossed) makes balancing your solar system SO much easier.
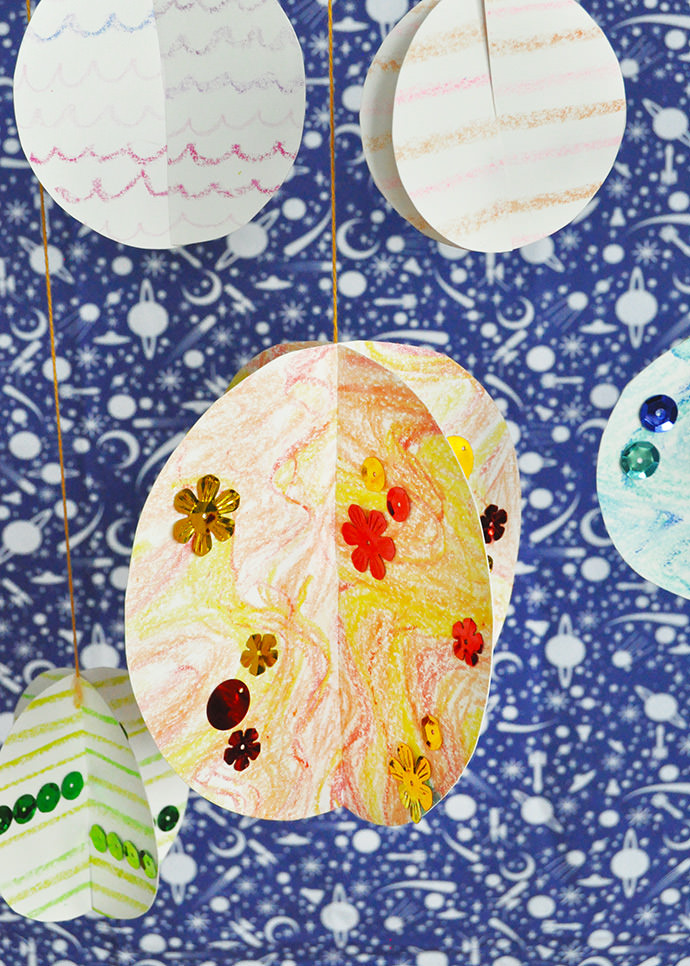
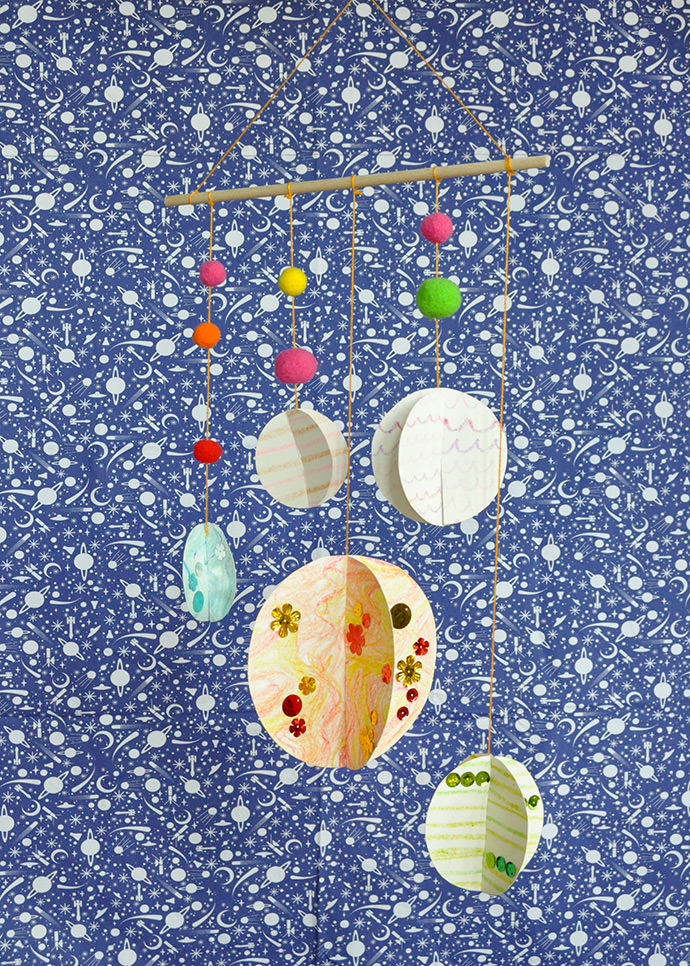
And speaking of solar systems, there’s no need to make your mobile entirely accurate to the planets we all know and love. We went with abstract and geometric patterns and of course, added on some colorful sequins to make the whole thing pop even more. When the planets rotate and spin they look super duper cool. Scroll down to see the how-to video as well as full written instructions below.
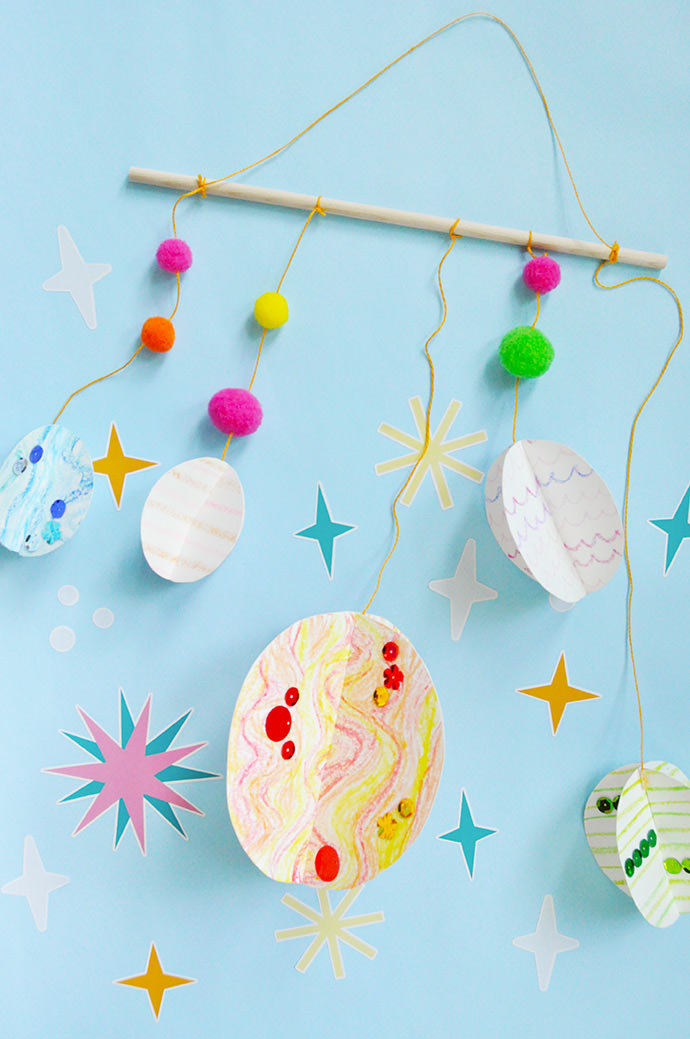
what you need:
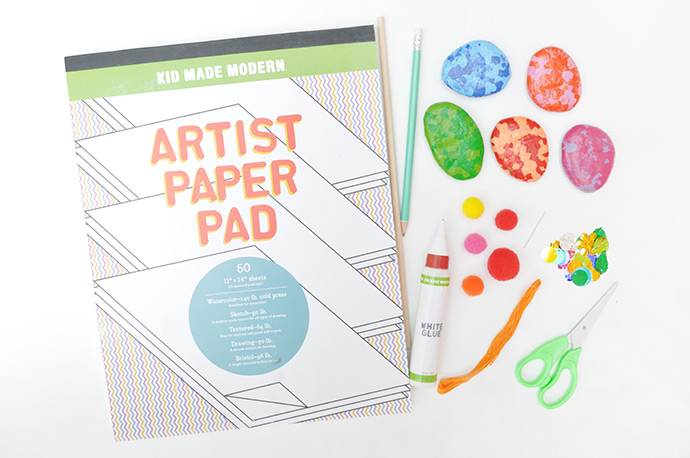
- Artist Paper Pad
- Rock Crayons
- Arts and Crafts Supply Library (pom poms, glue, needle, thread, sequins, scissors)
- Pencil
- Wooden dowel
how-to:
Step 1
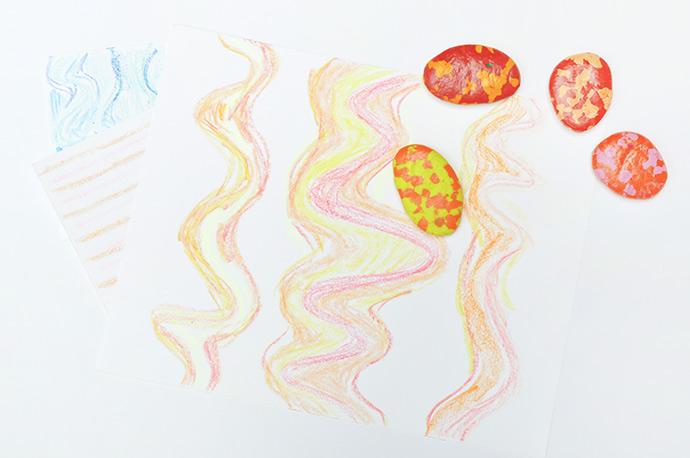
On a blank piece of paper from your paper pad, use crayons to draw some colorful patterns. We made some with abstract swirls to look kind of like Jupiter, but we also did some in stripes and other patterns for fun. They don’t have to look like the planets in our solar system, but you can do that if you want! Make sure to put this pattern on the front and back of the paper.
Step 2
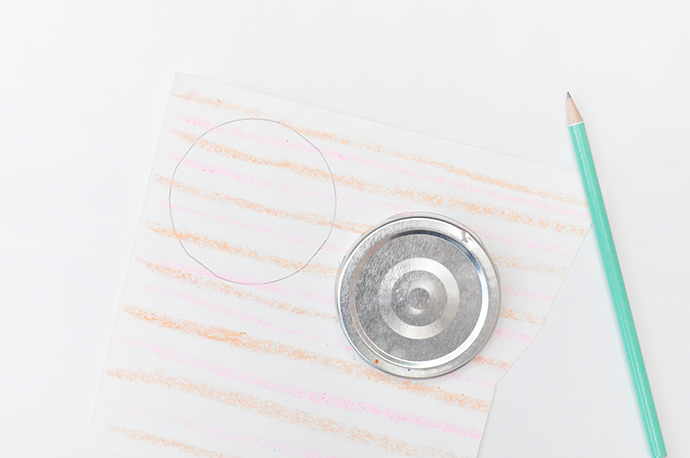
Trace two matching circles onto each patterned paper – you need two circles to make one planet.

Step 3
Cut out the circles and then cut a snip halfway through each circle.

Step 4
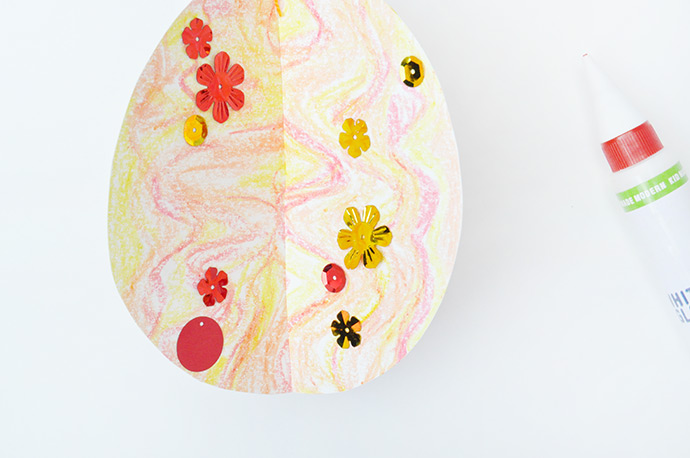
Fit the two circles together so that it looks something like this. It should stay in place, but feel free to add a dab of glue if yours is wiggling around a little bit. Repeat this process for all of your planets – we made five.
Step 5
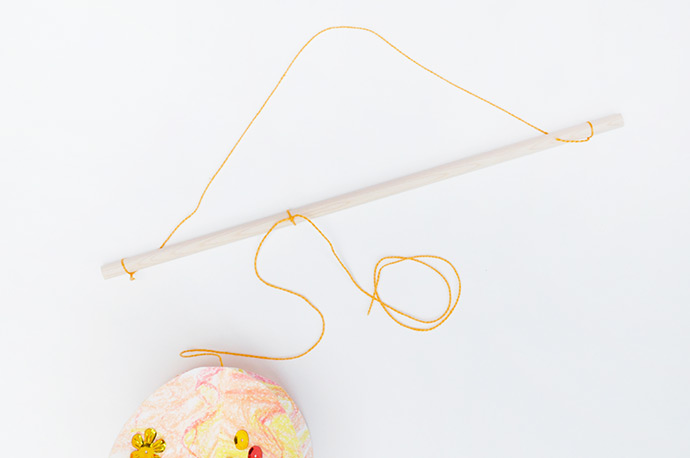
Prepare the top of the mobile by tying a piece of embroidery floss from your Arts & Crafts Library around the ends of a piece of dowel.
Step 6
Add even more detail to your planets with sequins! We picked out a handful of matching ones from the Arts & Crafts Library and glued them onto each planet. Don’t forget to put some on each side so that you see them all when the mobile spins.
Step 7
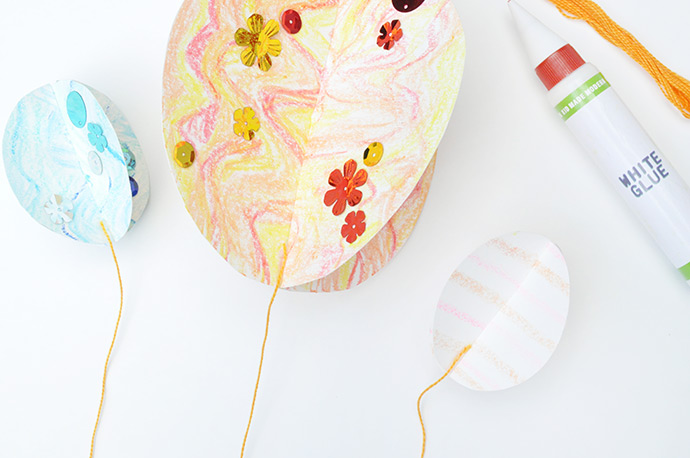
Once your planets are all ready, cut a piece of embroidery floss for each one, starting with a length of about 18″ for each. Attach the end of each string into the fold of each planet using white glue. Let dry completely.
Step 8
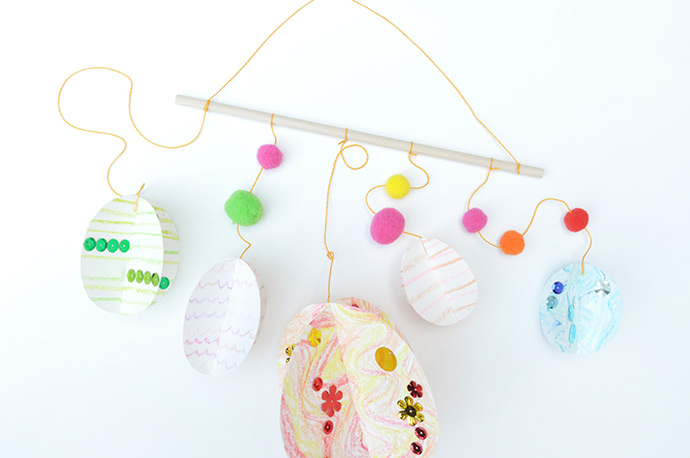
Begin arranging your planets on the dowel! This can be a little tricky and will take a couple minutes to get just right. If possible, it can help to hang the dowel on a wall hook while you work. When attaching the planets, tie them in place but don’t trim off the excess string just in case you want to adjust them.
Step 9
Continue adding on more planets in the same way – you can add pom poms on too, if you like! All you have to do it thread the embroidery floss through a needle and pierce a couple pom poms. Slide them down the string, remove the needle, and tie onto the dowel in the same way as before. Slide the planets around and adjust the length of the strings until you’re happy with it and the mobile is balanced. There you have it!
Hang as is from a wall hook, or attach a longer string to the dowel to hang from a ceiling hook.
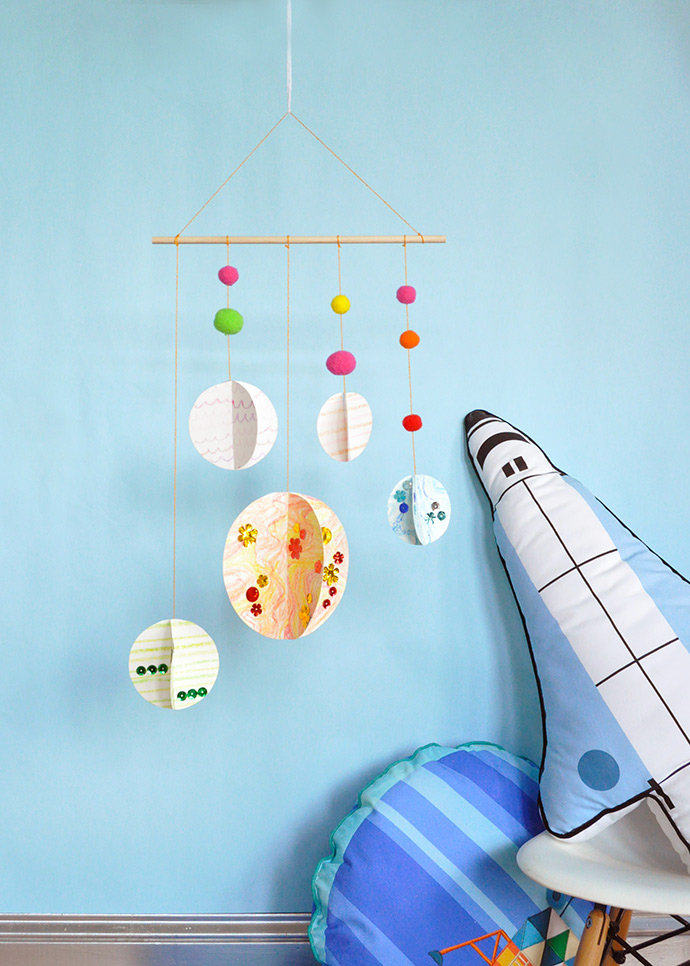
Deck out your kids’ room to look just like a space station with Kid Made Modern’s brand new bedding and decor! Pictured here are the Blast Off Pillow, the Space Rover Throw Pillow, Fantastic Flight Wall Decals, and Outer Space Sheet Set.
Happy crafting!
from Handmade Charlotte https://www.handmadecharlotte.com/make-outer-space-mobile/?utm_medium=feed&utm_source=feedpress.me&utm_campaign=Feed%3A+hcrss
No comments:
Post a Comment