This post is sponsored by Kid Made Modern.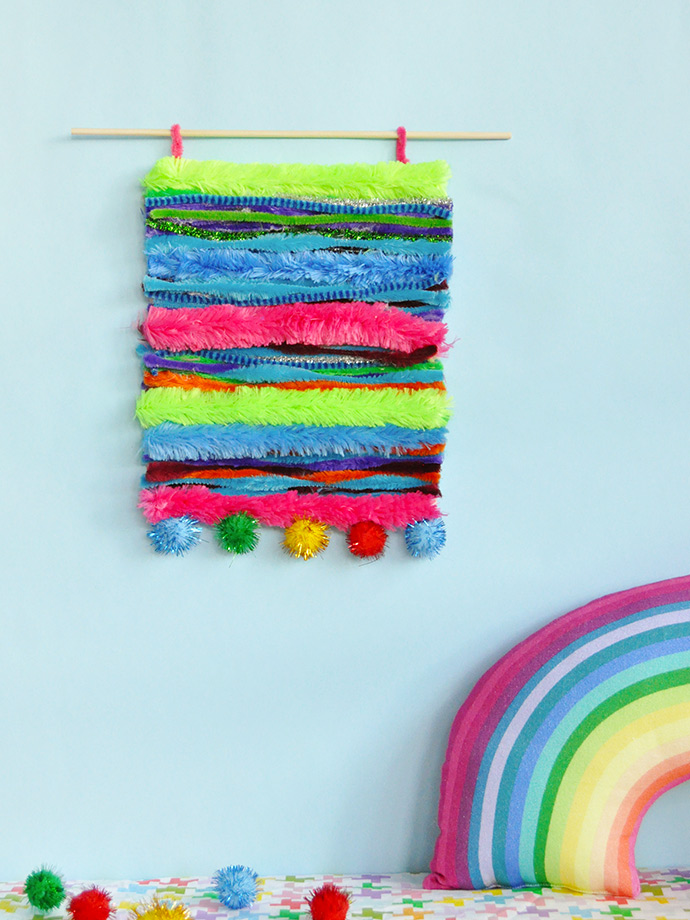
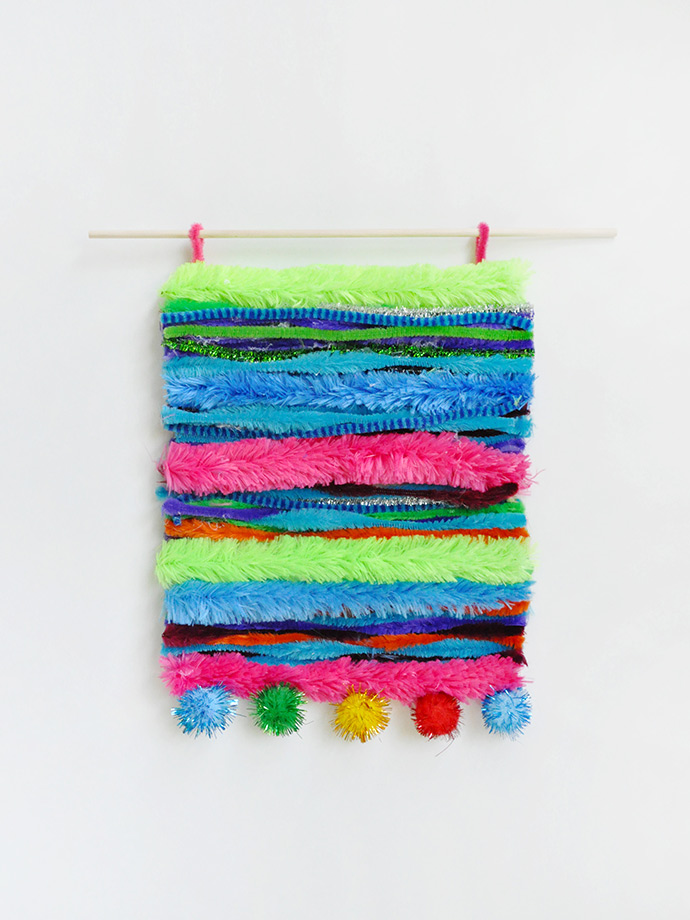
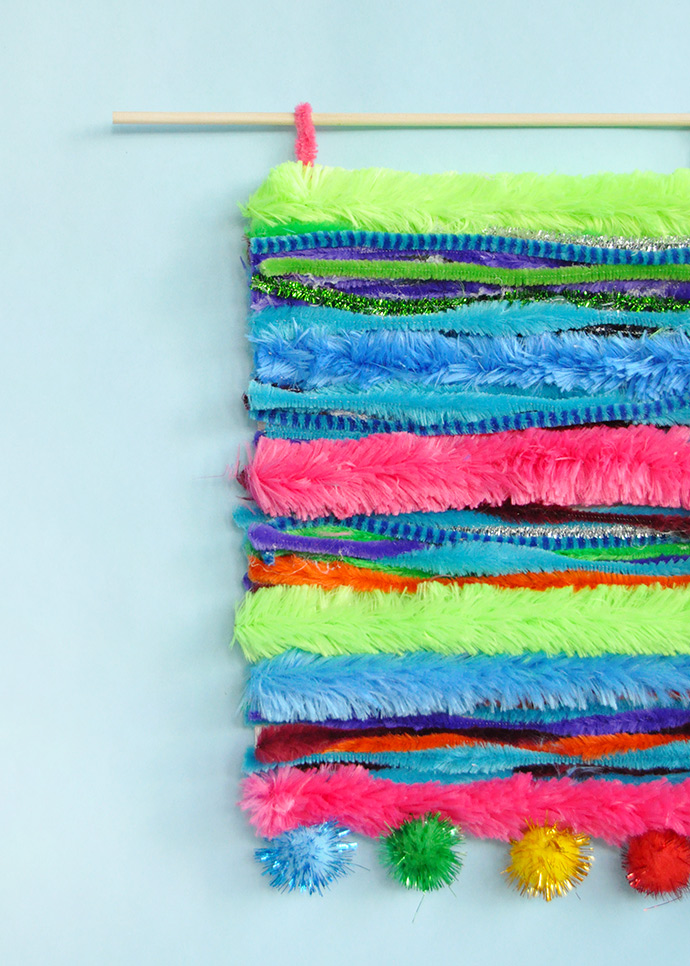
We are ALL about the woven wall hanging trend that’s been going around and are so excited to share our DIY take! For today’s project, we wanted to make something that kids of all ages can craft so we decided to go no-weave on this wall hanging. It’s no secret that we have a special place in our heart for pipe cleaners, and so of course they are the main event in this craft.
Kid Made Modern’s Arts & Crafts Library is our go-to place for the best pipe cleaners. And if you don’t already have at least one of these kits in your stash, now is the time to grab one – for Cyber Monday, Kid Made Modern is offering 20% off everything + free shipping! No code is needed, so make sure to stock up on some of our very favorite arts & crafts supplies today!
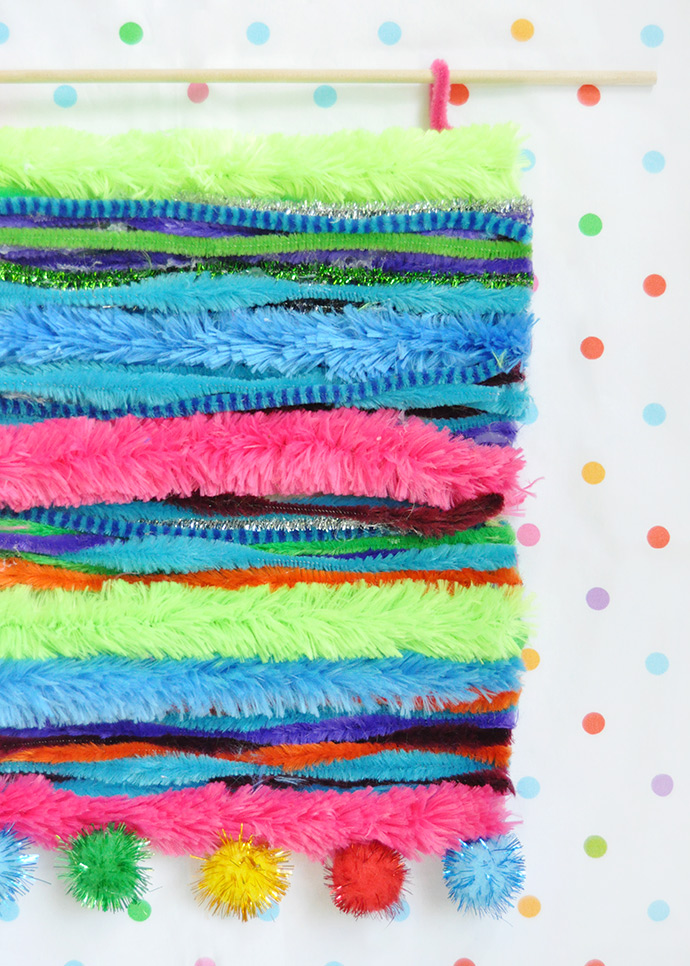
Little ones will love mixing and matching pipe cleaner colors, textures, and shapes to make a wall hanging all their own. Use the whole rainbow of pipe cleaners like we did, or go for a more monochromatic look using all warm or all cool colors. These wall hangings are so much fun to make, and they’re super speedy too, so you’ll have a whole collection of them in no time! Watch the how-t0 video below, and keep reading for the full written instructions. Happy Craftsgiving!!
what you need:
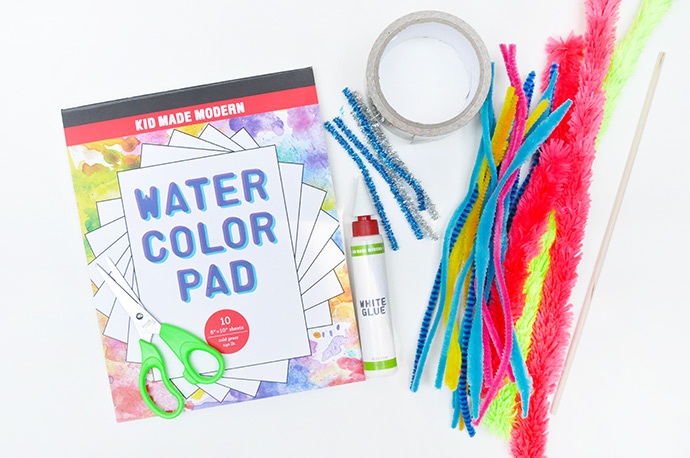
- Kid Made Modern Arts and Crafts Library (pipe cleaners, glue, scissors)
- Kid Made Modern Duct Tape
- Sturdy paper (we used the watercolor pad from Kid Made Modern’s Wondrous Watercolor Kit)
- Wooden dowel
how-to:
Step 1
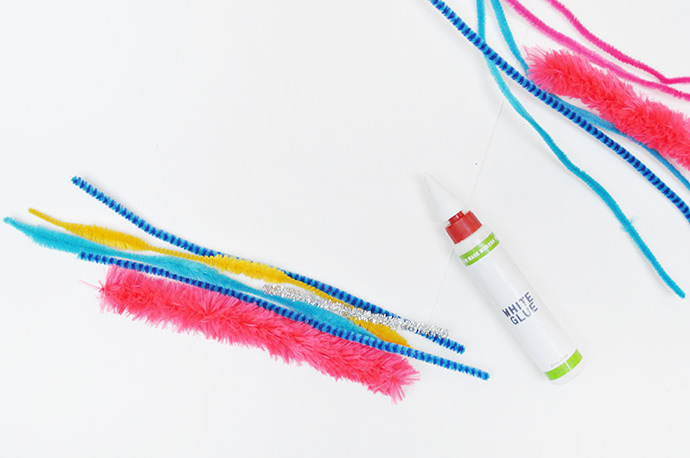
Begin by laying out your piece of paper. We recommend using watercolor paper for this as it’s stiff enough to keep its shape nicely and support all the pipe cleaners you’re about to glue on. As listed above, we used the watercolor paper pad that comes with Kid Made Modern’s Wondrous Watercolor Kit, but if you want an even bigger wall hanging, try the Artist Pad instead.
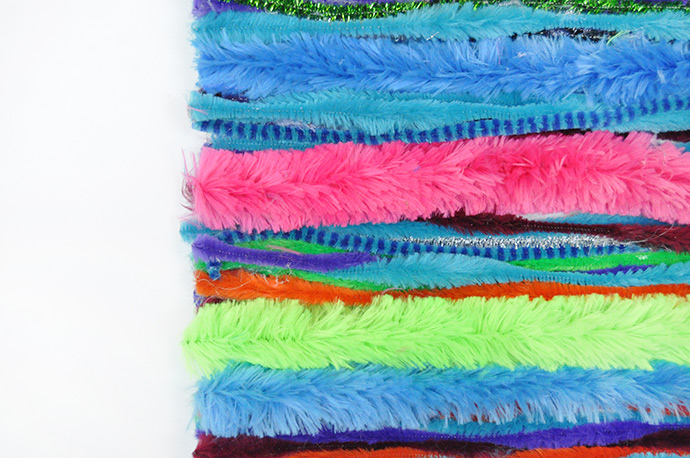
Once you’ve got your paper ready, the fun begins! Simply begin by laying out your pipe cleaners on the paper and glue them down with white glue as you go, pressing to adhere. If you want, you can lay them all out before gluing so that you have an idea of the final look, or have fun designing the wall hanging as you go. We had lots of fun mixing the super fluffy pipe cleaners with the standard ones, bumpy ones, metallic ones, and stripey ones!
Step 2
Continue gluing the pipe cleaners down until the whole paper is covered. You can always go back in and fill any blank spots with more pipe cleaners afterward too. Let the glue dry completely. If any of your pipe cleaners are extending past the edge of the paper, simply use scissors to trim the excess, or wrap them to the back of the paper.
Step 3
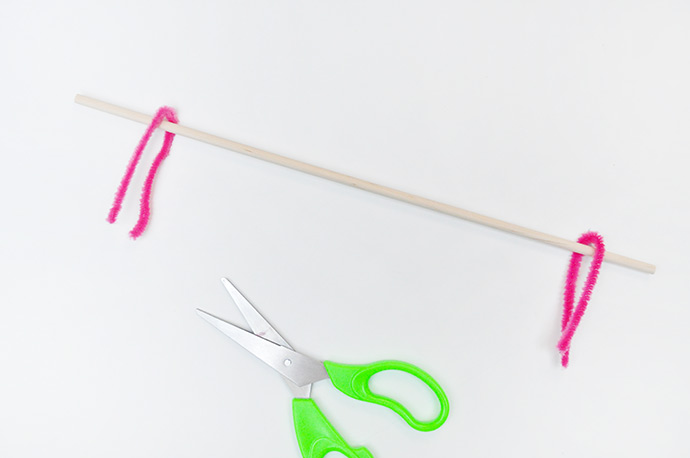
To make the hanging park, form two loops using pipe cleaners that will hook right over the wooden dowel. (If you don’t have a thin wooden dowel like this on hand, a wooden skewer from the kitchen can work too!)
Step 4
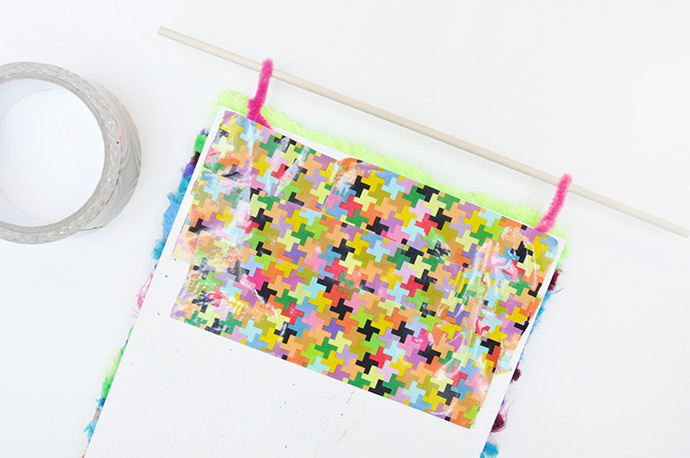
Use duct tape to secure the two pipe cleaner loops onto the back of the wall hanging as shown.
Step 5
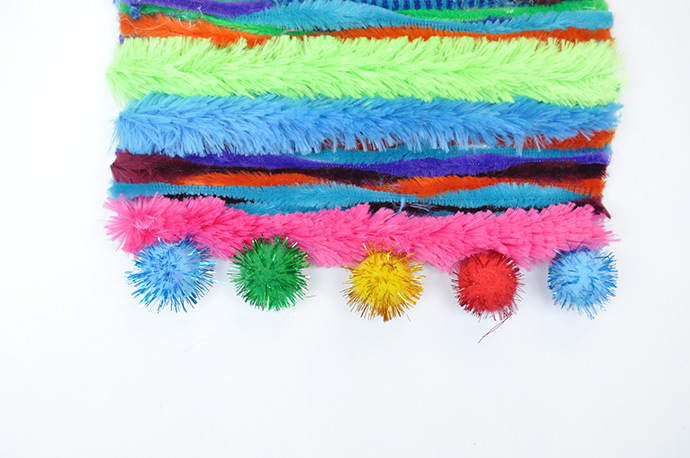
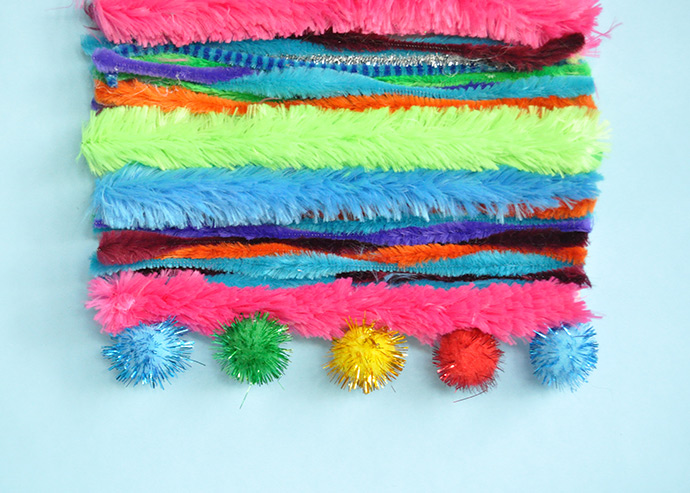
If you want to add a few more details, now’s the time! We added a row of pom poms on ours.
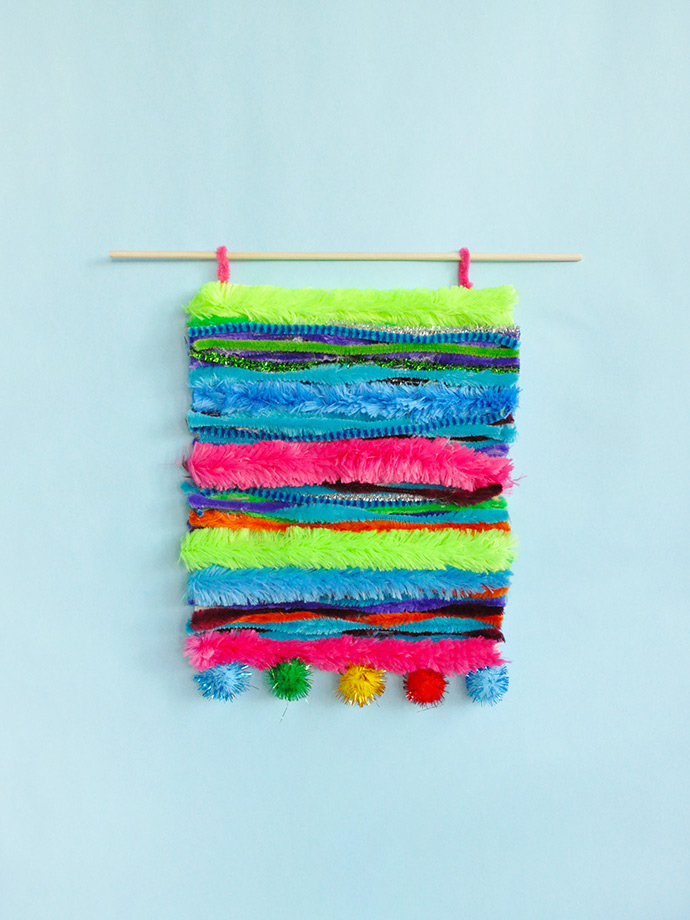
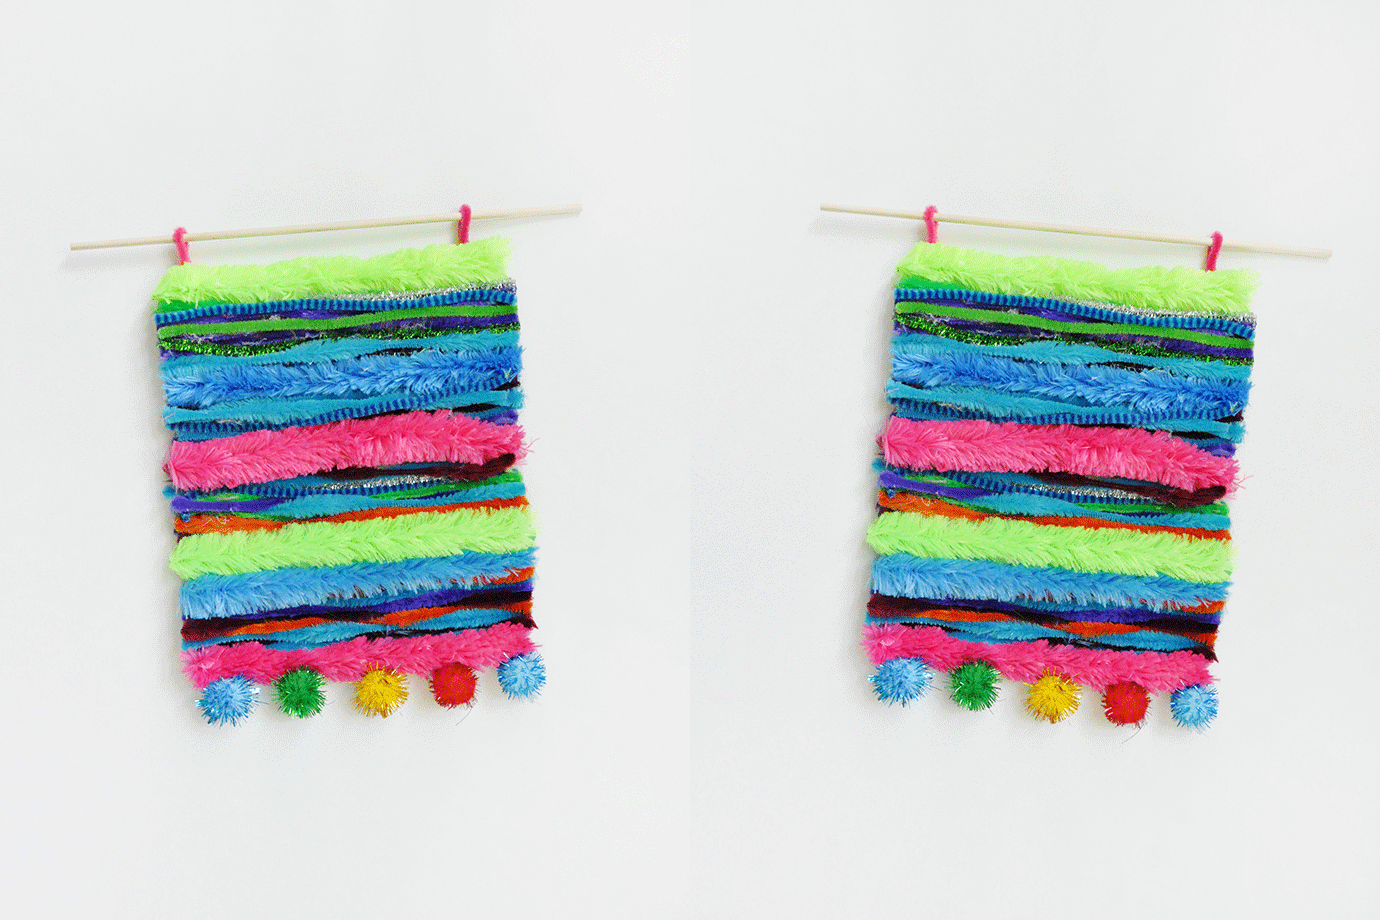
Also pictured in this post is Kid Made Modern’s Rainbow Throw Pillow, now 20% of for Cyber Monday!
Happy crafting!!
from Handmade Charlotte https://www.handmadecharlotte.com/no-weave-wall-hanging/?utm_medium=feed&utm_source=feedpress.me&utm_campaign=Feed%3A+hcrss
No comments:
Post a Comment