This post is sponsored by Kid Made Modern.
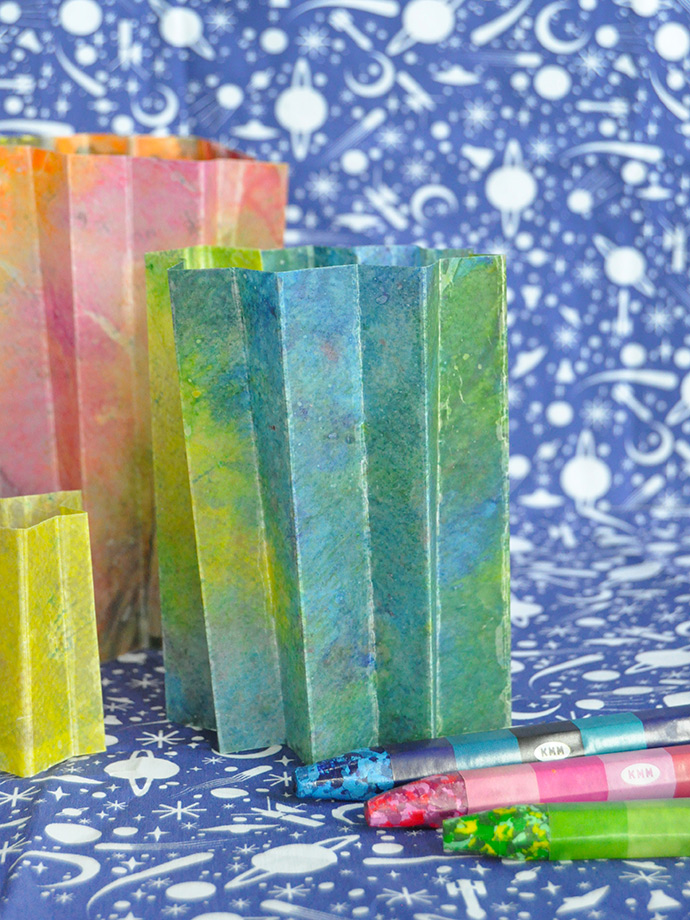
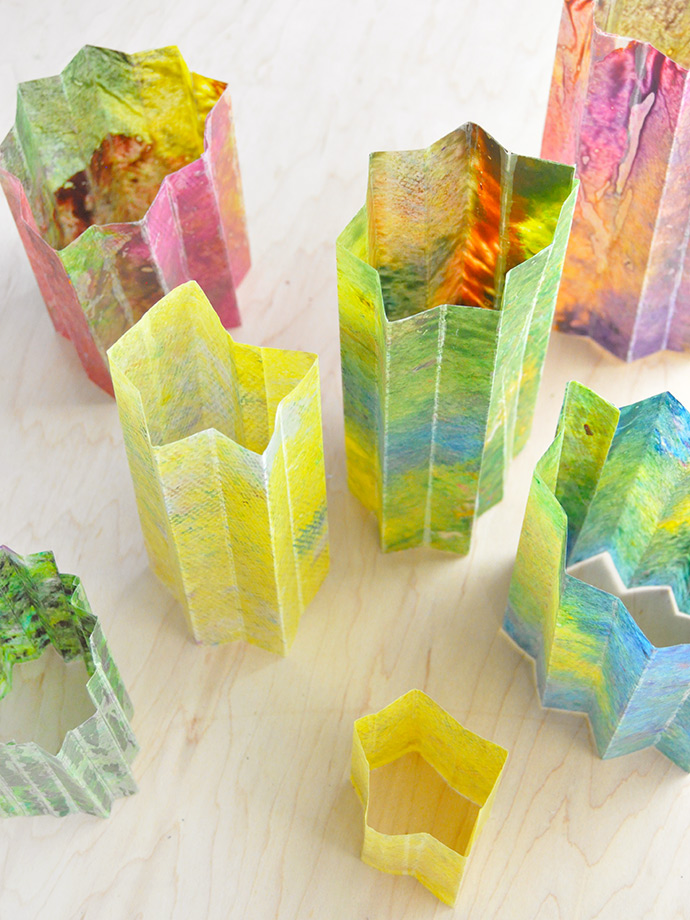
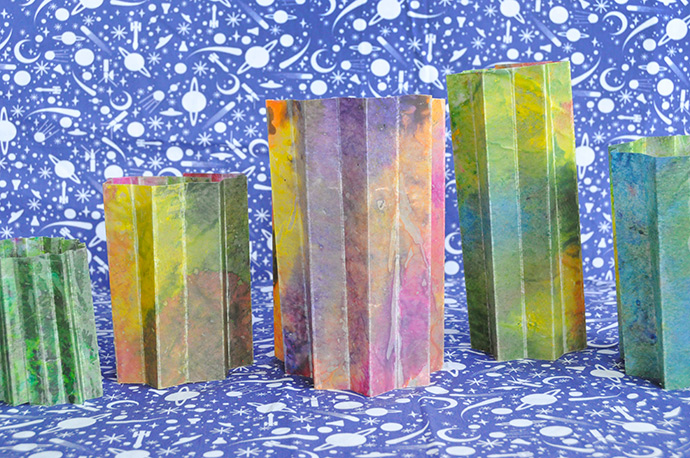
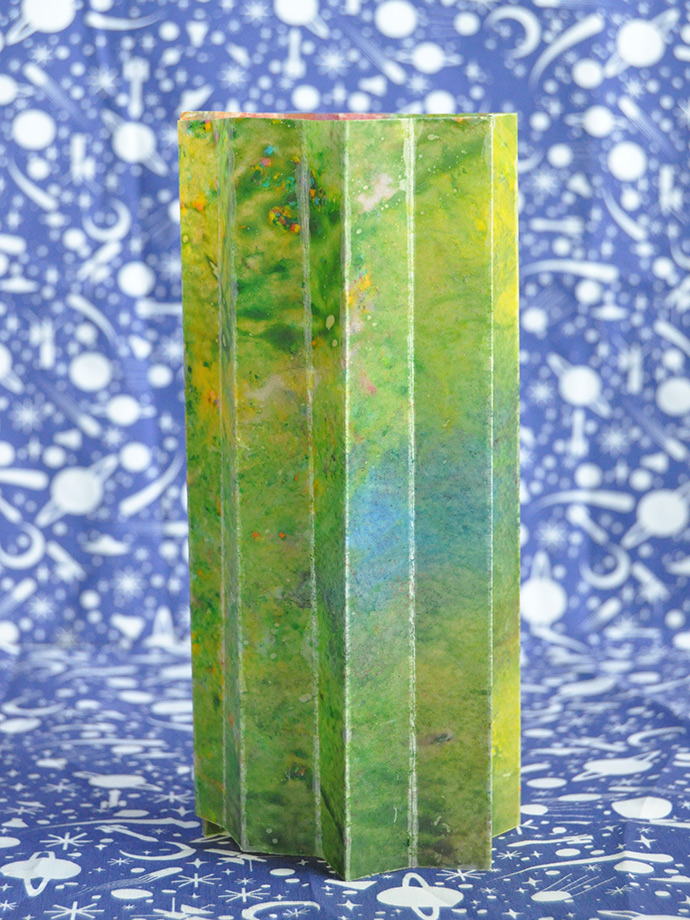
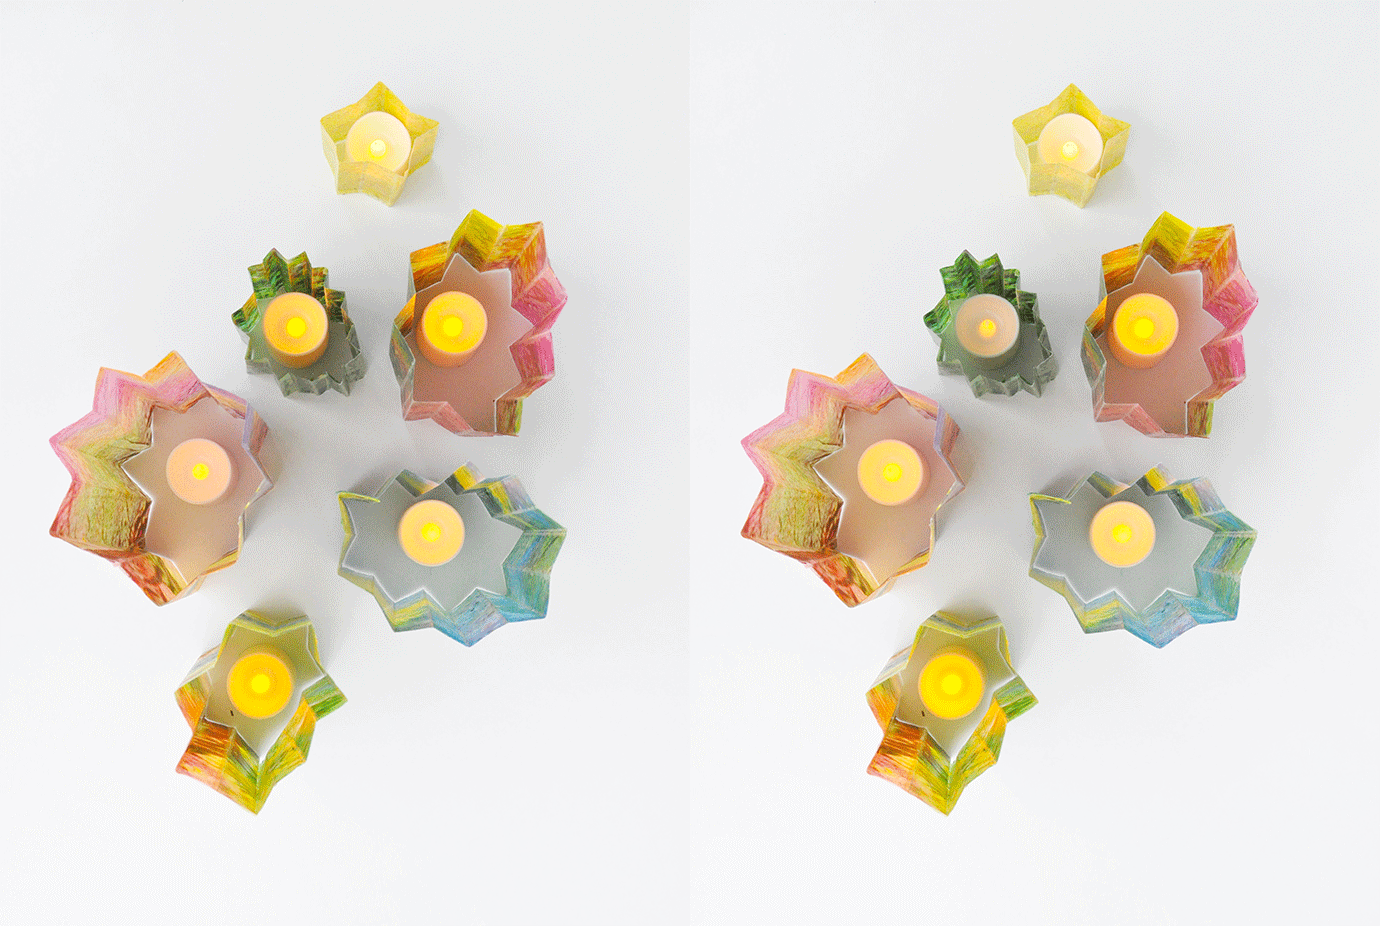
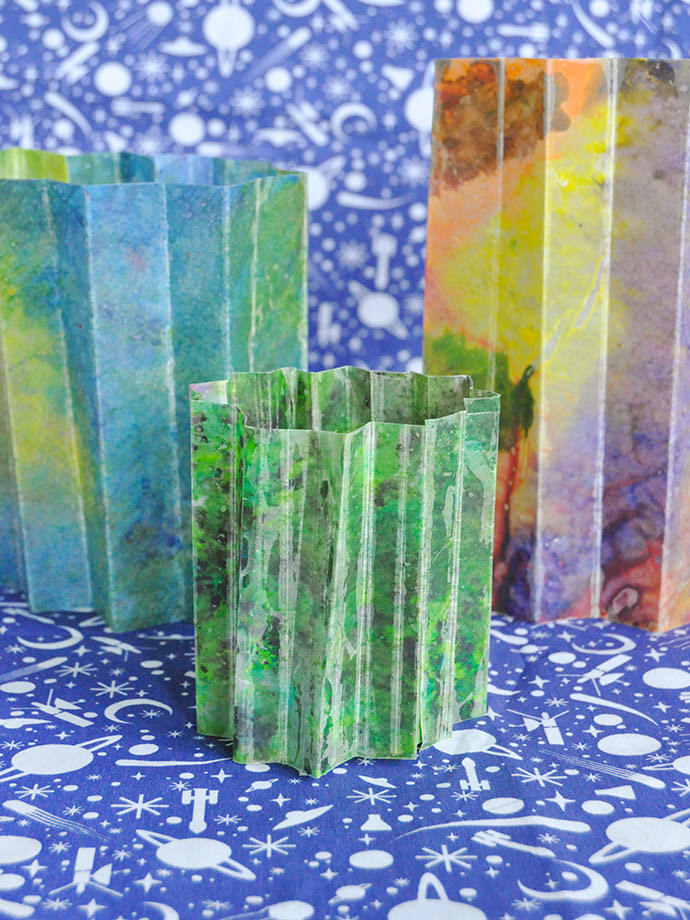
Now that it’s December, we’re all about decorating and making home feel as festive as possible. We seriously had the best time making these lanterns and can’t wait to share the technique with you. You might be familiar with it from making stain-glass style shapes to hang in your window, but with just a few folds and some lights, these crayon lanterns are a really magical way to decorate any room.
The best part is that not only do these lanterns look great, but they’re crazy fun to make too. Melting the crayons and playing around with different color combinations was super addicting! Plus, we think they’re great for the holiday season, but we might just keep them around the house even after! Watch the how-to video above and keep reading for the full instructions.
what you need:
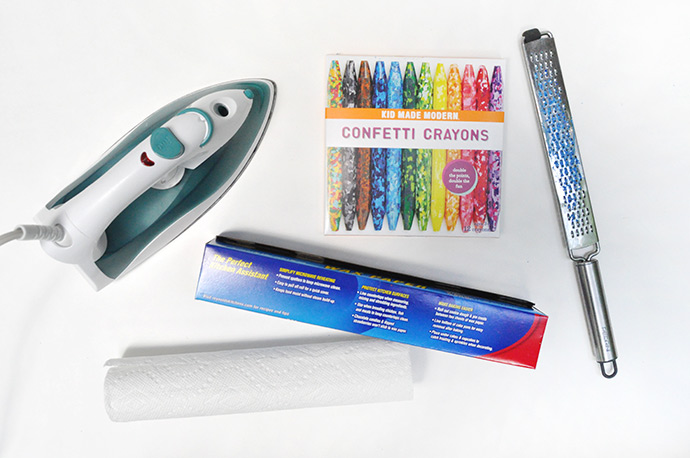
- Kid Made Modern Confetti Crayons
- Iron
- Paper towel (or cloth rags)
- Cheese grater
- Wax paper
- Tape
how-to:
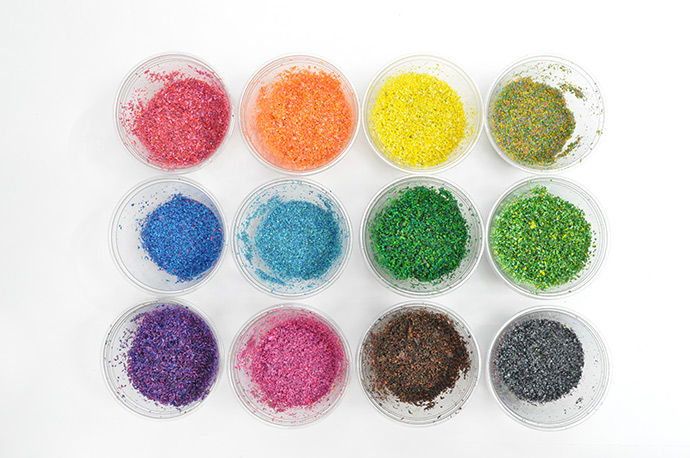
Step 1
Begin by grating your crayons – we loved using the confetti crayons because of all the little flecks of other colors in each one, but you can absolutely use any of Kid Made Modern’s amazing crayon selection. We grated the whole pack and kept each one in its own plastic cup.

Step 2
Lay out a rectangle of wax paper, waxy side facing up. Make sure your work surface is covered with paper, or a tablecloth you don’t mind getting dirty. Sprinkle your crayon shavings onto the wax paper – get creative with this step, you can mix and match colors, make simple shapes, etc. Once you’re happy with it, lay another piece of wax paper on top, this time with the waxy side facing down.
Step 3
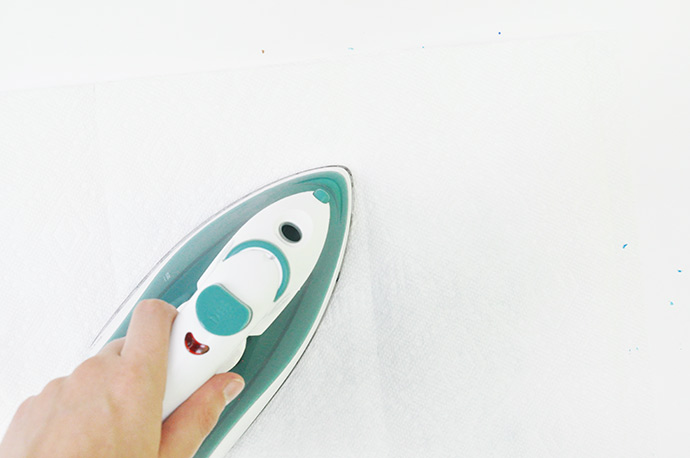
Cover this with a layer of paper towel, or a cloth. With the iron the low setting, start ironing over your piece. Take a peek at the wax and crayons as you go to see how they’re melting – you can adjust the heat on your iron as needed.
Step 4
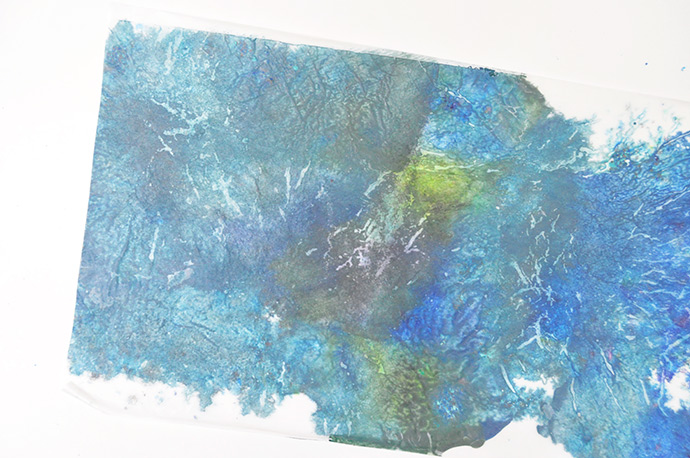
Once the crayons have all melted, the two sheet of wax paper will be stuck together. Making these sheets is definitely the fun part, so experiment with different color combinations and amounts of wax until you’re happy with a few rectangles. Let them cool completely and trim any edges off that aren’t completely colored.
Step 5
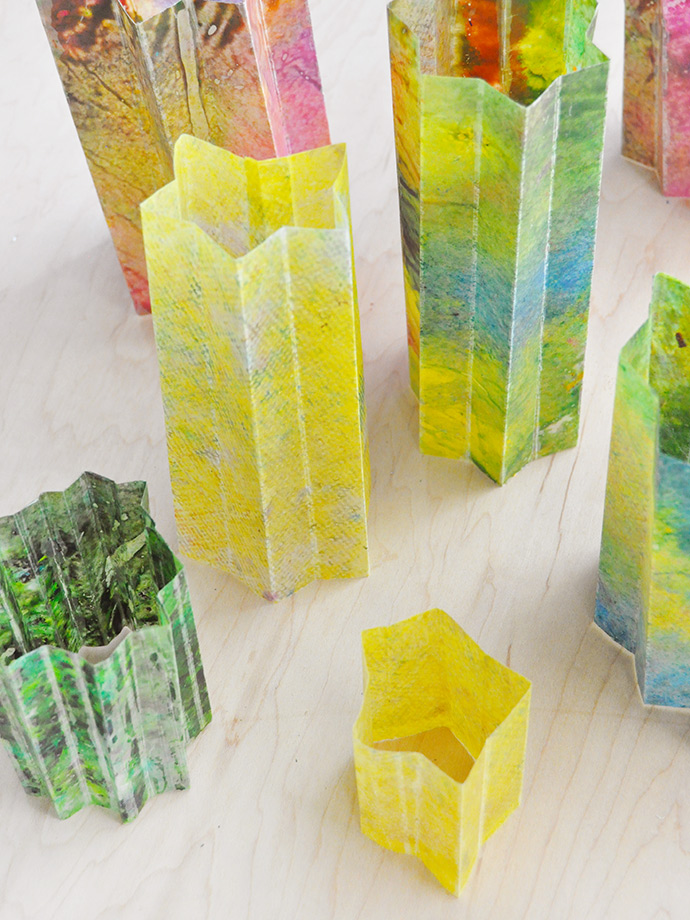
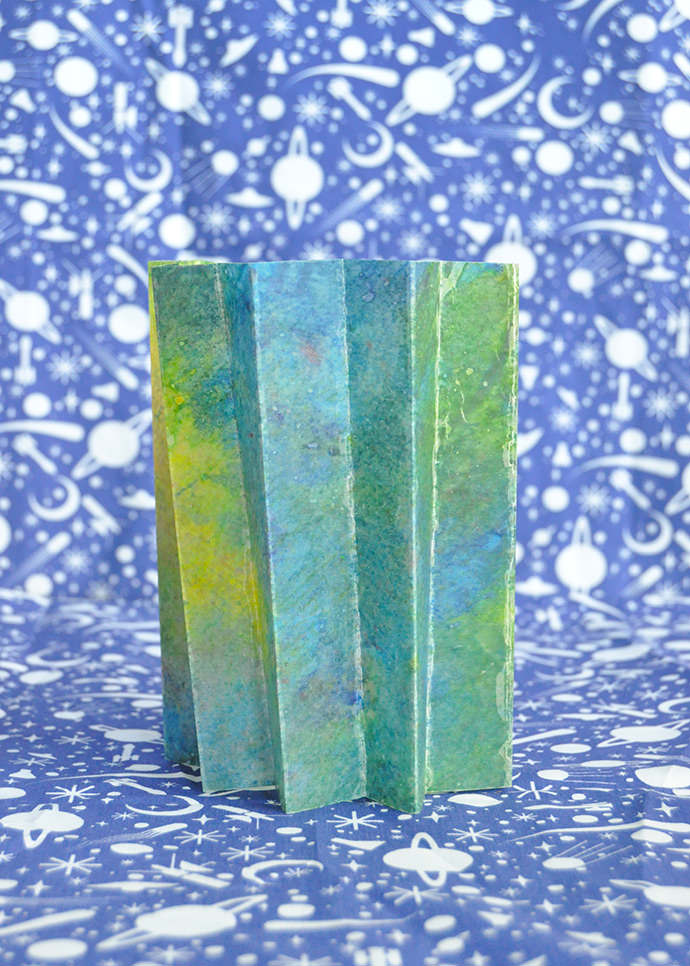
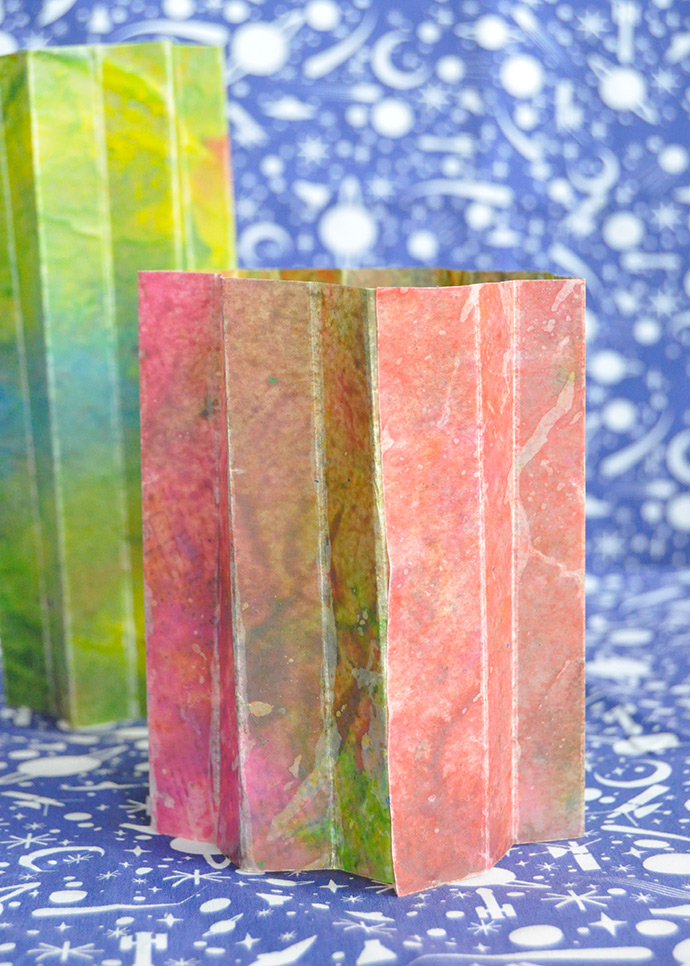
Use a bone folder and scoring board to fold your rectangle into an accordion. When using the scoring board, make sure not to press too hard or you might cut through the wax paper. You can also try folding by hand, but it can be a bit trickier to keep the fold as even this way. Once the whole paper is folded, trim to the height you want for the lantern (we varied ours) and then use tape to secure the two ends together, forming a circle.
Place a battery-operated candle inside and display!
Happy crafting!!
from Handmade Charlotte https://www.handmadecharlotte.com/diy-melted-crayon-lanterns/?utm_medium=feed&utm_source=feedpress.me&utm_campaign=Feed%3A+hcrss
No comments:
Post a Comment