This post is sponsored by Plaid Enterprises.
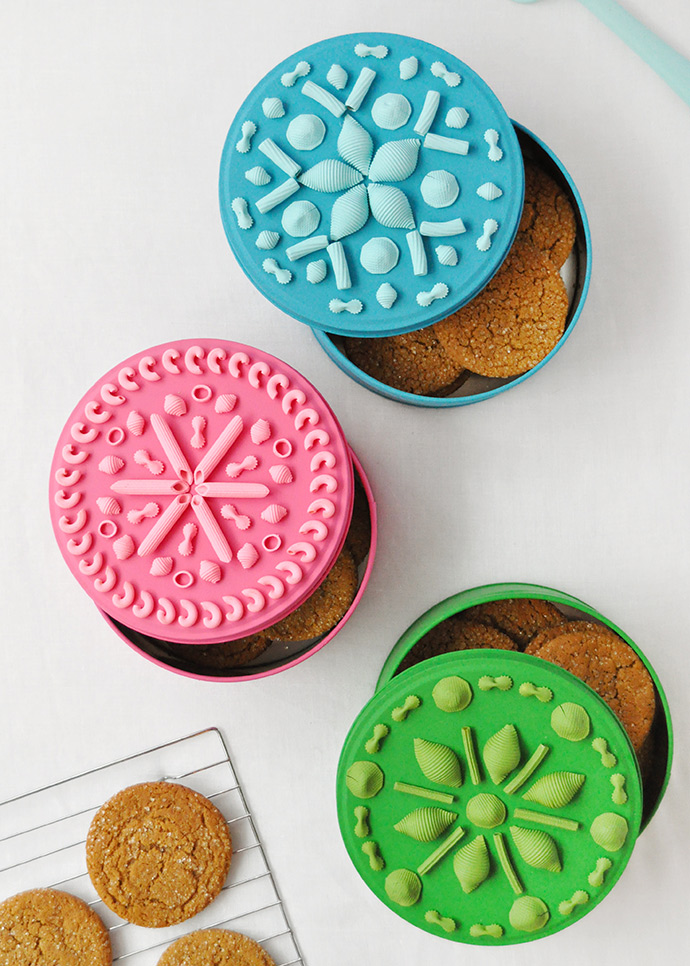
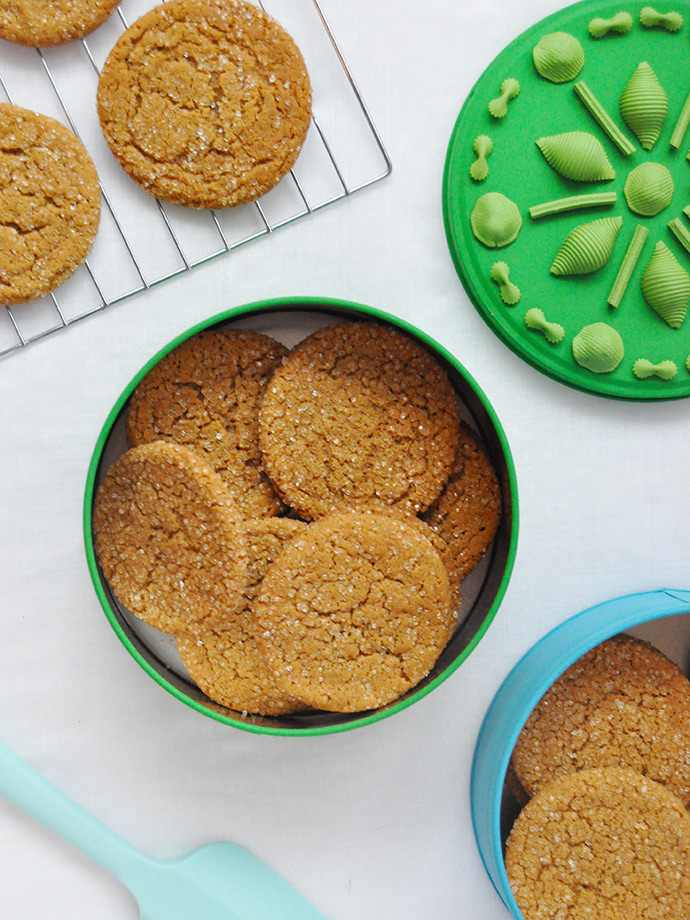
Have you started your holiday baking yet? We just started making big batches of ginger cookies, and putting some of the dough in the freezer to make even more later. But for the cookies that we are baking, we’ve been storing them in these DIY cookie tins! Looking through images of vintage cookie tins we felt SO inspired. Some of the designs even reminded us of mandalas, so of course, we turned to two of our favorite crafting supplies: pasta and paint!
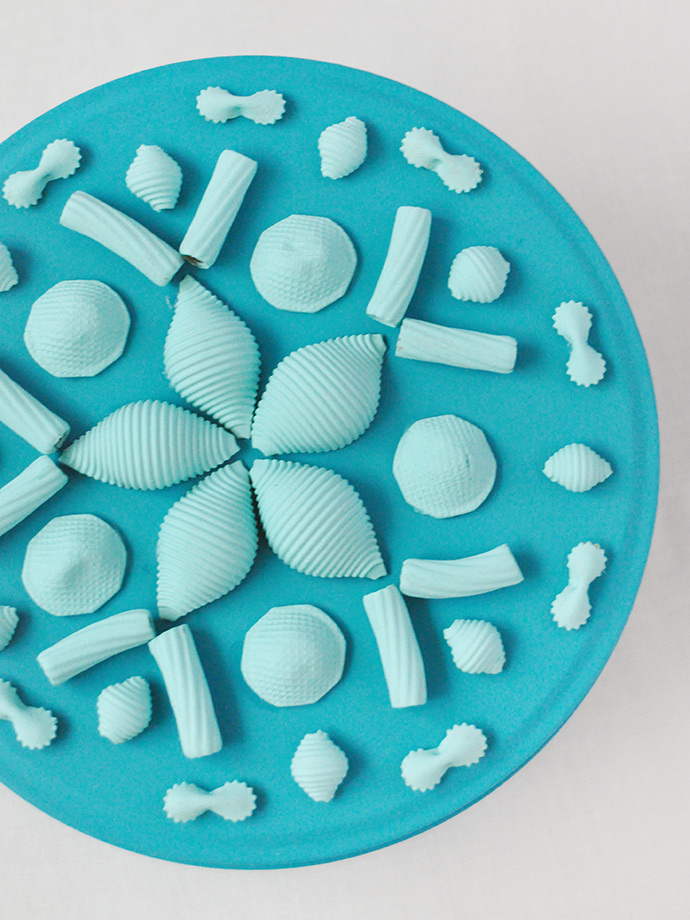
Arranging the painted pasta onto the tins is so much fun! We chose six shades from Delta Ceramcoat® Acrylic Paint and paired like colors together for a monochromatic look. These would be adorable in any shade though, don’t you think? All 22 shades and 6 Flash Metallic colors are available in the craft aisle at Target!
You could even embrace the snowflake-like look of these and paint them all white! Whatever you choose, we’re sure they’ll look great, and that the cookies inside will be gobbled up in no time. For all our tips and tricks, keep reading!
what you need:
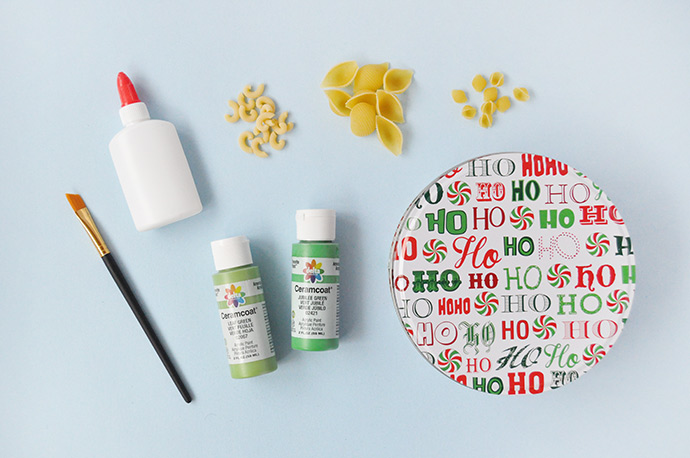
- Delta Ceramcoat Acrylic Paint
- Paintbrushes
- Assorted pasta noodles
- Glue
- Empty cookie tin
how-to:
Step 1
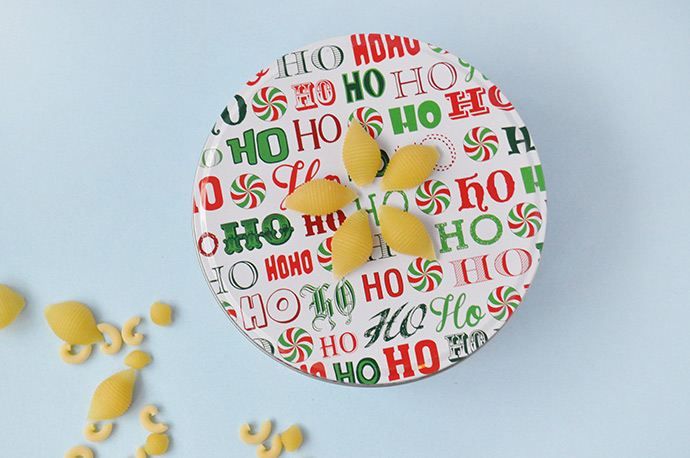
Begin by arranging your pasta shells onto your cookie tin. Play around with the design until you’re happy with it – we kept ours symmetrical and repetitive like a mandala but you can make any design you like, especially if you’re making this with little ones. Once you’ve decided on your pattern, snap a picture on your phone for reference later and scoop the pasta to the side so you know how many you need to paint.
Step 2
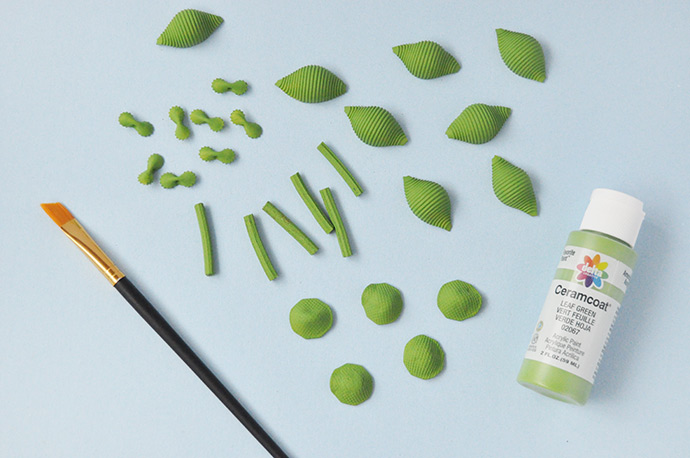
Time to paint! Arrange all your pasta noodles onto a scrap piece of paper, or a covered work surface and get painting. We used a lighter shade for the pasta and a darker shade for the tin. Let the pasta dry completely.
Step 3
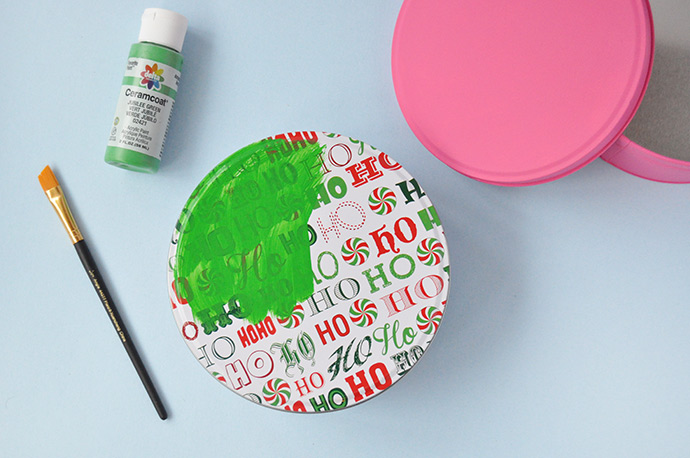
While the painted pasta is drying, paint your cookie tin! If your cookie tin is already a solid color that you like, you can leave it as is if you like. Since ours had a pattern on it though, we gave it a couple quick coats of paint so that we had a nice green tin.
Step 4
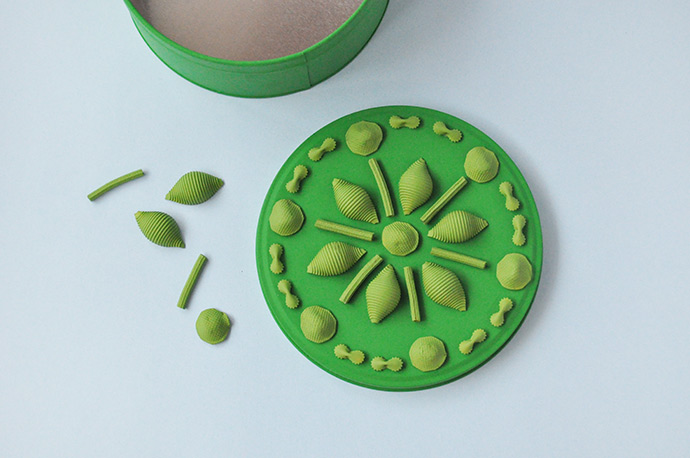
And finally, using your photo as a reference, arrange the painted pasta back on the tin. Once it’s all laid out again, use hot glue or strong white glue to attach each of the noodles in place. Let dry completely. If desired, apply a coat of Mod Podge to seal everything in nicely.
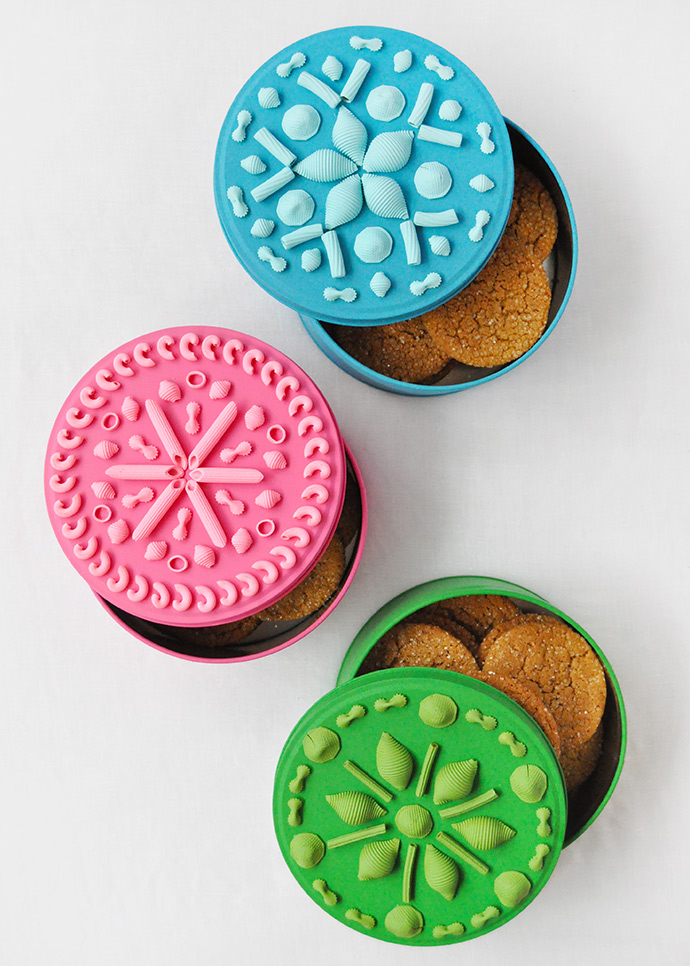
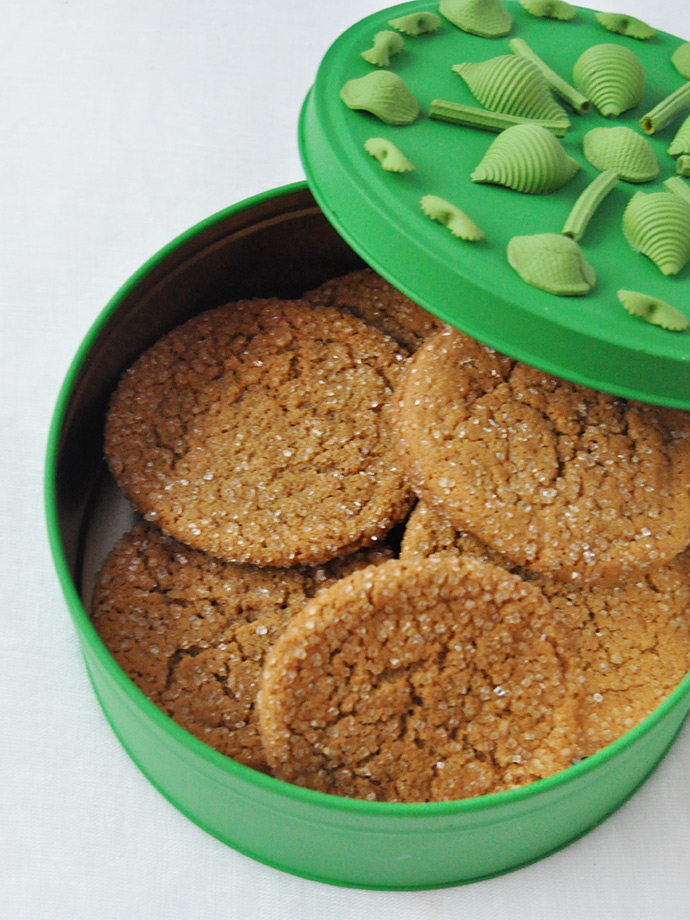
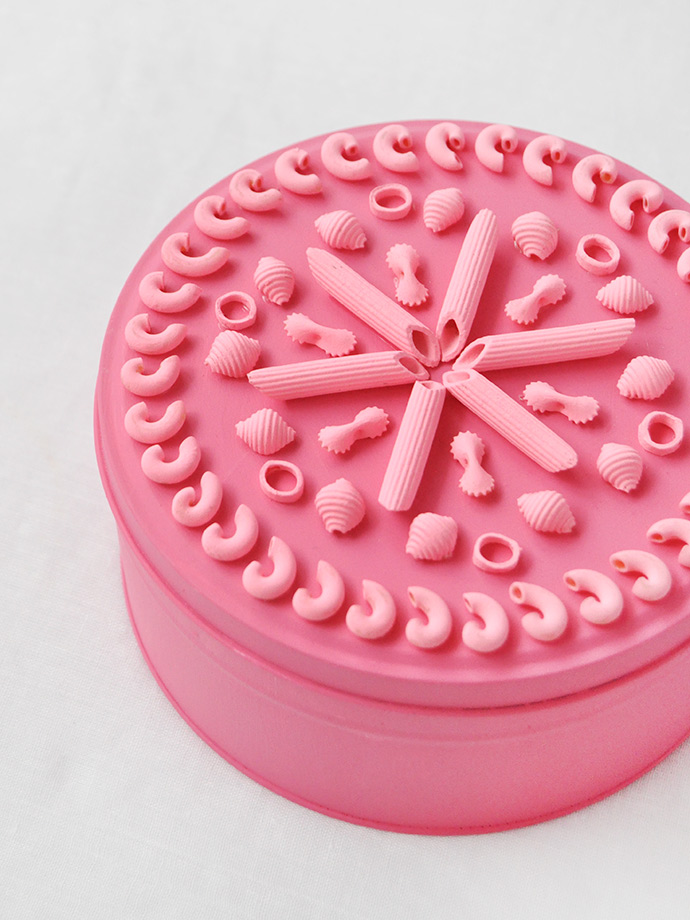
Now all you have to do is bake some cookies and package them all up! We suggest wrapping your cookies with cellophane or in a bag inside the tin to keep them as fresh as possible.
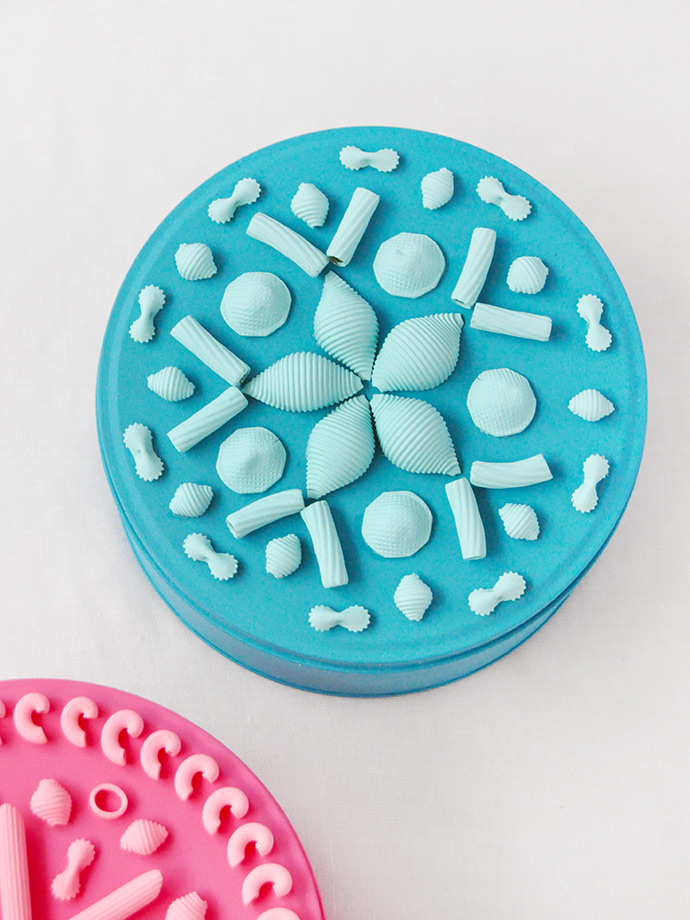
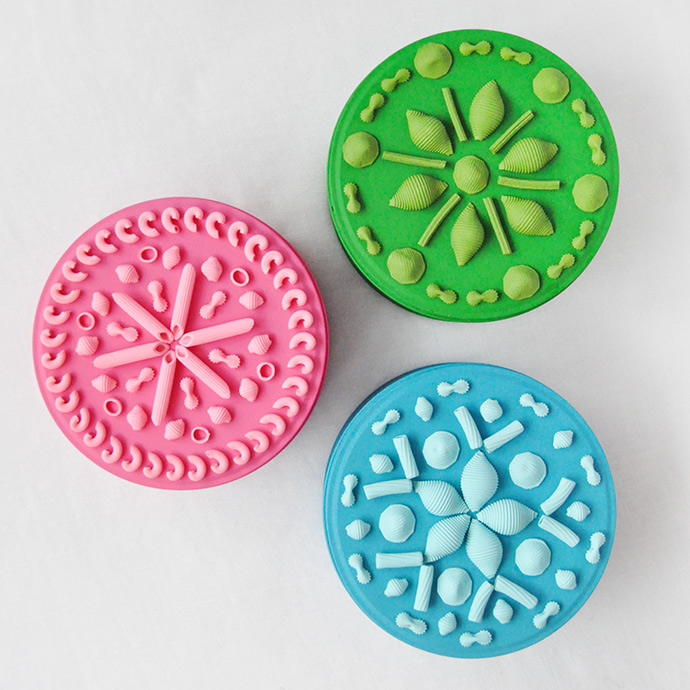
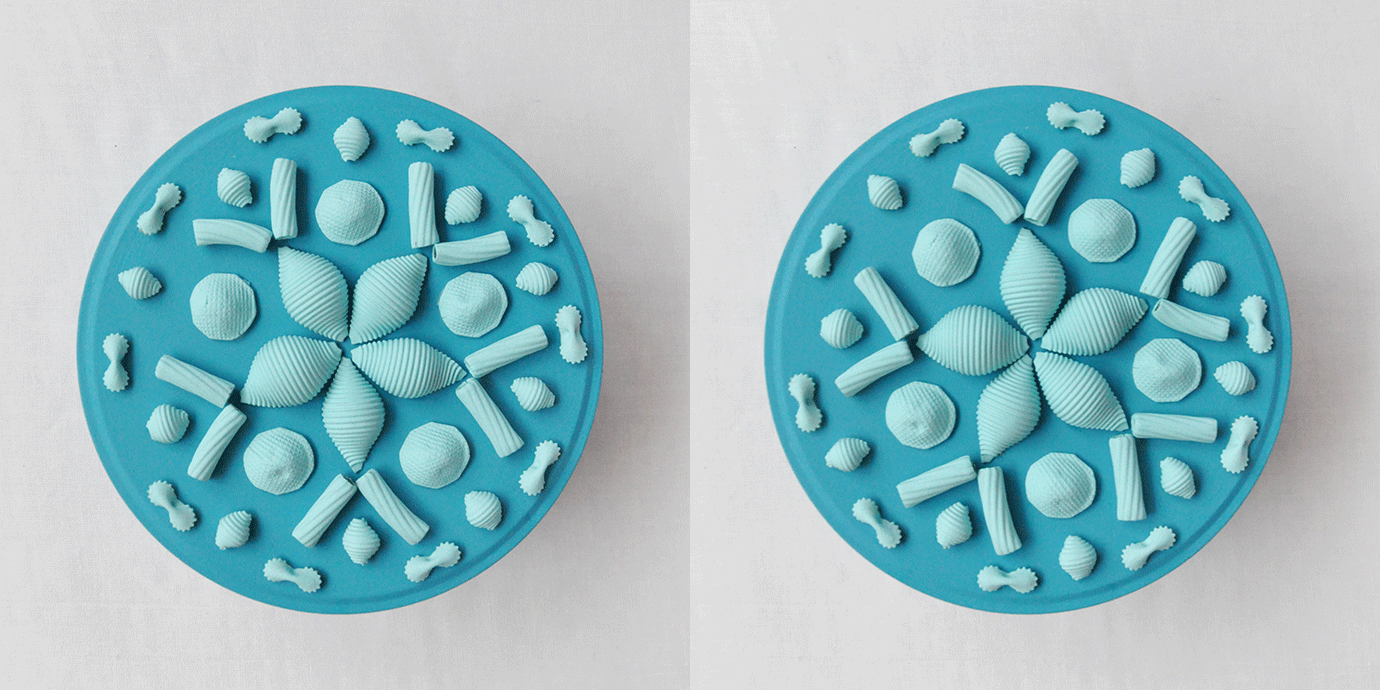
Find all 22 shades of Delta Ceramcoat® Acrylic Paint at your local Target along with the six new Flash Metallic shades in the craft aisle or at Target.com [insert link to https://www.target.com/bp/delta].
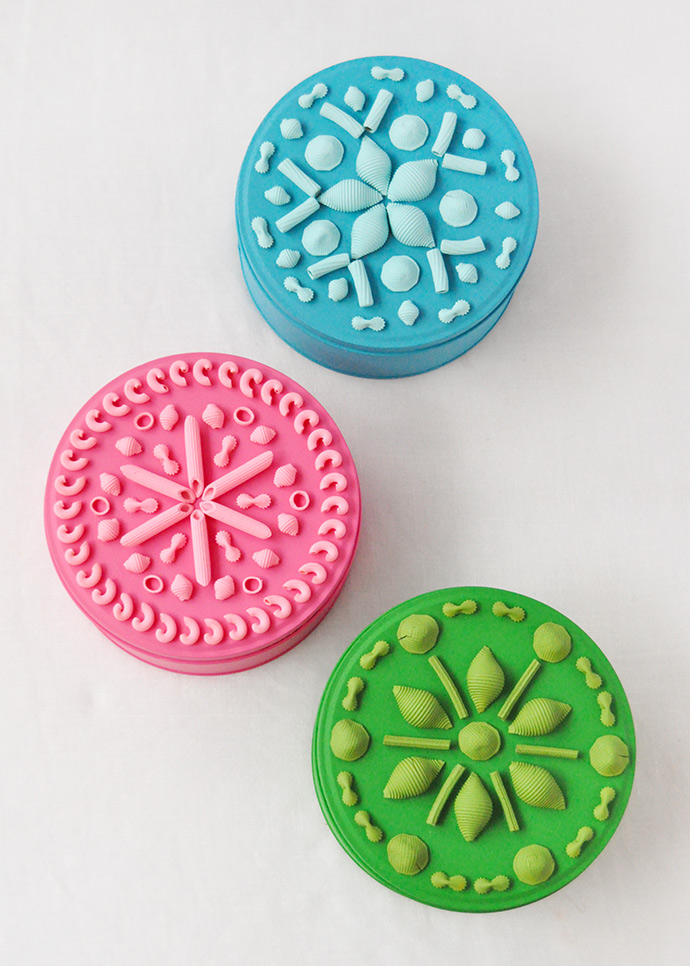
Stay up to date with all of Plaid’s new products and DIYs – follow them on Instagram, Pinterest, Facebook, and YouTube.
Happy holiday crafting!
from Handmade Charlotte https://www.handmadecharlotte.com/diy-pasta-cookie-tins/?utm_medium=feed&utm_source=feedpress.me&utm_campaign=Feed%3A+hcrss
No comments:
Post a Comment