This post is sponsored by Plaid Enterprises.
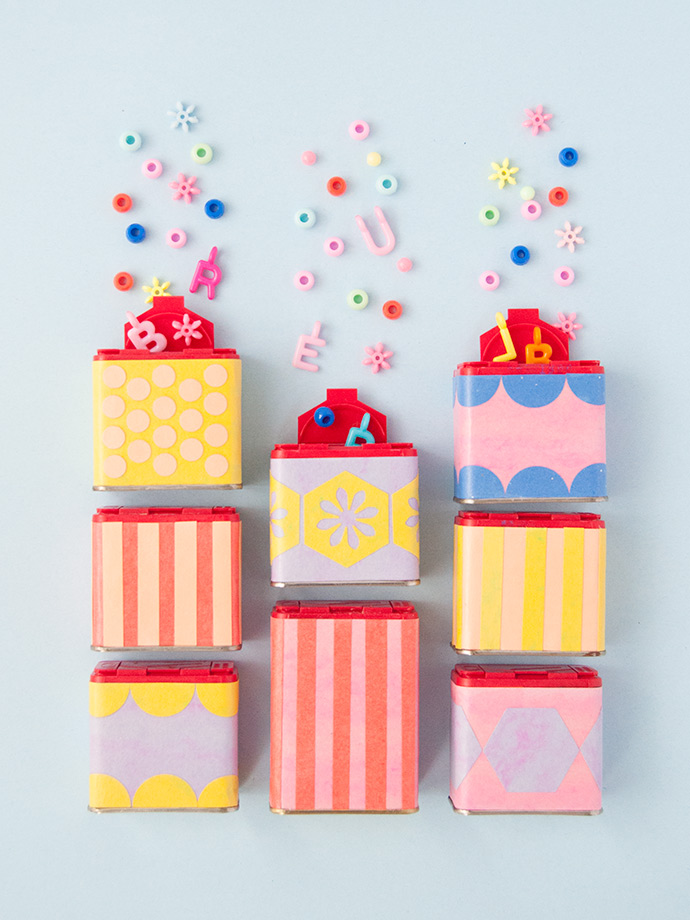
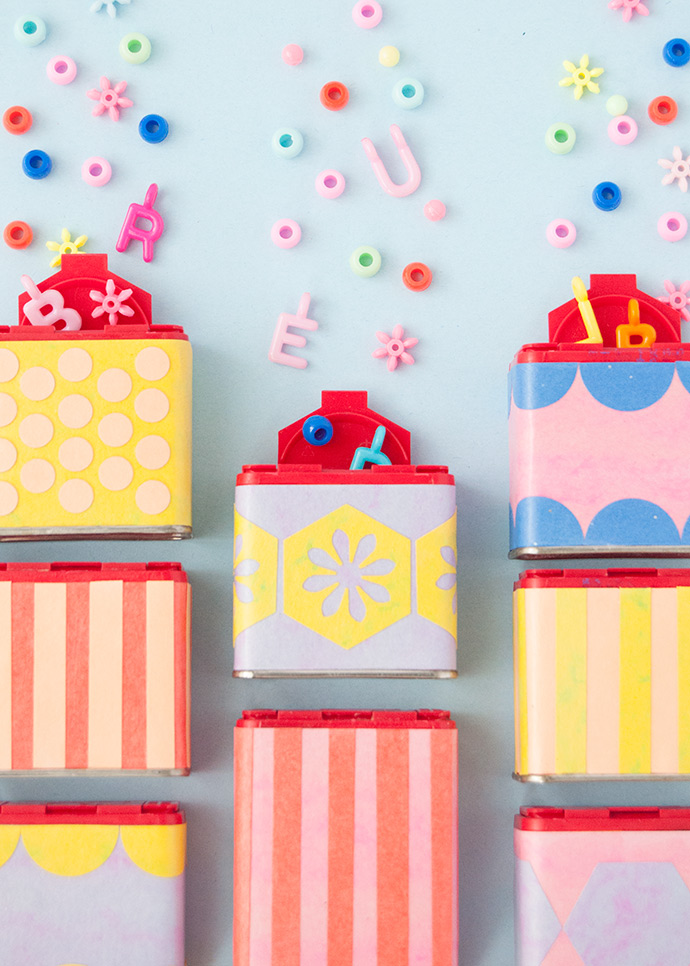
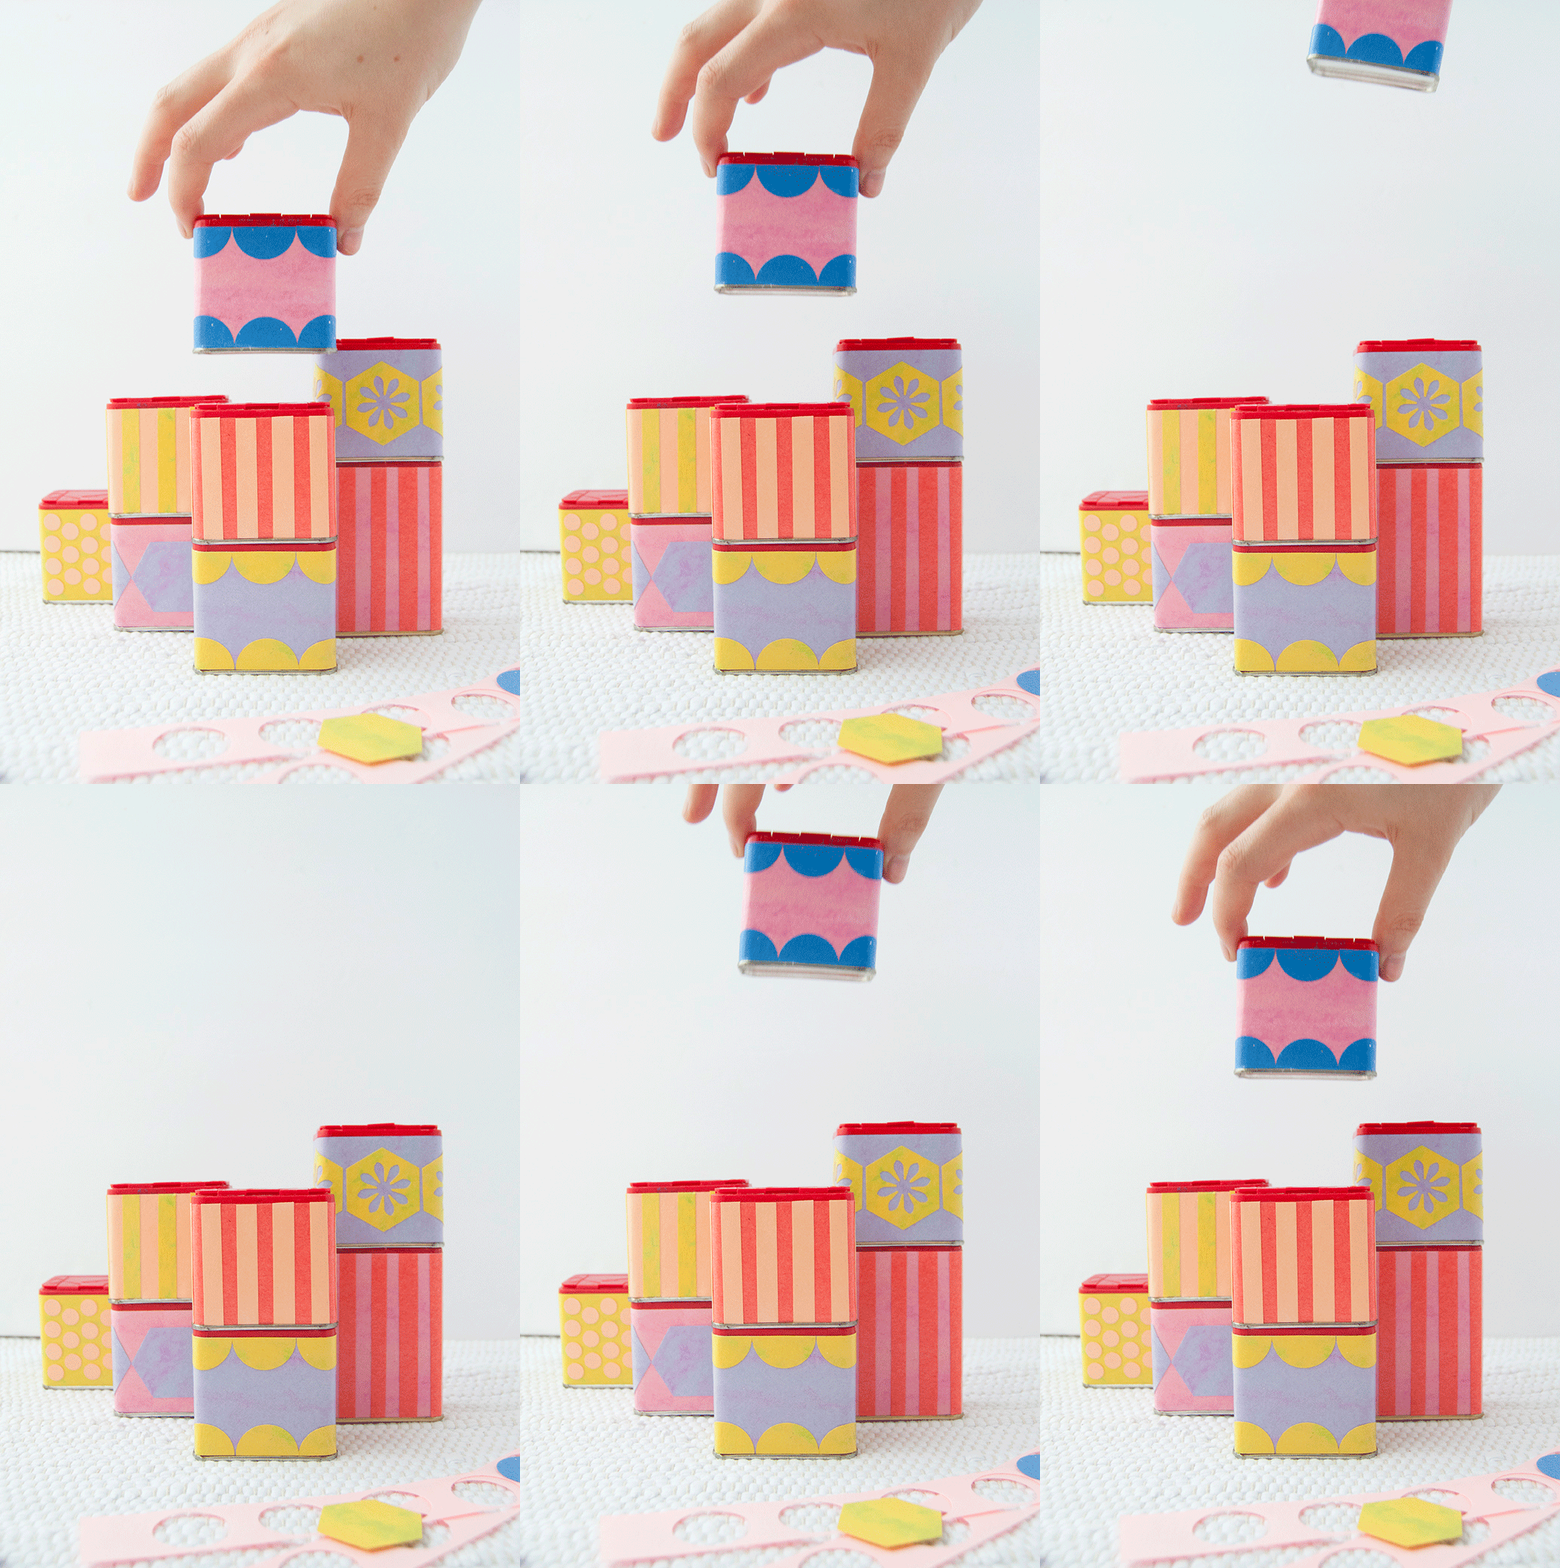
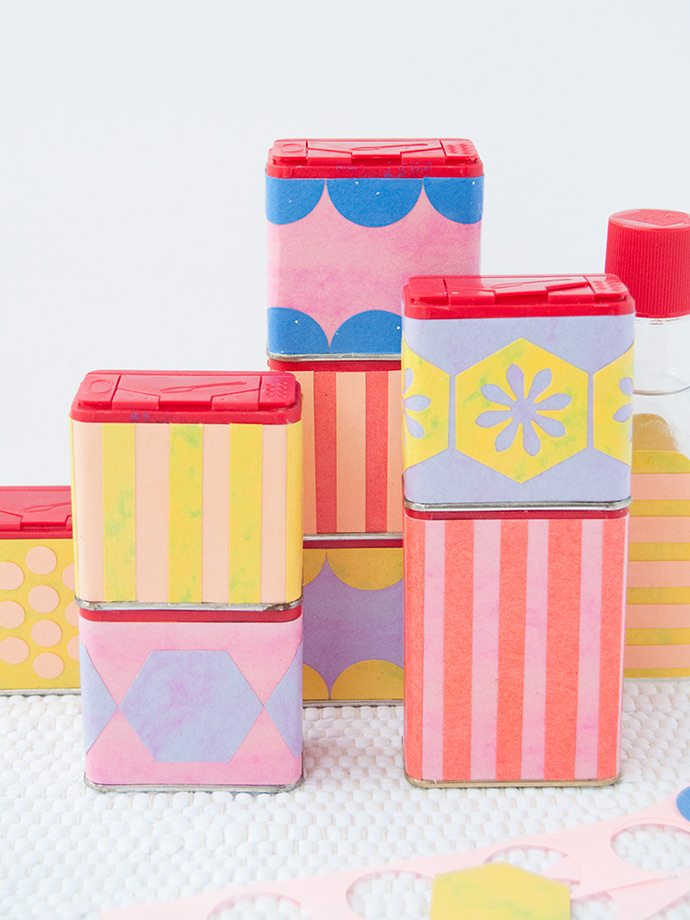
If you’re like us, you probably have a growing stash of cool-shaped recyclables that you can’t quite get yourself to actually recycle. Recently we did a big pantry tidy-up and decided to switch over our spices into refillable glass jars, which left us with a whole bunch of these neat stacking spice containers. The way they’re designed to sit together makes them perfect not only as blocks but as secret storage containers! Enter colored paper and Mod Podge, and they now have a whole new look!
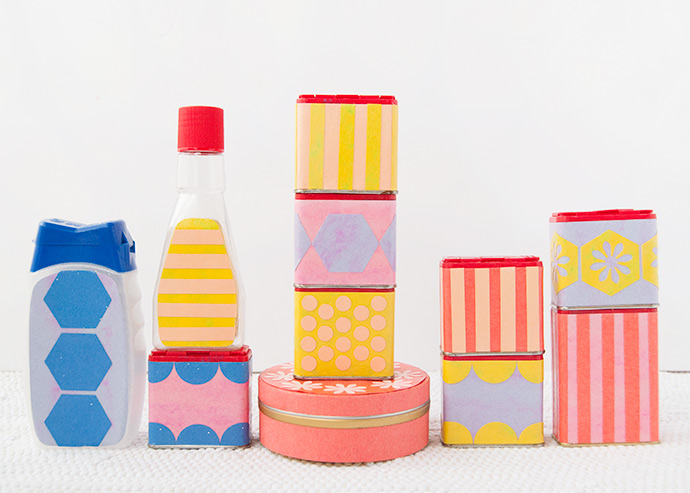
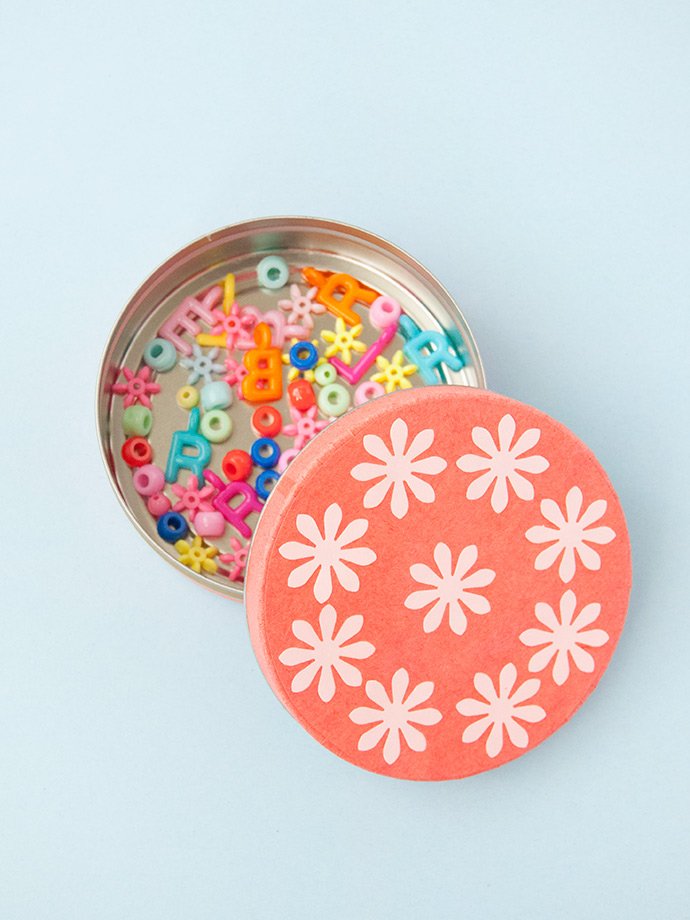
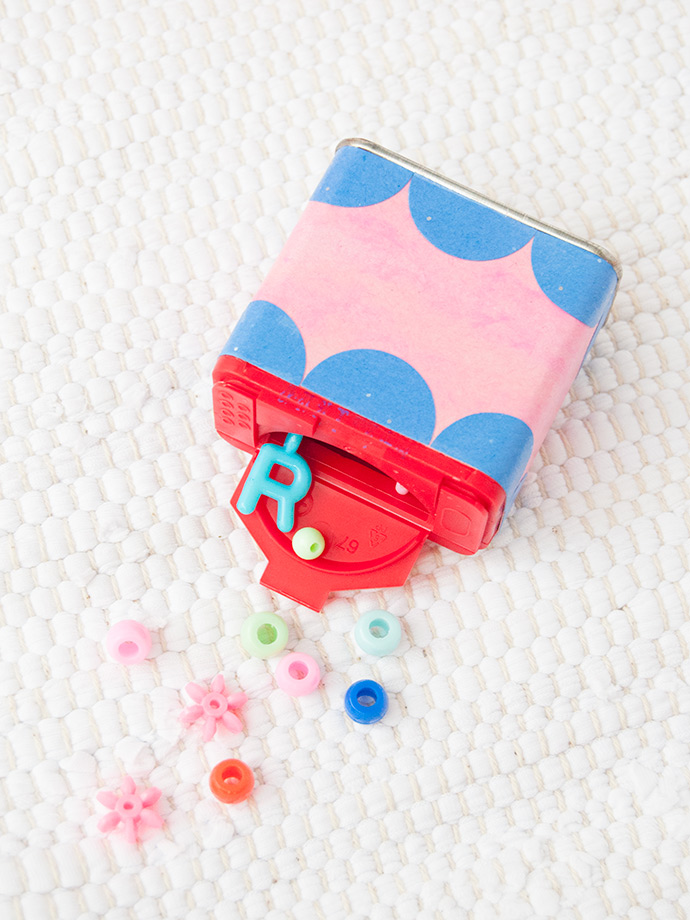
Depending on what’s in your recycling bin, you can totally apply fun paper shapes and Mod Podge onto literally anything! We decided to focus on these spice tins and added in a few others to mix it up a bit. They all have lids, so kids can keep all their mini treasures inside: beads, little toys, pebble collections, you name it! Keep reading to see the entire step-by-step process we used below.
what you need:
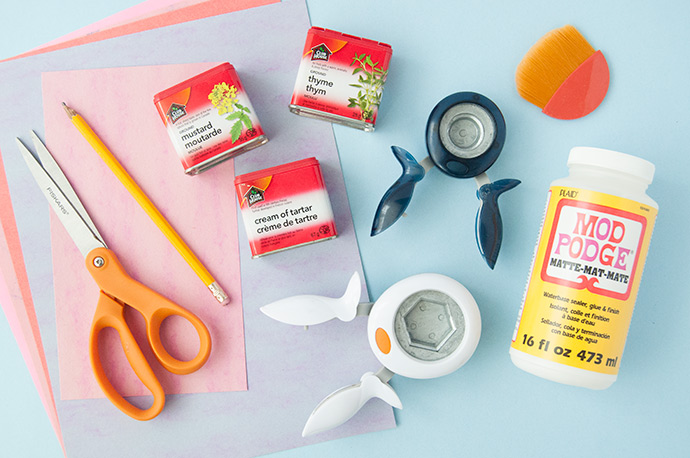
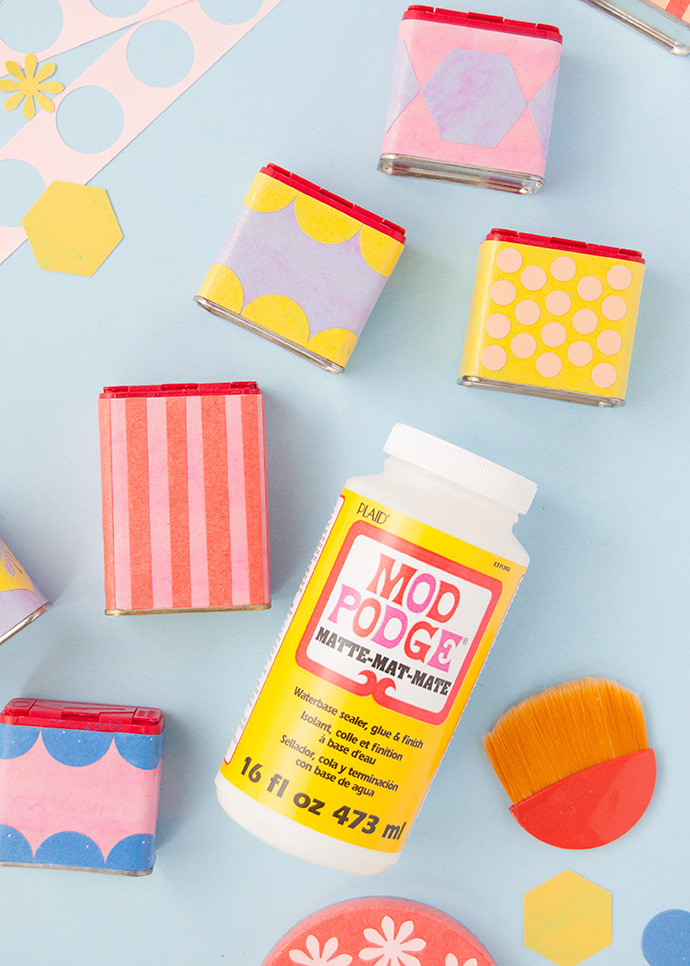
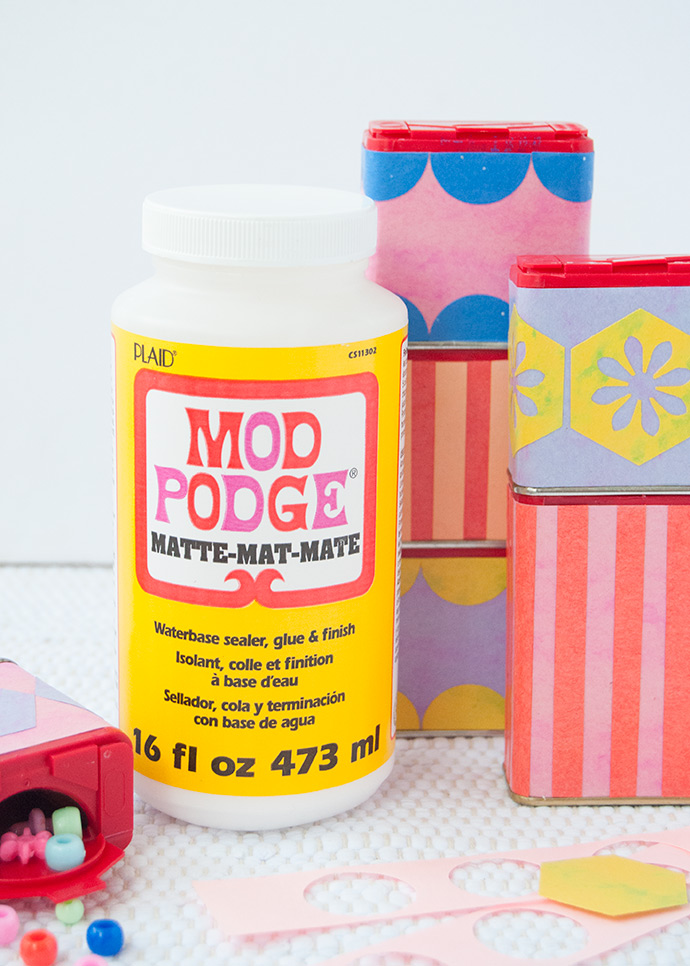
- Mod Podge Matte
- Decoupage brush
- Empty spice containers
- Colored paper
- Scissors
- Pencil
- Paper punches
how-to:
Step 1
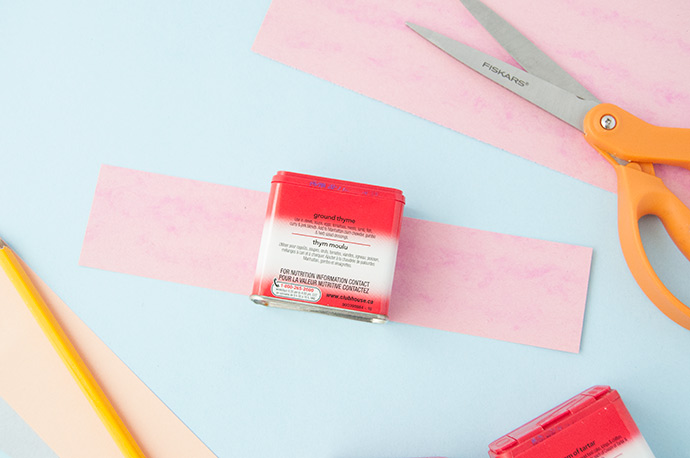
Gather your empty spice containers and make sure they’ve been thoroughly washed and dried. Cut a piece of colored paper to match the height of the container, leaving it long for now.

Step 2
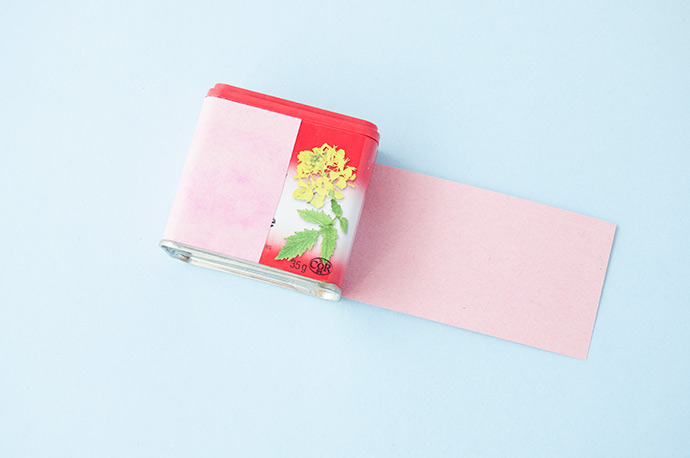
Apply Mod Podge to one side of the container and press the paper in place, smoothing it to adhere.
Step 3
Apply more Mod Podge onto one side, pressing the paper into it to adhere. Repeat on the remaining side, trimming any excess paper.
Step 4
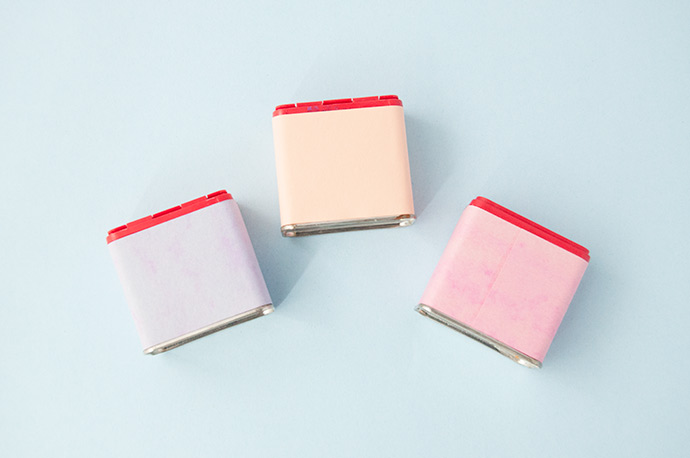
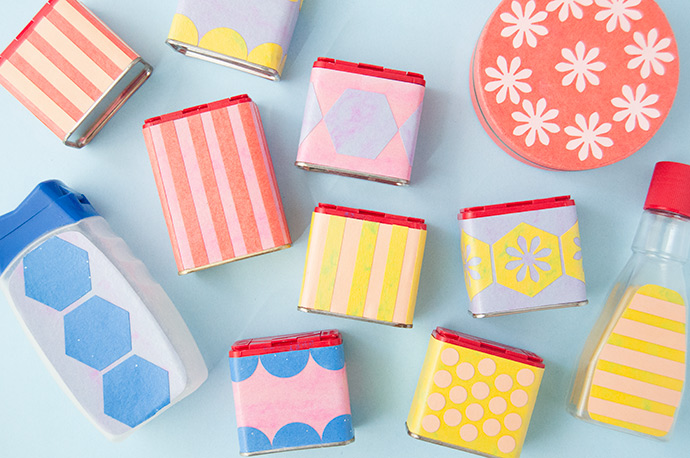
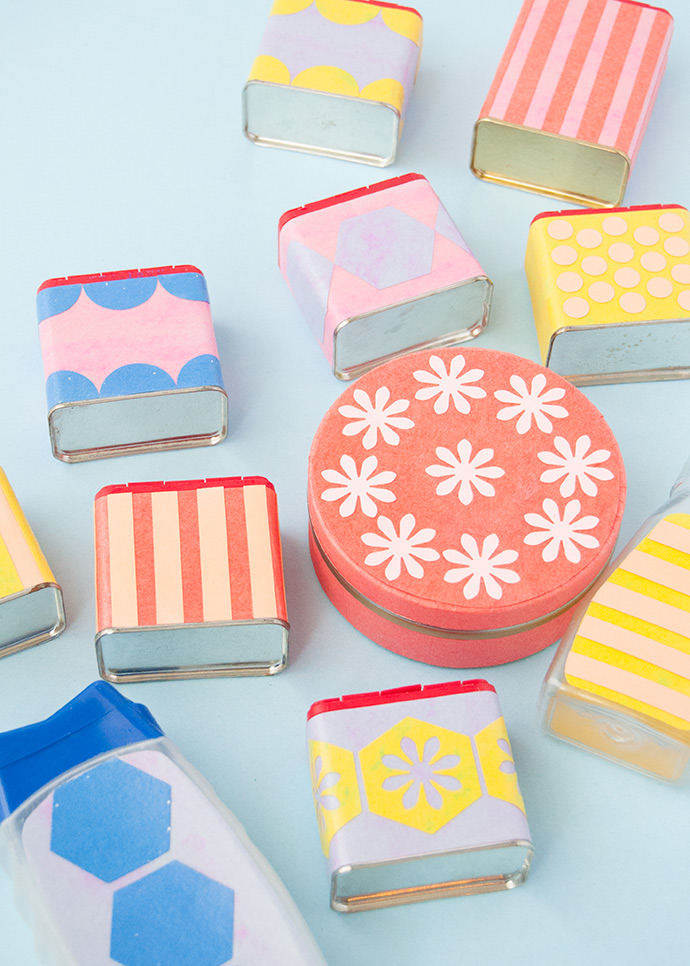
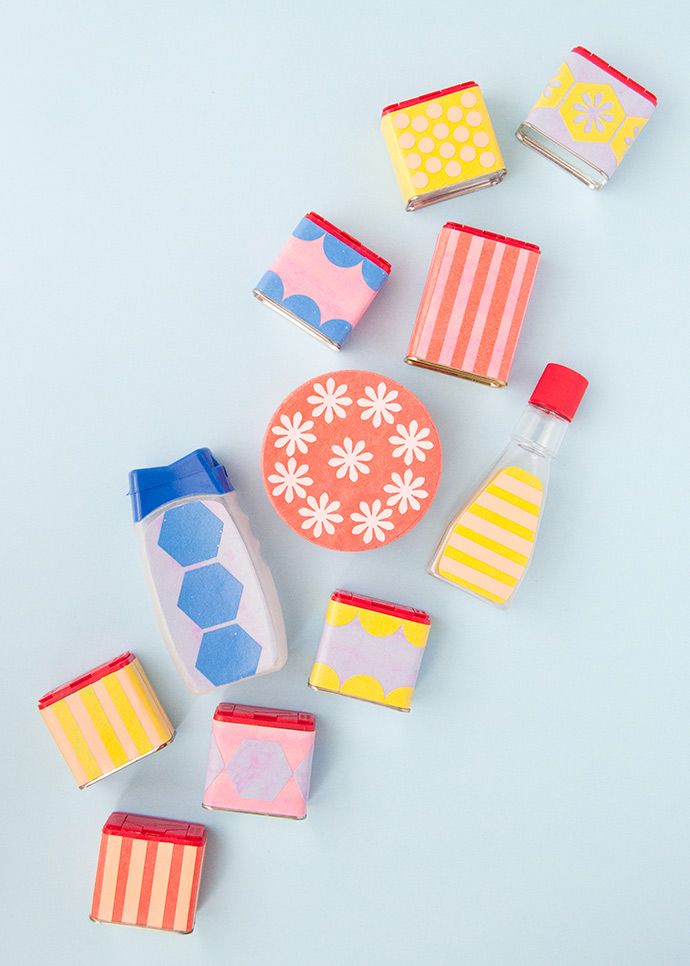
Repeat this is on all your containers using different colors. The spice containers we used here make great blocks because they’re designed to stack together, but you can use any empty containers you have! Take a look through your recycling bin to see what you have – we used a vanilla extract bottle, an antacid container, and a candy tin. Whatever you use, cut your paper to cover the packaging and stick it in place using Mod Podge.
Step 5
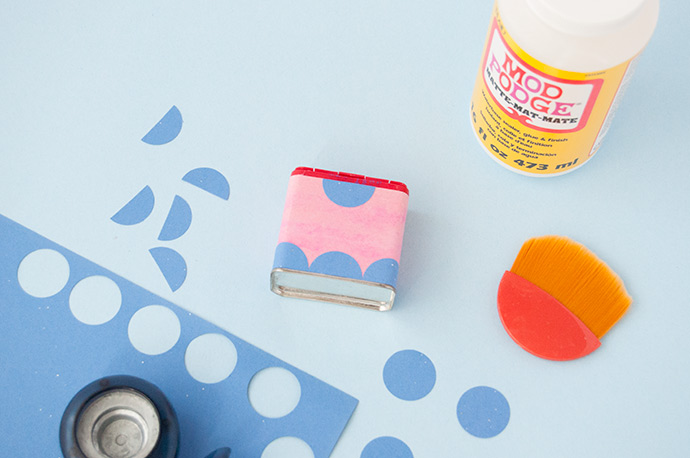
Time to get creative! Grab some contrasting paper and use your paper cutters or scissors to punch out some shapes. We cut circles in half to make these scallop-edged containers. Cut stripes and apply vertically or horizontally, or mix and match your other shapes! Once you have the shapes ready, apply more Mod Podge onto the container and set the paper shapes down. Apply another coat of Mod Podge over top to seal everything in and set aside to dry completely.
Step 6
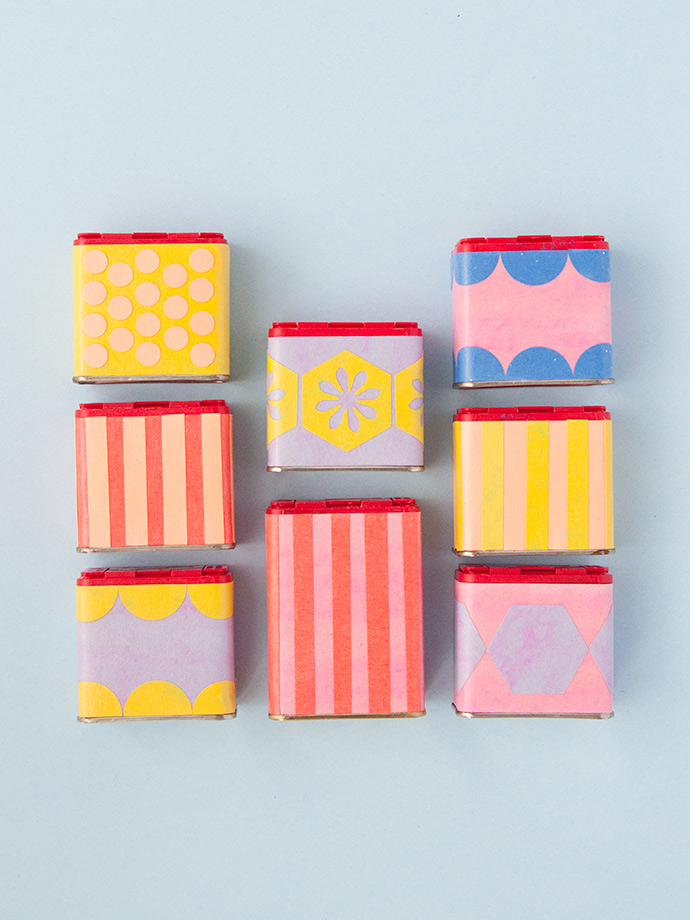
Repeat these steps so that you have a whole collection of multi-colored and patterned blocks! And the great thing about using recycled containers here is that you can store little treasures inside! Depending on your container, beads, charms, glitter, or small toys are all great things to keep in these secret storage blocks.
Happy crafting!!
from Handmade Charlotte https://www.handmadecharlotte.com/mod-podge-upcycled-blocks/?utm_medium=feed&utm_source=feedpress.me&utm_campaign=Feed%3A+hcrss
No comments:
Post a Comment