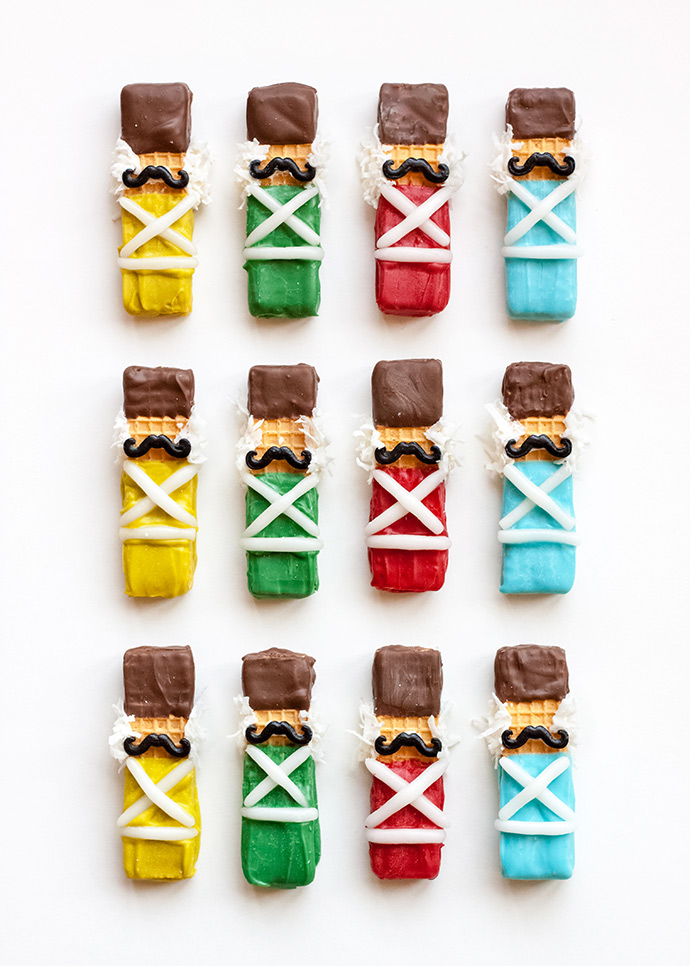
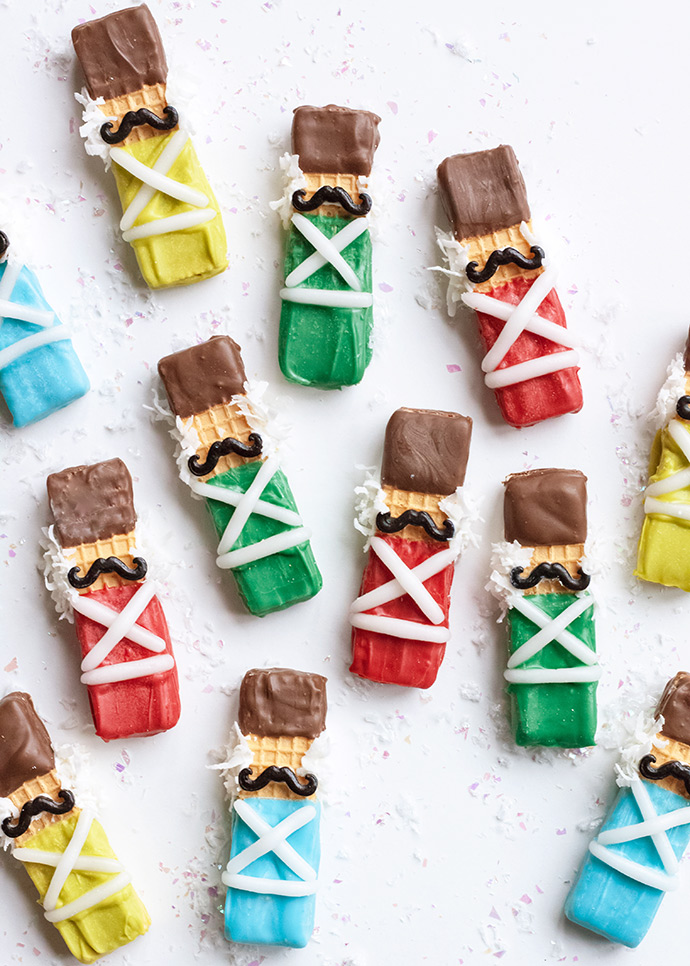
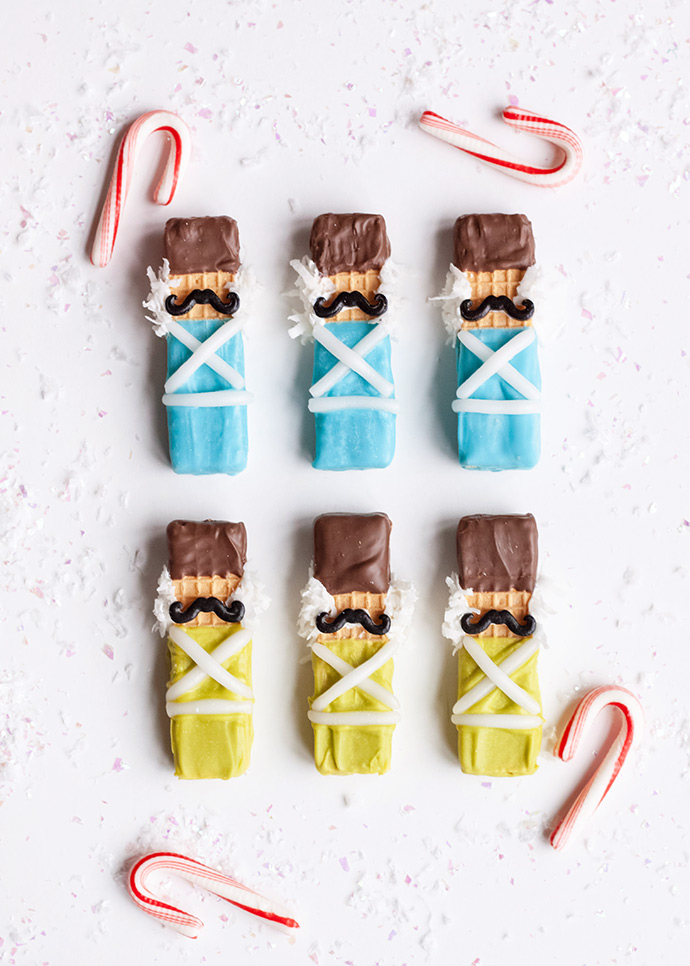
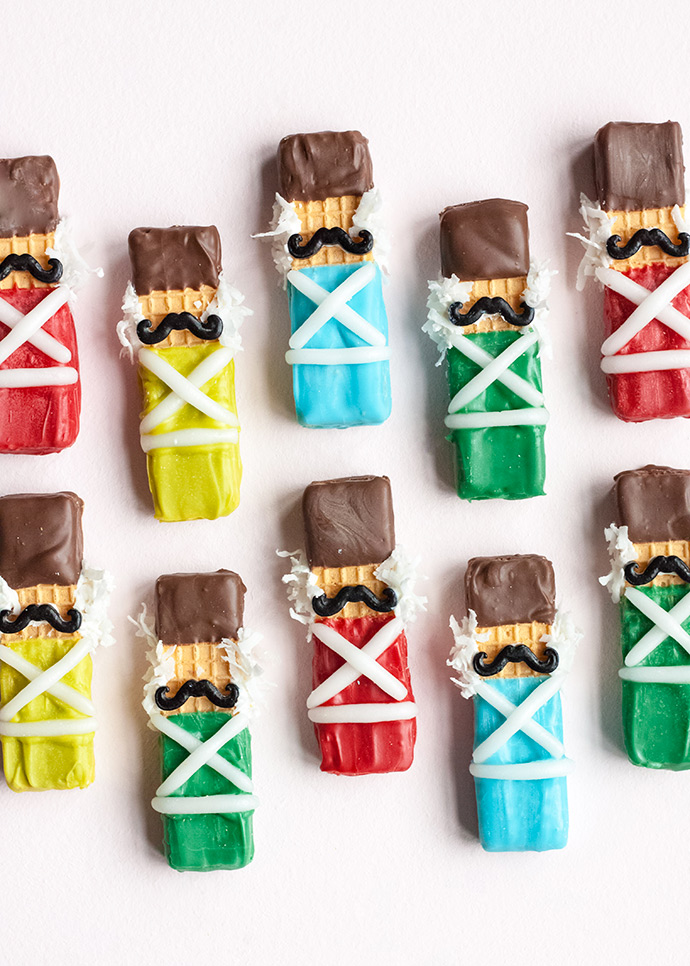
I have to confess that even though I have seen the Nutcracker many times in my almost forty years, I probably wouldn’t be able to tell the story! Is that sad? I guess I get caught up in the music, costumes, and Christmas spirit of the ballet, and the storyline doesn’t even matter. Attending the Nutcracker is one of my favorite December traditions, and I have always thought it would be fun to have friends and family come over for a party after the viewing. These easy, no-bake Nutcracker cookies are the perfect treat to serve, and would even look really cute lined up on a cake!
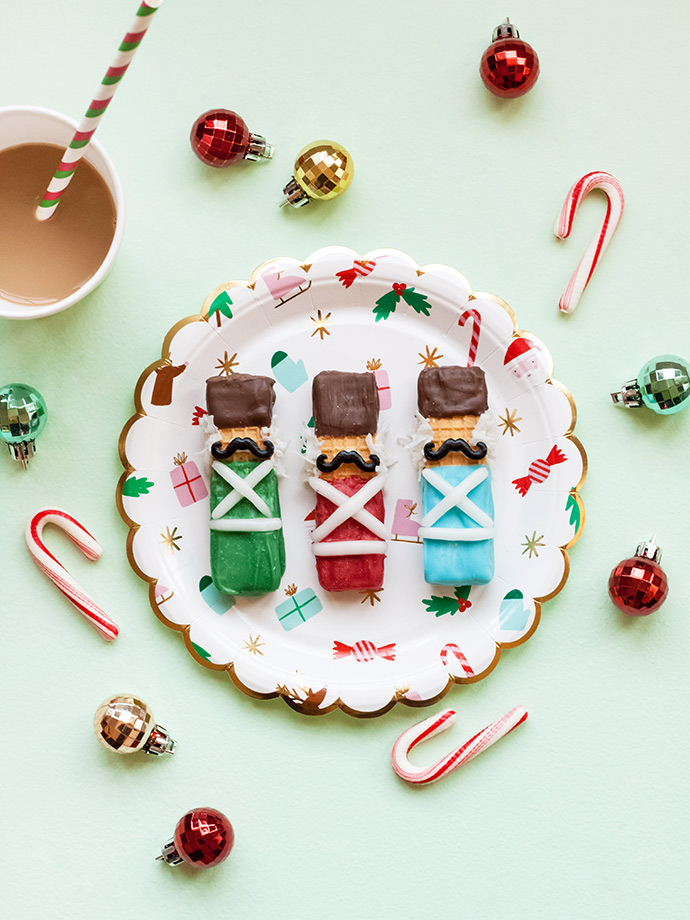
During such a busy time of the year, it’s nice to have a few simple treats prepared, that don’t require hours of baking in the kitchen. This would be something that you could even make at the start of the month, and keep sealed up to have on hand when someone unexpectedly drops off a gift or stops by to borrow some sugar! Older kids could assemble them at a class party, or make some to pass out to teachers and friends. You could even add these to the Christmas cookie mix to share with neighbors, or make them for a cookie exchange. Leave off the coconut hair, and they look like toy soldiers!
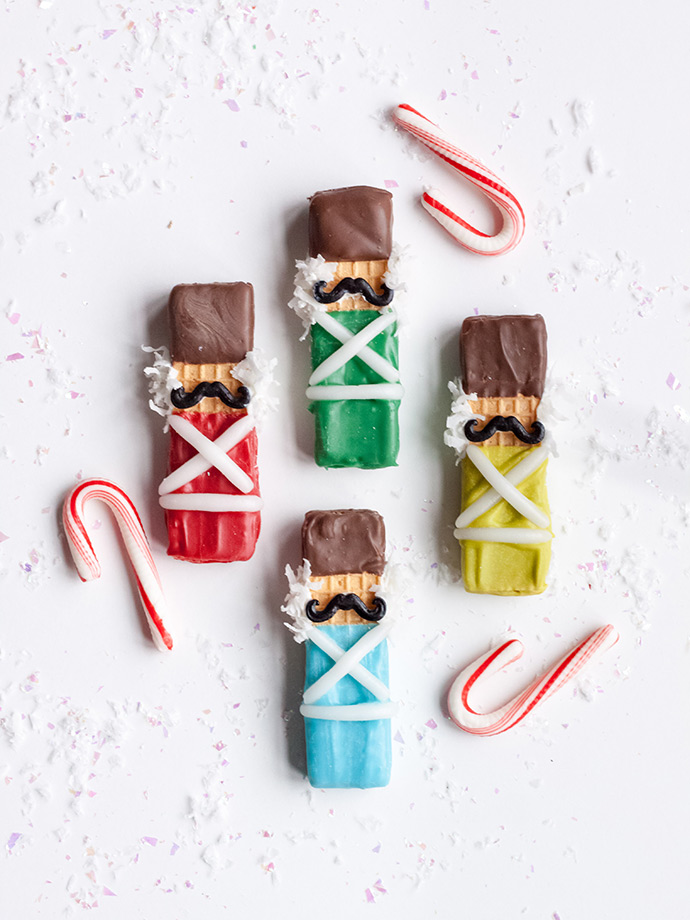
what you need:
• Spoon
• Airheads candy (white mystery) or white cake icing with tips
• Vanilla wafer cookie
• Toothpick
• Wilton candy mustaches
• Sweetened coconut flakes
• Candy melts in white, brown, and the Christmas color of your choice
• Microwave (not pictured)
• Wax paper (not pictured)
how-to:
Step 1
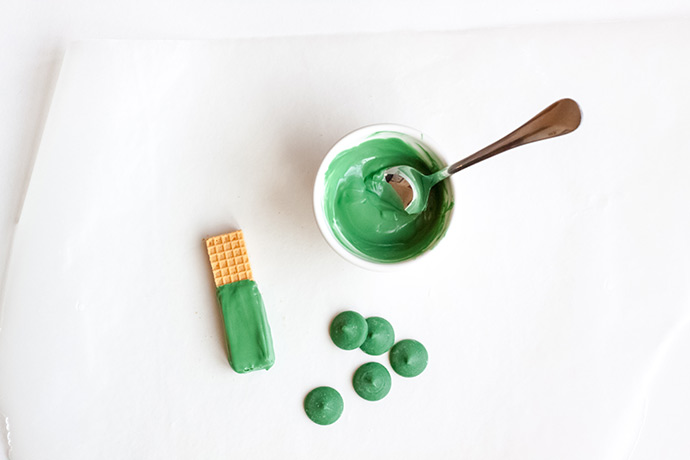
Melt your Christmas-colored candy melts, following the instructions on the bag. I put mine in a microwave-safe bowl, and heated them at 50% power for 30 seconds at a time. Use a spoon to spread the color on slightly more than half of the wafer cookie, on all four sides. Allow any excess to drip off into the bowl, and then set the cookie on a sheet of wax paper to cool.
Step 2
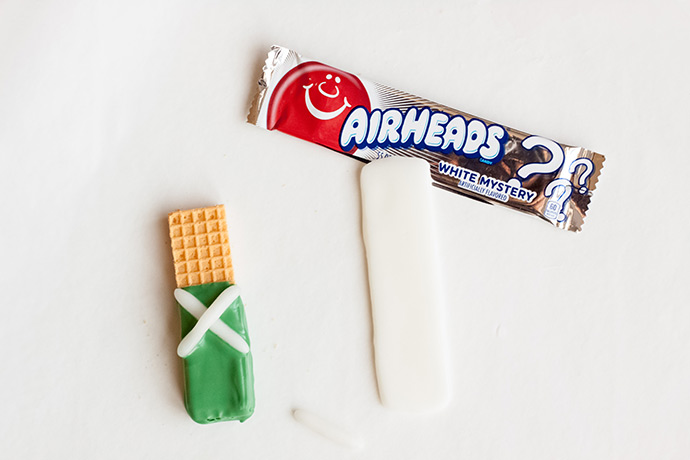
Tear off three small pieces of white Airheads candy, and warm them in your hands until they are soft enough to roll into small snakes. Place the snakes in an “x”, starting in the top corners of your melted candy on the wafer cookie. Place the third “snake” at the bottom of the “x”. Trim off any excess if necessary.
Another option would be to use a plain tip on a can of cake icing. I actually prefer that taste over the Airheads, but it is easier to perfect the shape using the candy – unless you’re pretty accurate with frosting. I might recommend that adults take off the Airheads to eat separately from the cookie, as they are almost too sweet for mature taste buds!
Step 3
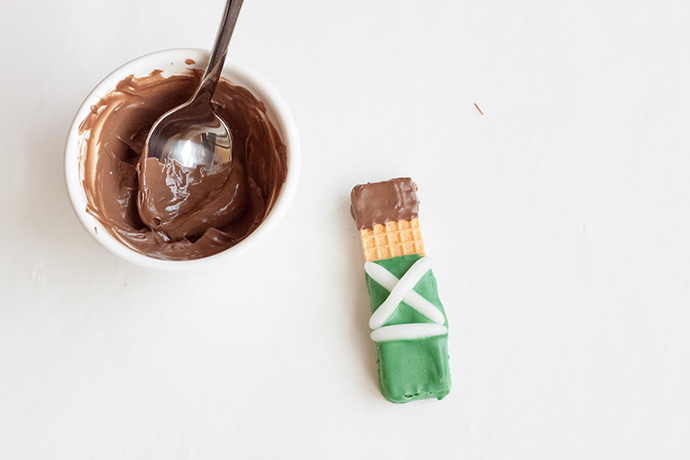
Melt the brown candy melts, and spread at the top of the wafer cookie, covering three to four rows of the grid on all four sides.
Step 4
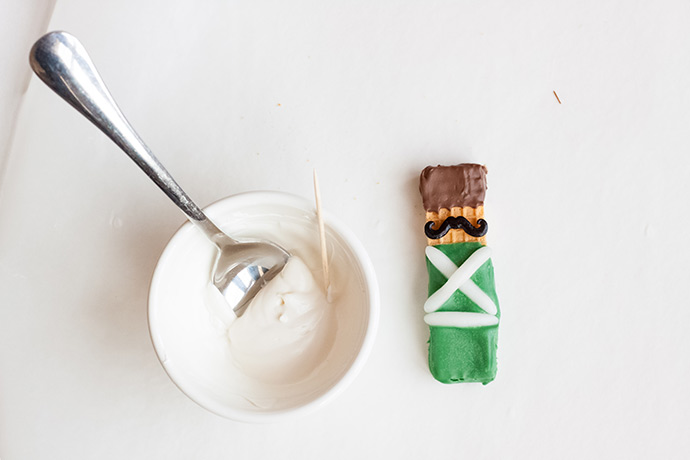
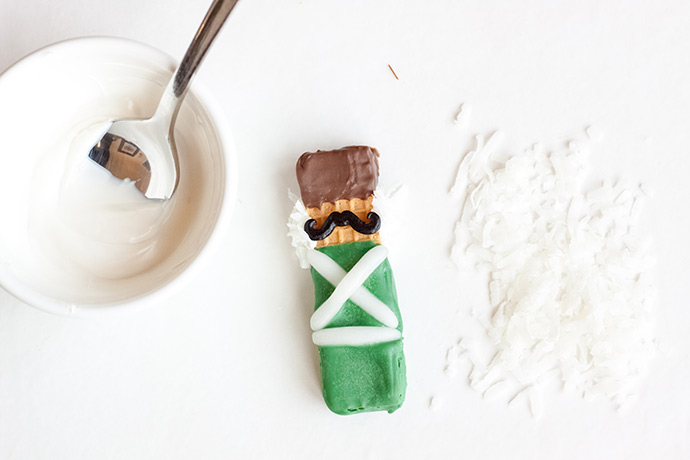
Melt the white candy melts, and use a toothpick to spread a tiny bit on the back of a candy mustache. Attach the mustache to the middle of the portion of the wafer cookie that is still visible. Allow to cool, and the candy melts will work as edible glue!
Step 5
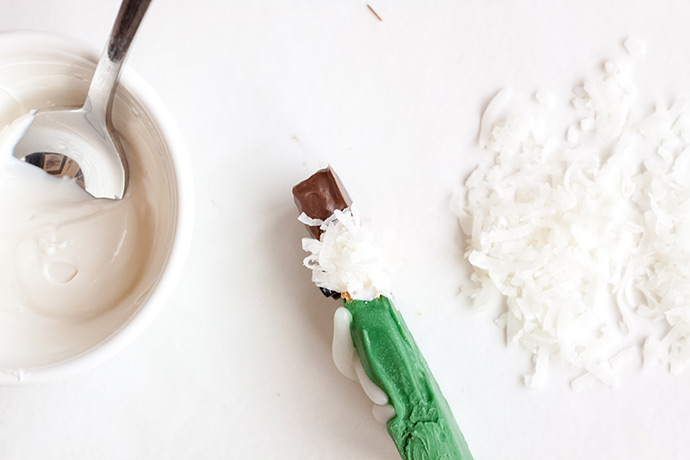
Use the white candy melt “glue” to attach sweetened coconut flakes to each side of the Nutcracker’s face. I applied a rather thick layer of the white candy to the entire side of the face, and placed a generous pinch of coconut flakes in the candy. Allow to dry on one side before working on the second side.
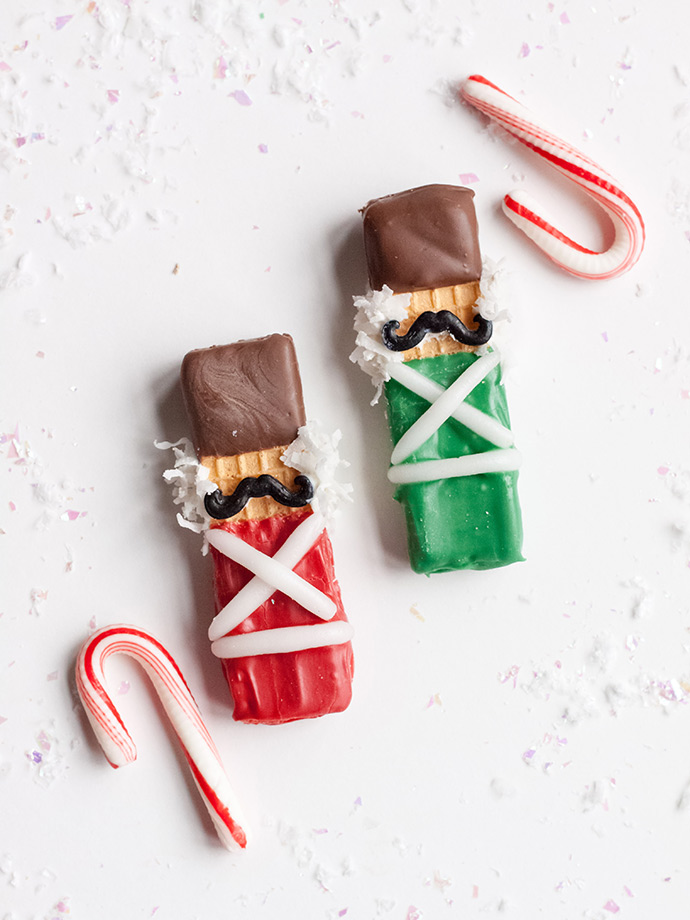
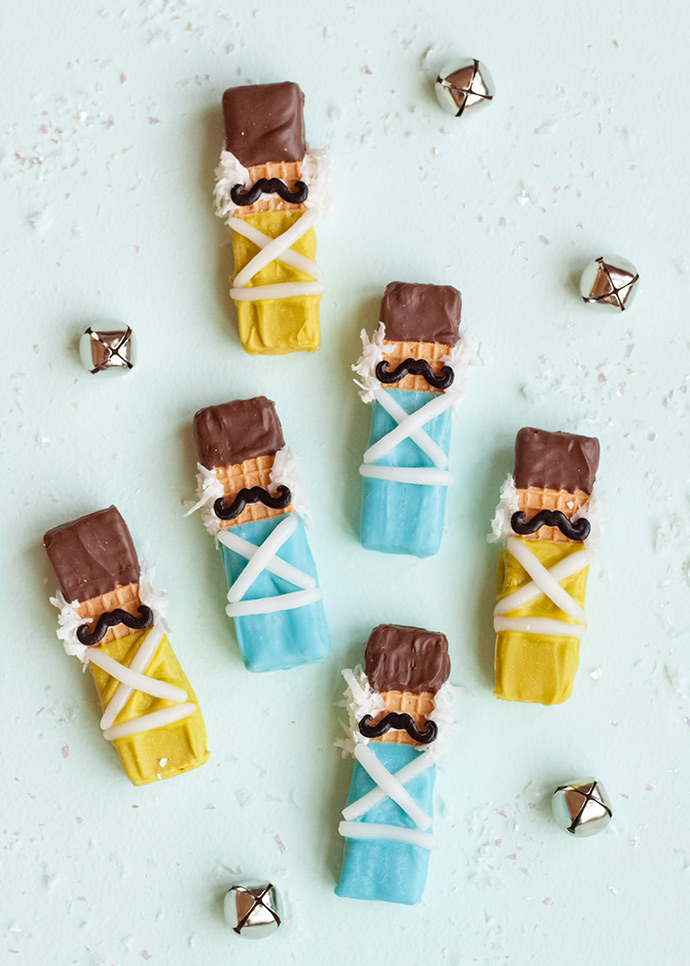
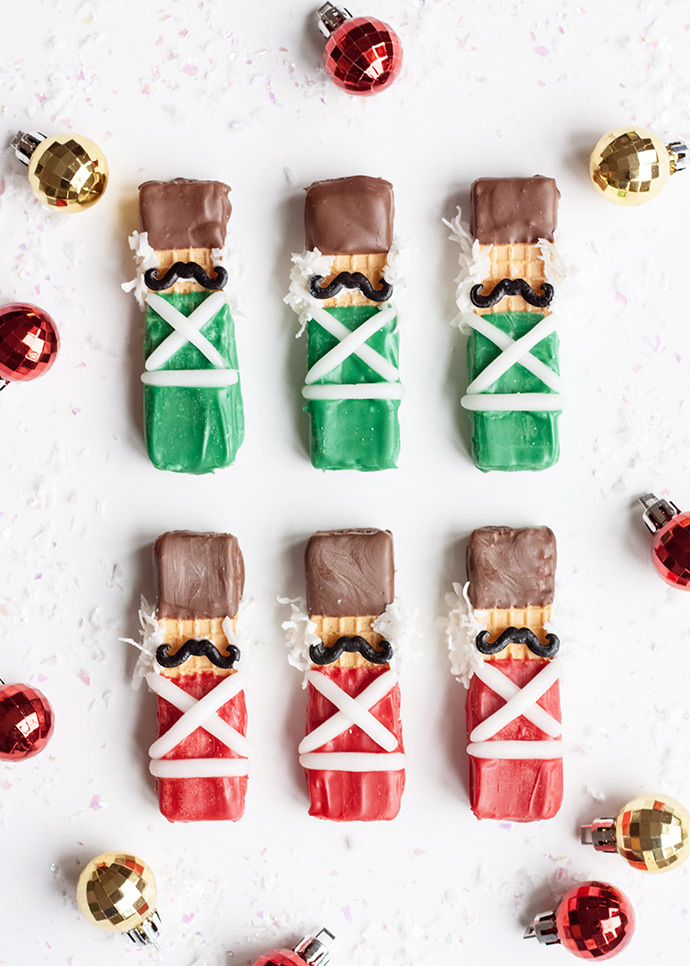
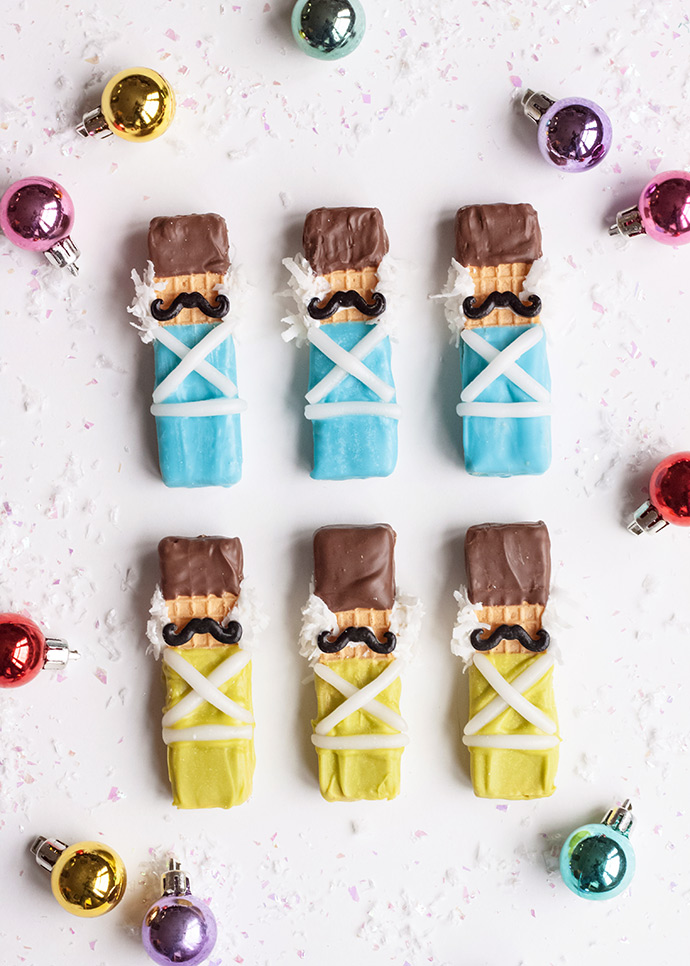
Happy cookie making, and Merry Christmas!!
from Handmade Charlotte https://www.handmadecharlotte.com/nutcracker-wafer-cookies/
No comments:
Post a Comment