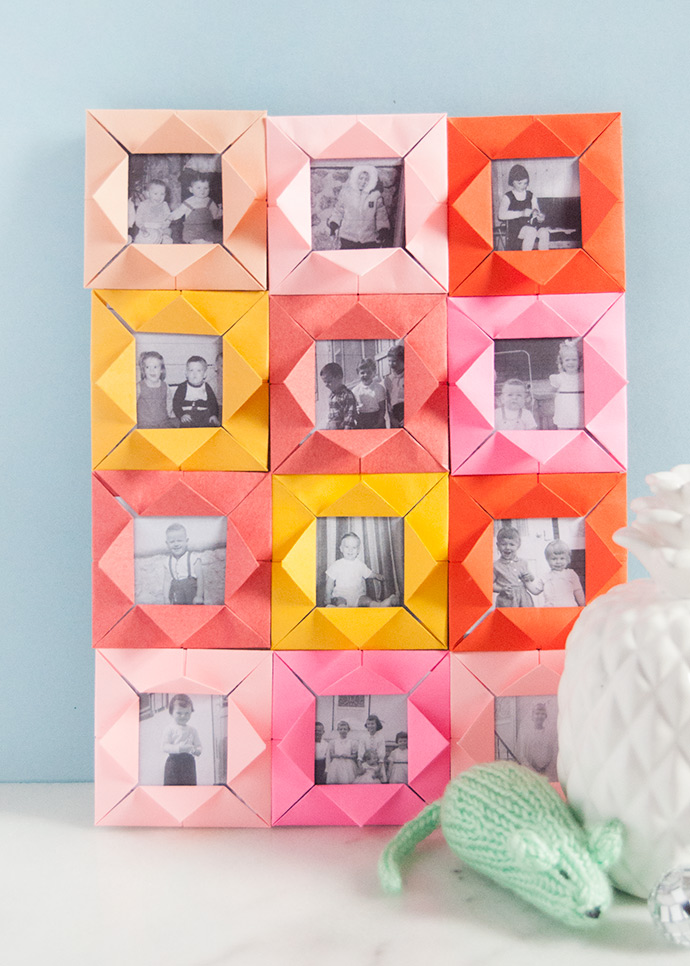
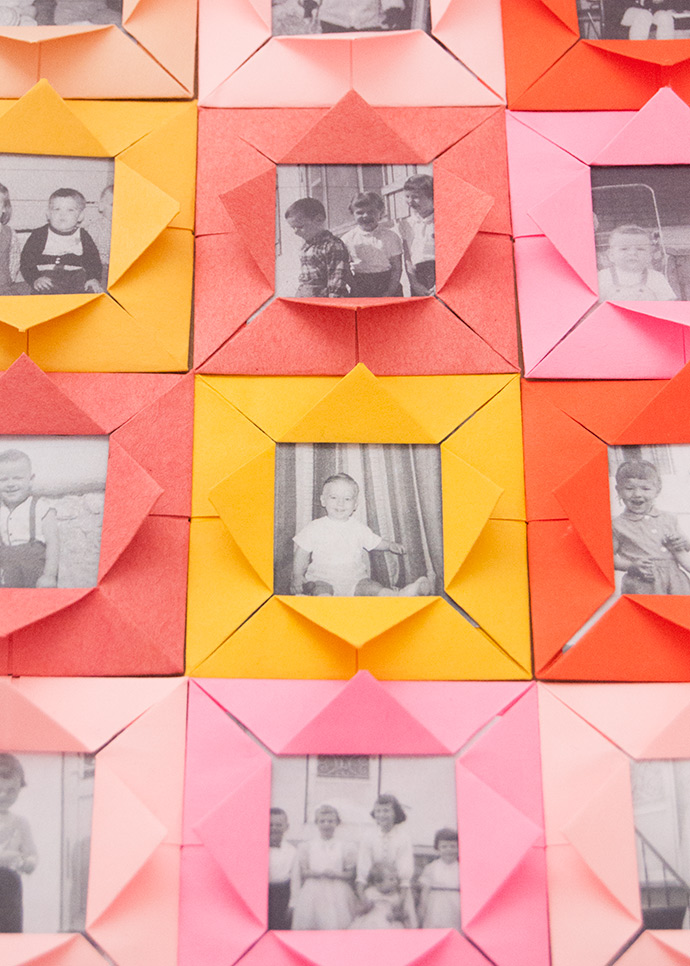
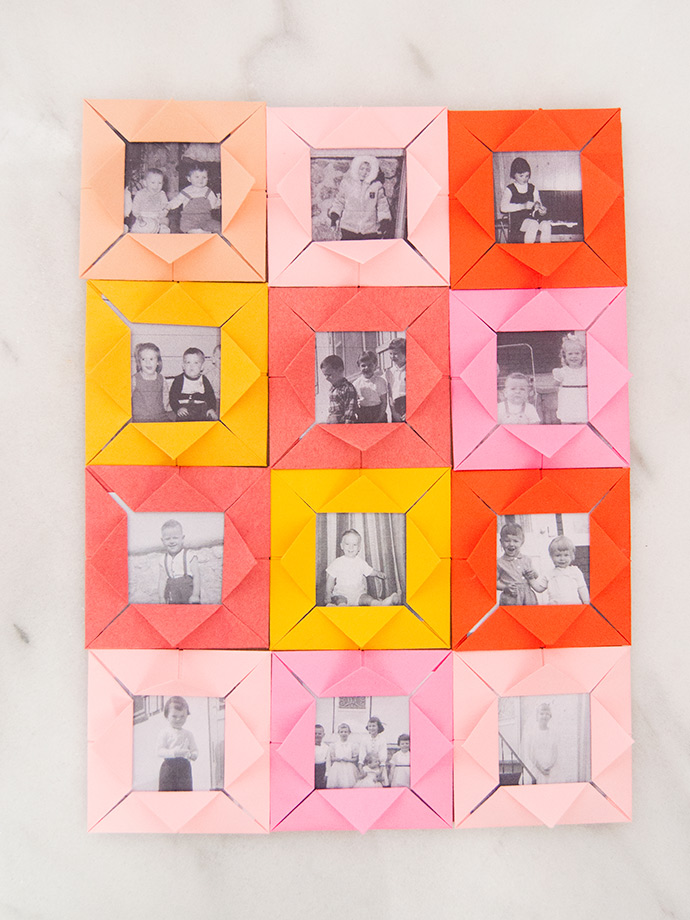
Don’t let your photos sit on your phone, or hide tucked away in a drawer! This playful and bright origami frame is a great way to highlight some of your favorite family photos without making a special trip to the store to consider your framing options. Instead, we used colorful scraps of construction paper to fold these flower-like origami frames, stuck them all together, and voila! This simple piece is ready to decorate your home. Keep reading for the full origami instructions below.
what you need:
- Colored paper
- Scissors
- Glue stick
- Hot glue gun
- Family photos
- Scrap corrugated cardboard
how-to:

Step 1
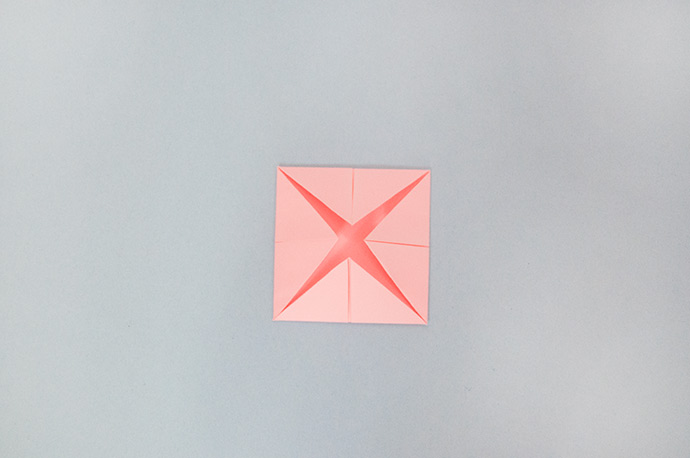
Start by cutting a piece of paper into a square. You can completely customize the size of these frames to whatever you like – for the frames pictured, we cut out squares to 5 1/2″ by 5 1/2″, and that left us with a finished origami frame about 2 2/4″ across. Once you’ve decided on your size (or at least a tester on a scrap of paper for the first one to make sure), fold it diagonally in half from corner to corner. Unfold and repeat this fold but from the other two corners. Unfold and your square will have a folded X through it.
Start by cutting a piece of paper into a square. You can completely customize the size of these frames to whatever you like – for the frames pictured, we cut out squares to 5 1/2″ by 5 1/2″, and that left us with a finished origami frame about 2 2/4″ across. Once you’ve decided on your size (or at least a tester on a scrap of paper for the first one to make sure), fold it diagonally in half from corner to corner. Unfold and repeat this fold but from the other two corners. Unfold and your square will have a folded X through it.

Step 2
Next, take a corner and fold it into the center of the paper, which is marked by the folds you did in the previous step. Repeat this for all four corners so that they all meet in the middle just like this.
Next, take a corner and fold it into the center of the paper, which is marked by the folds you did in the previous step. Repeat this for all four corners so that they all meet in the middle just like this.
Step 3
Flip your square over and then fold each of the four corners into the center again. Depending on the type of paper your using, it can help to use to bone folder or the edge of a ruler to make the folded edges nice and crisp.
Flip your square over and then fold each of the four corners into the center again. Depending on the type of paper your using, it can help to use to bone folder or the edge of a ruler to make the folded edges nice and crisp.
Step 4
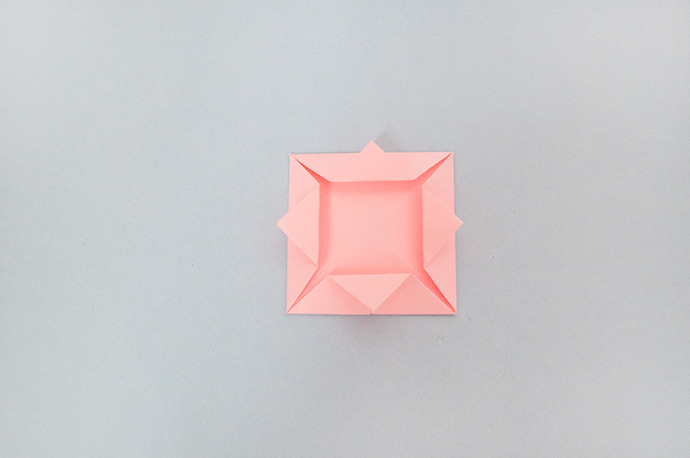
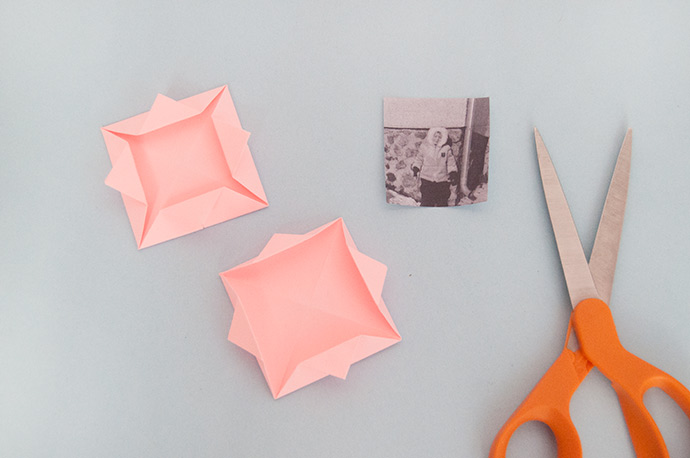
And the final step to complete the folding stage – fold each of the corners that you just folded in back out so that they just touch the outside edge. As you can see in the image above, the folds don’t sit completely flat, but we’ll be gluing them down to secure shortly, so don’t worry about that. Make as many frames as you like!
And the final step to complete the folding stage – fold each of the corners that you just folded in back out so that they just touch the outside edge. As you can see in the image above, the folds don’t sit completely flat, but we’ll be gluing them down to secure shortly, so don’t worry about that. Make as many frames as you like!
Step 5
Trim your photos down so that they fit into the frame. Make sure to check that the main focus of the photo is visible and centered! Use a glue stick to secure the photo into the inside of the origami frame.
Trim your photos down so that they fit into the frame. Make sure to check that the main focus of the photo is visible and centered! Use a glue stick to secure the photo into the inside of the origami frame.

Step 6
Apply a thin line of hot glue to the underside of each flap that makes up the frame. Do this one at a time and press each piece down, securing it to the photo. You can also do this for the little triangular petals if you like, but we liked how these popped up a little so left them as is.
Apply a thin line of hot glue to the underside of each flap that makes up the frame. Do this one at a time and press each piece down, securing it to the photo. You can also do this for the little triangular petals if you like, but we liked how these popped up a little so left them as is.
Step 7
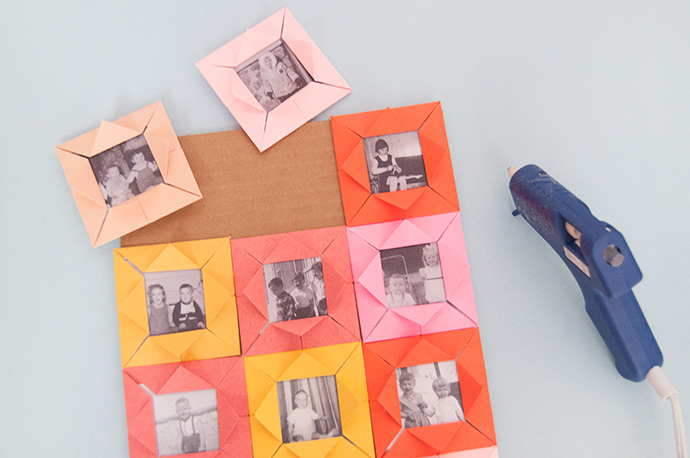
Cut a piece of scrap cardboard to size and hot glue each of the frames onto it, forming a grid.
Cut a piece of scrap cardboard to size and hot glue each of the frames onto it, forming a grid.
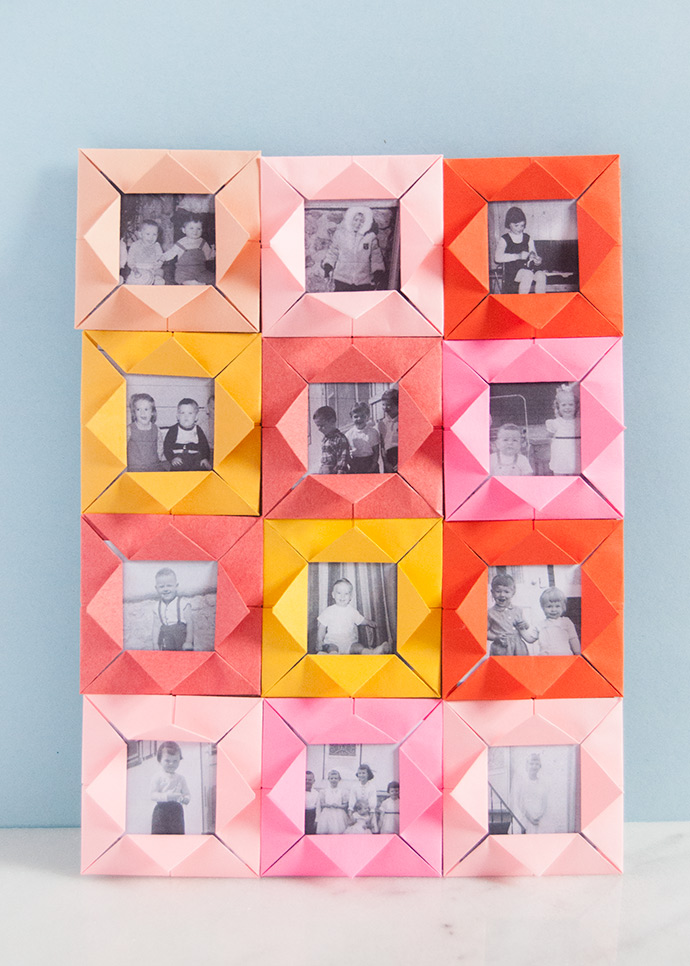
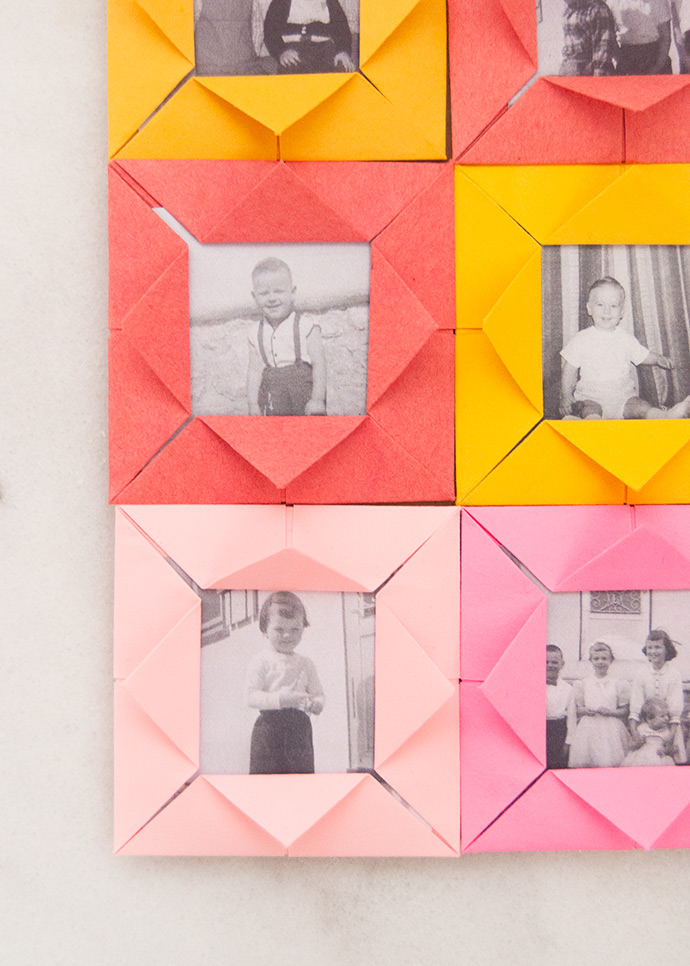
Leave the piece as is and prop up to stand, or add a little loop of ribbon onto the back if you’d prefer to hang it.

Happy folding!
from Handmade Charlotte https://www.handmadecharlotte.com/origami-picture-frames/
No comments:
Post a Comment