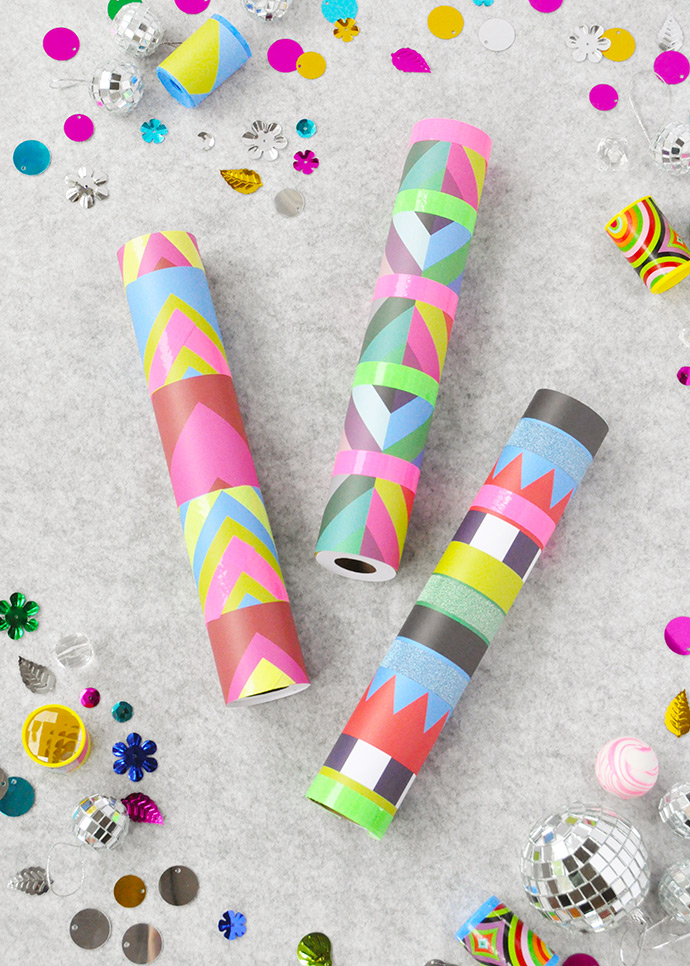
Have you ever made your own kaleidoscope before? It’s been a little while since we have and we were so excited to make these ones using Kid Made Modern supplies this time! All the sequins, beads, and charms included in their kits are absolutely perfect for a handmade kaleidoscope – we couldn’t resist!
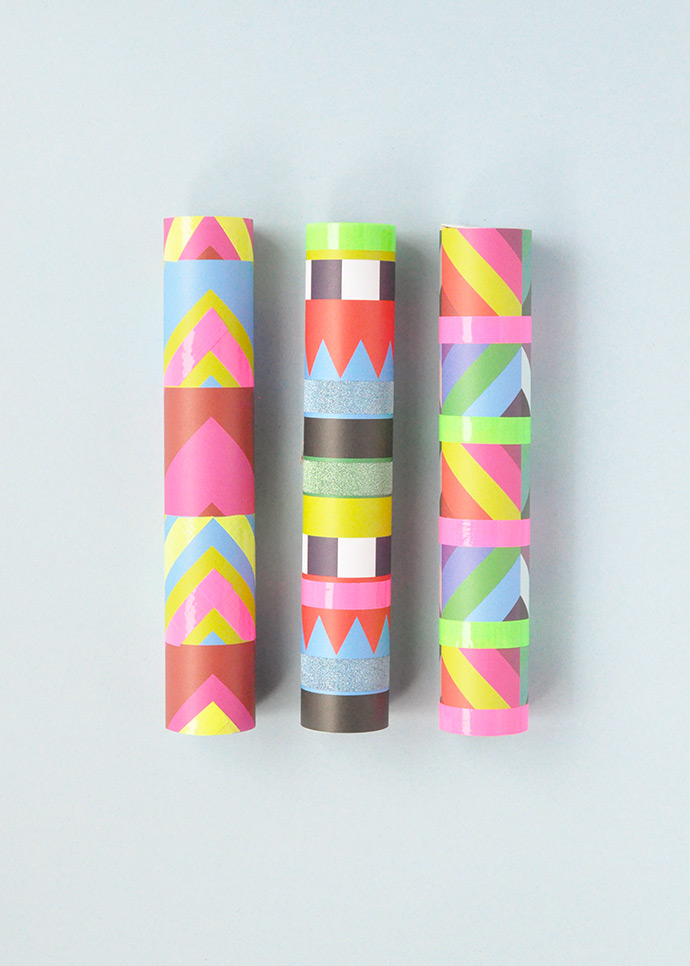
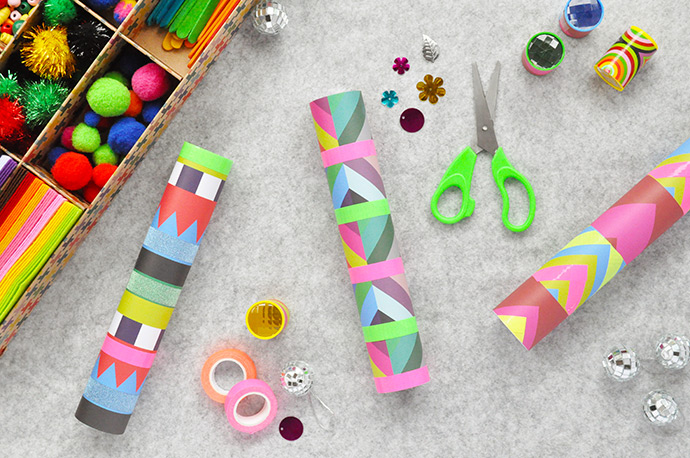
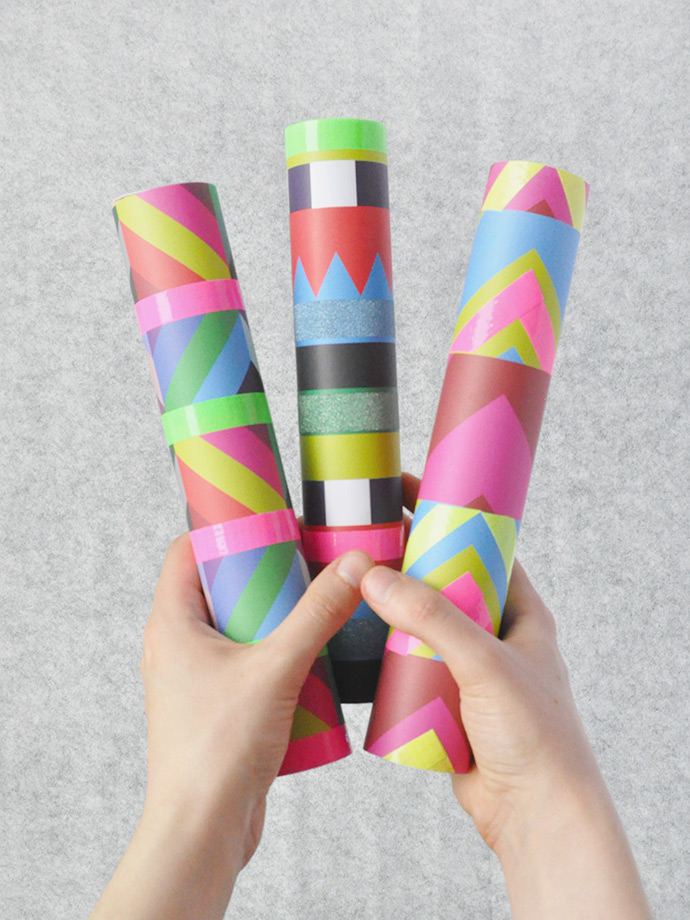
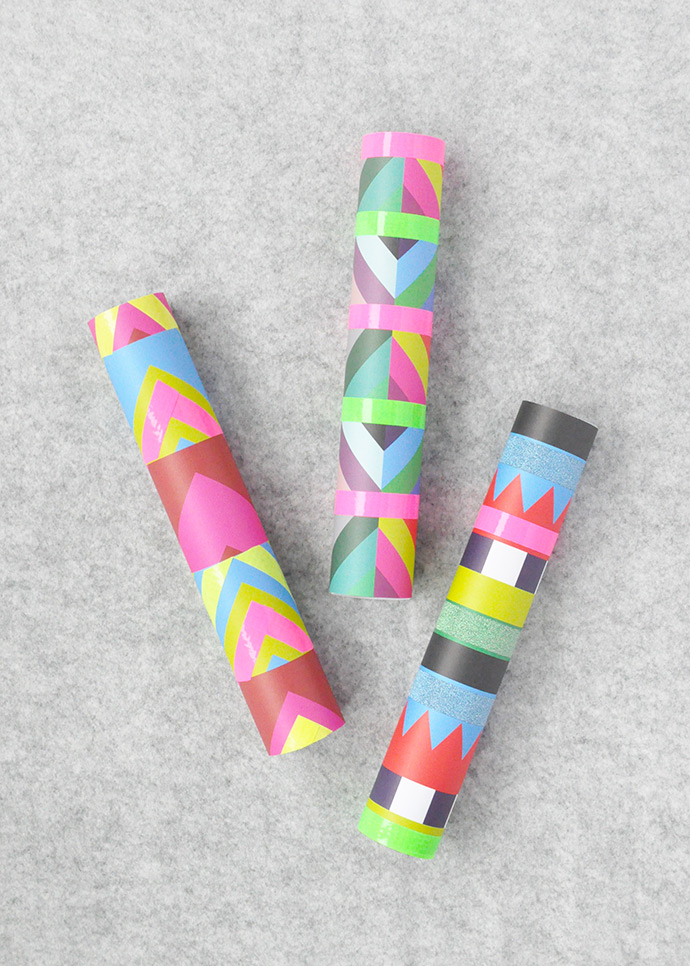
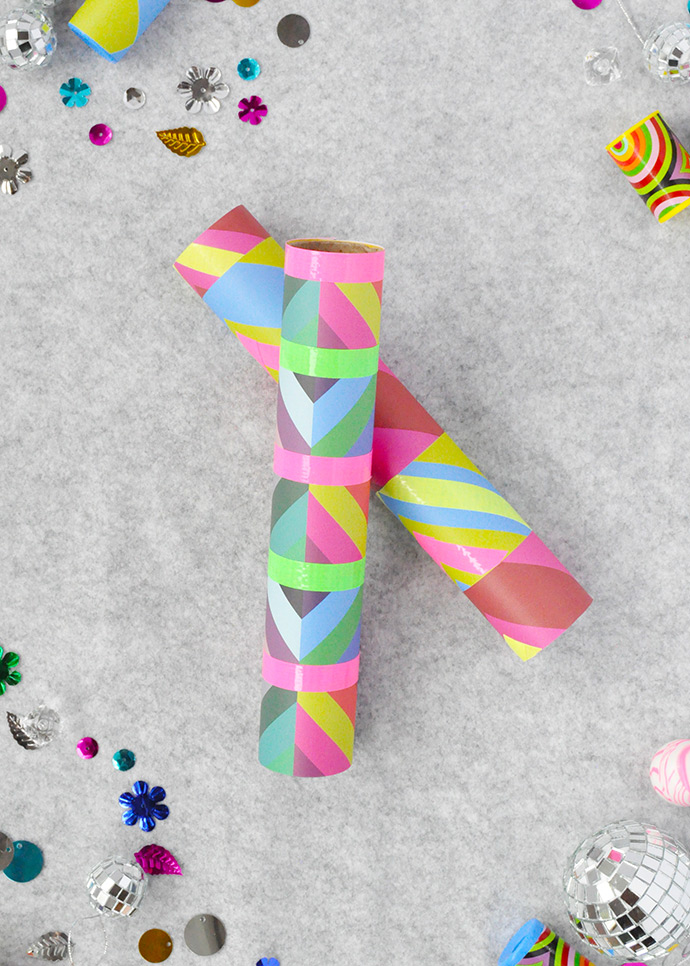
This is a super fun way to give recycled paper towel or wrapping paper rolls a whole new life! We had so much fun not only mixing and matching the insides of the kaleidoscopes, but decorating the outsides too. We love using bright colors and patterns, so these papers were just what we needed to make our kaleidoscopes the very best. Keep reading to see how to make one (or ten!) of your very own!
what you need:
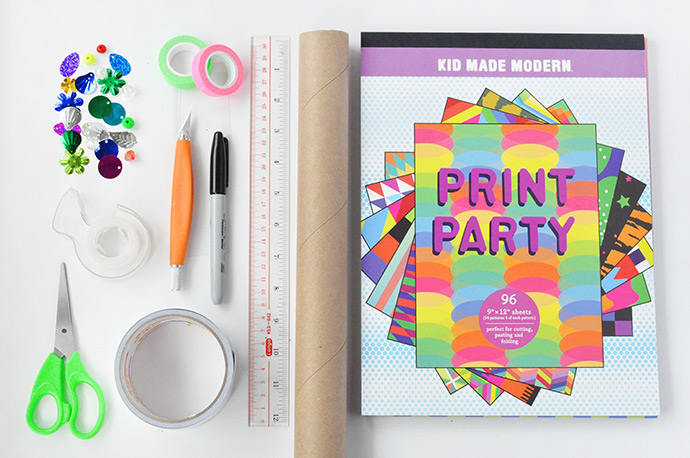
- Kid Made Modern Print Party
- Kid Made Modern Arts and Crafts Library (sequins + scissors)
- Kid Made Modern Bright Bundle (tape)
- Ruler
- Marker
- Silver tape / aluminum foil / mirrored foil
- Recycled paper tube
- Recycled clear plastic packaging
- Tape
- Craft knife
how to:
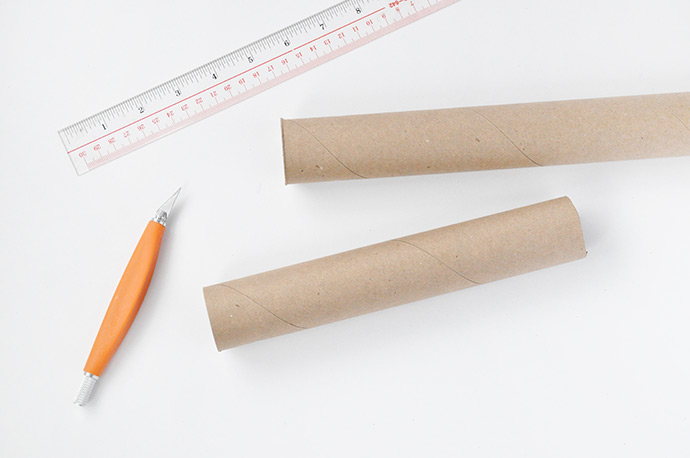
Step 1
Cut an empty paper roll (we used one from wrapping paper, but you could use a paper towel roll too!) into a 9″ piece.
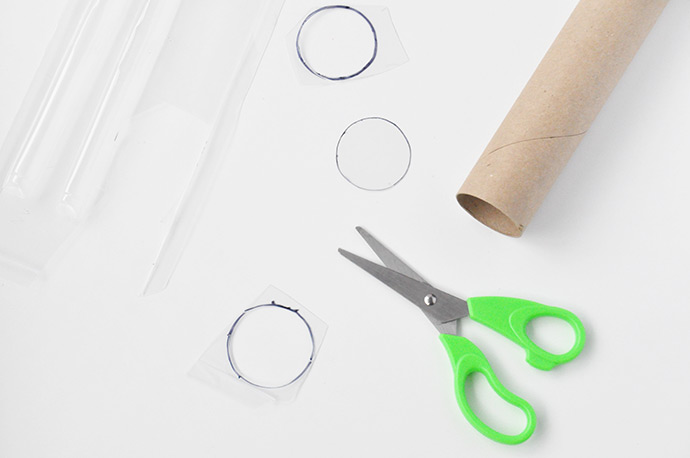
Step 2
Find a piece of clear plastic recycling – an empty produce container with a flat side is perfect – and trace the end of the paper roll onto it twice. Cut both out and trim one down so that it fits snugly inside the paper roll, while the other just needs to sit on the end.

Step 3
Apply metallic silver tape (we used muffler tape from the dollar store) onto a piece of paper. You could also attach aluminum foil to paper if you prefer, or use anything shiny. The more shiny and mirror like this surface is, the better!
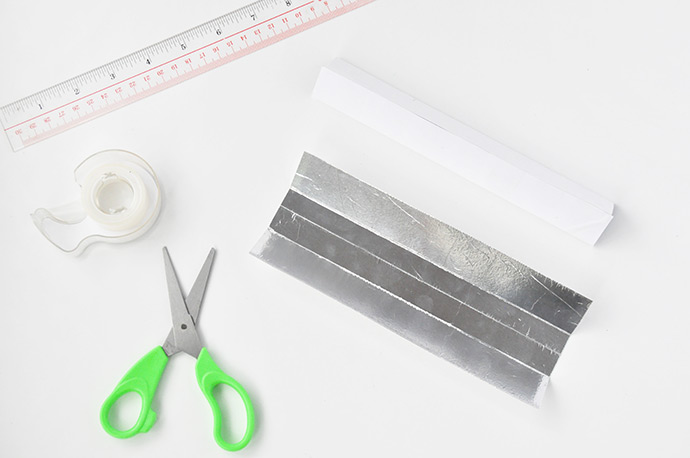
Step 4
Fold the foil-covered paper so that it make a triangle-shaped tube, with the shiny side on the inside. Each side should be 1 1/4″ wide (you may have to adjust this measurement to fit your paper tube) and the length should be about 8 1/2″ long. Fold into the triangle-shaped tube and tape to secure.
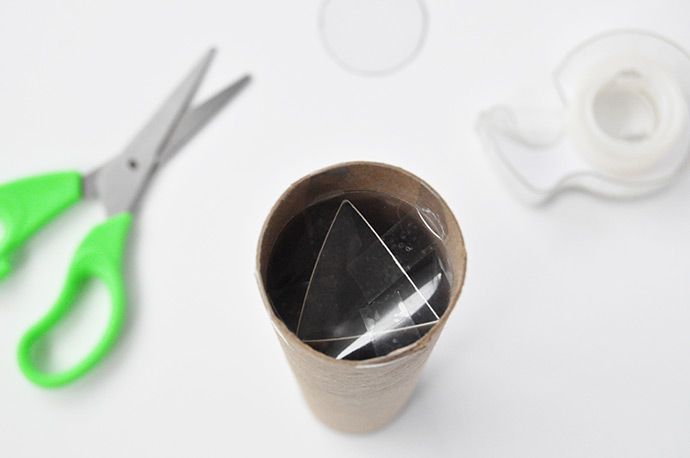
Step 5
Place the triangle-shaped tube inside the round paper tube – it should fit snugly, but you can use tape or glue to secure in place if you like. Next place the smaller plastic circle inside the paper tube so that it rests of the triangle tube, as shown above. Use clear tape to secure this circle to the round paper tube. Don’t worry if the tape is visible right now, we’ll be covering it all up later.
Step 6
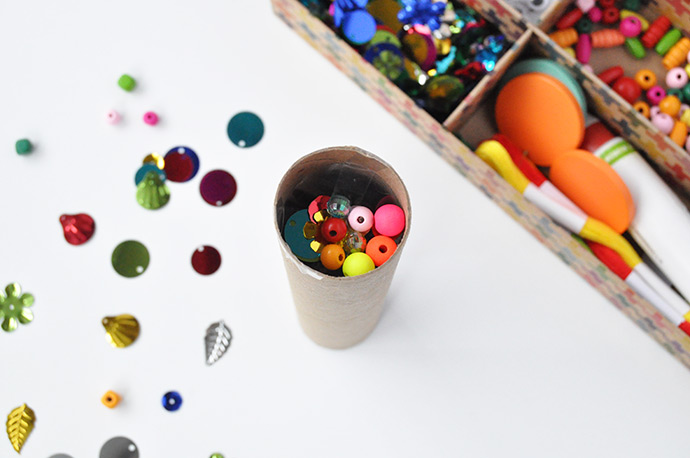
Add beads and sequins on top of the clear plastic circle!
Step 7
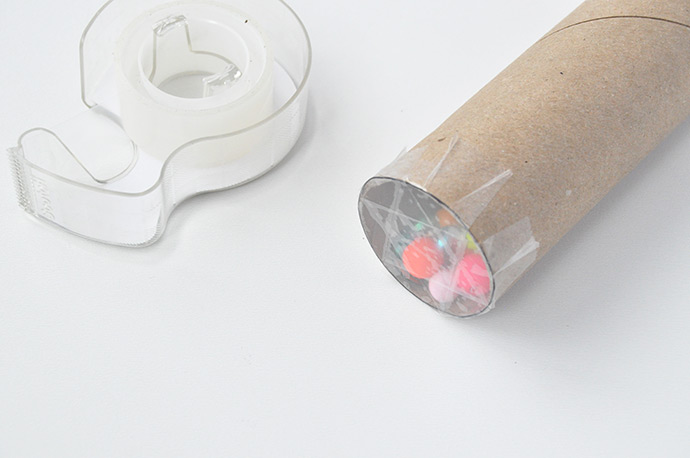
Place the other plastic circle on top and use more tape to secure it down.

Step 8
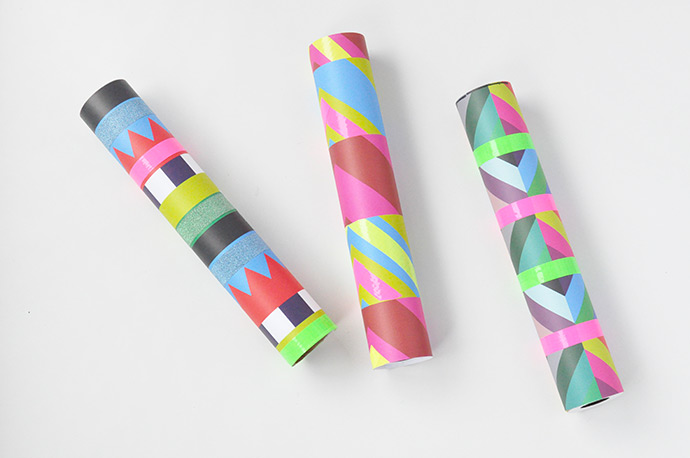
Time to decorate! We used paper from the Print Party pad to wrap round the tubes. Just cut it down to size and tape in place! You can also use tape to add some fun details on top.
Step 9
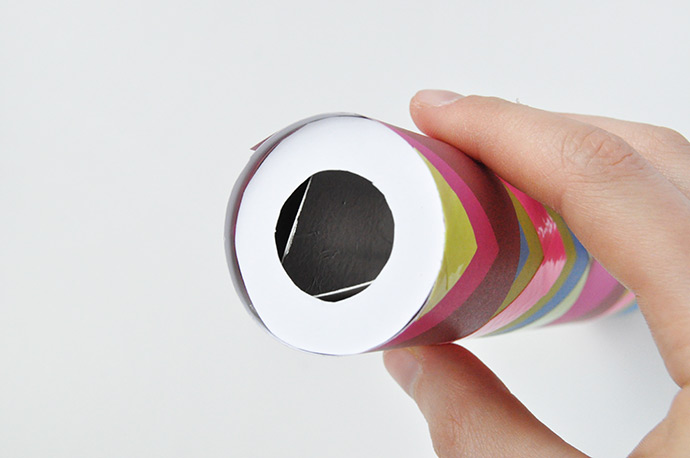
On the viewing end of the kaleidoscope, trace and cut a donut on paper and fit into the edge of the tube. If it doesn’t stay there on its own, apply a few dabs of white glue first.
Step 10
Repeat!!
This post is sponsored by Kid Made Modern.
from Handmade Charlotte https://www.handmadecharlotte.com/make-your-own-kaleidoscope/?utm_medium=feed&utm_source=feedpress.me&utm_campaign=Feed%3A+hcrss
No comments:
Post a Comment