
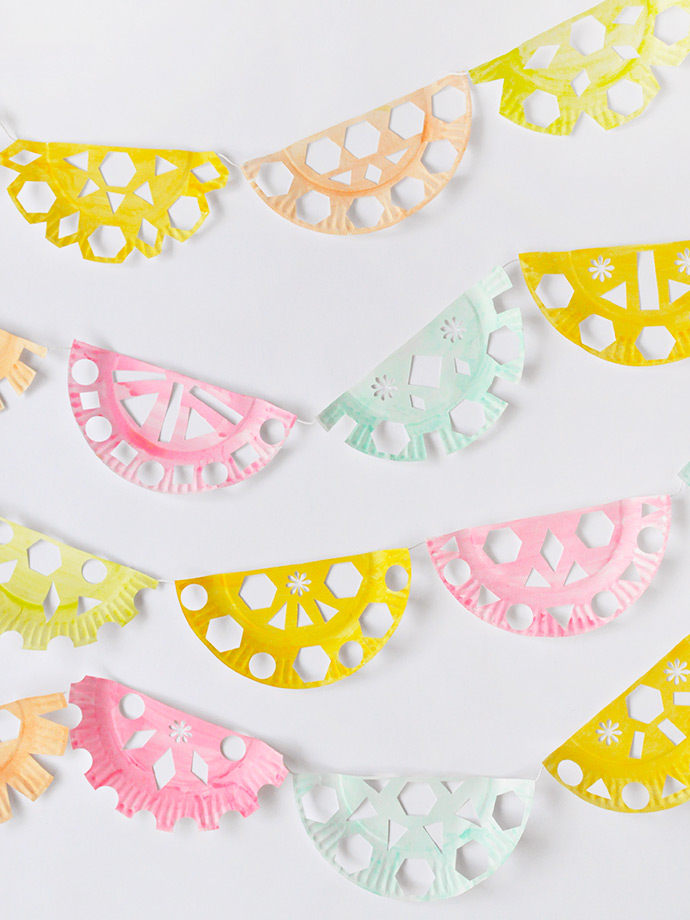
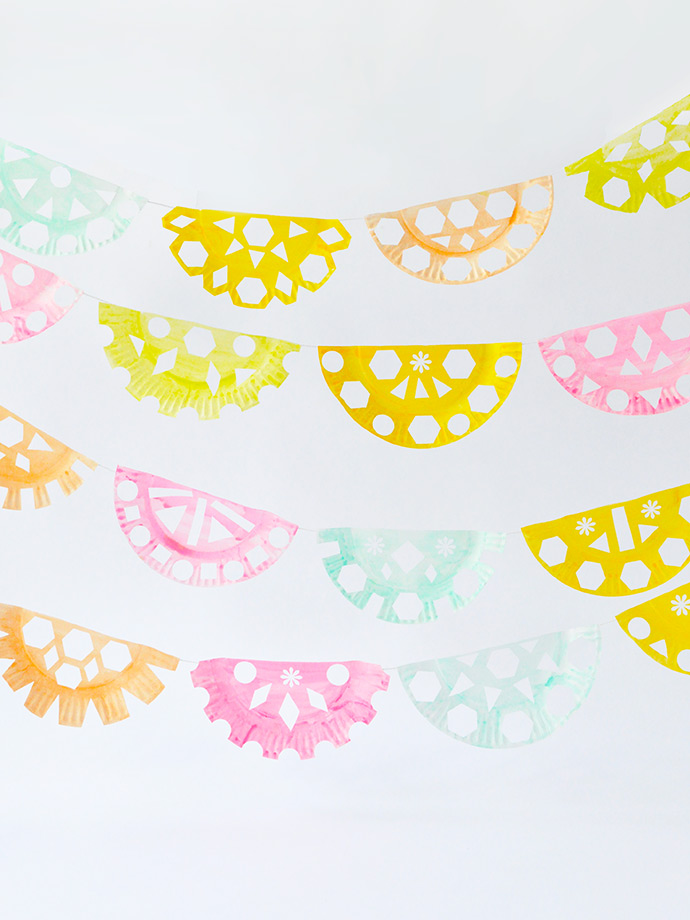
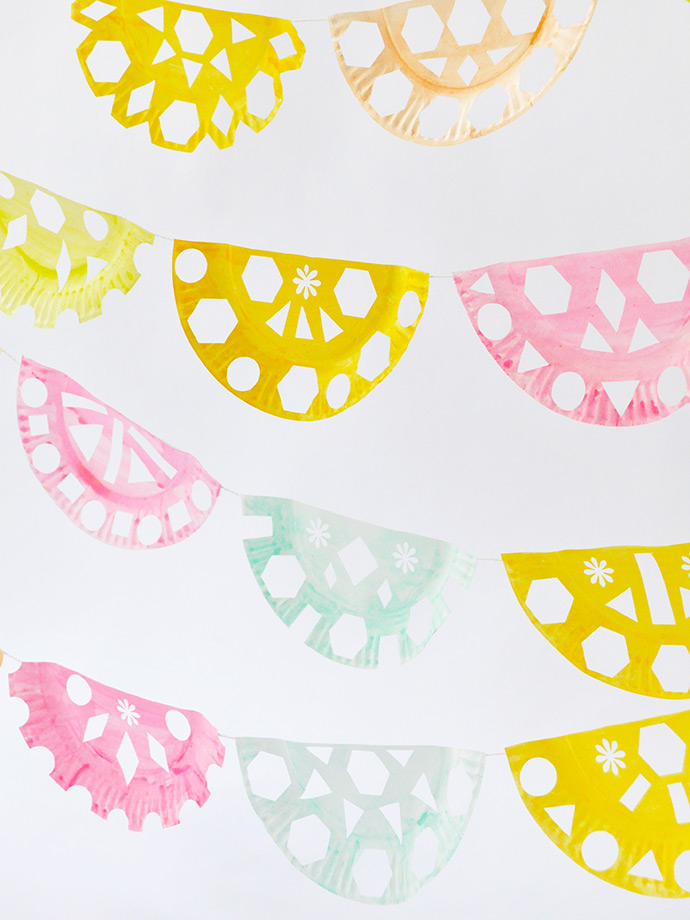
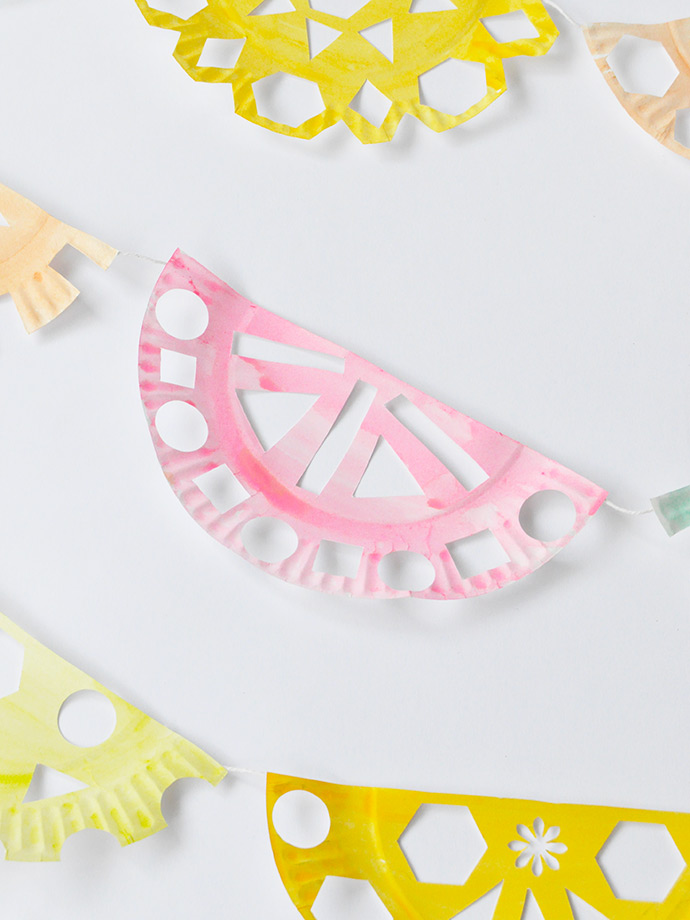
Have you ever made your own papel picado before? Some of the traditional designs can definitely be super detailed and intricate, so we wanted to try a version that was quick, simply, and kid-friendly. Enter our friend the paper plate! We loved using paper plates as the starting point because they’re affordable, we always have them around, and other than cutting them in half, they’re ready to use!
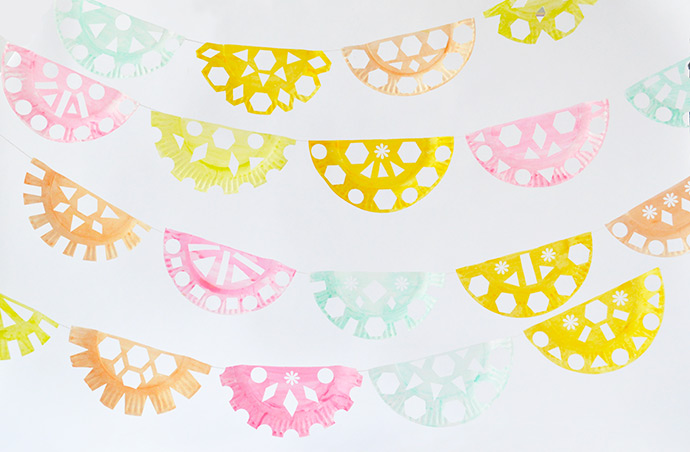
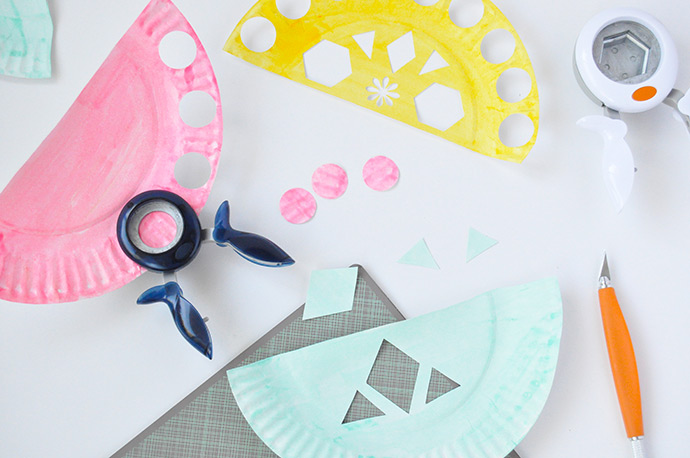
Since we used the super-thin paper plates you get at the dollar store, we used watercolor paints to add some color before we did any cutting. Paper punches are your friend here too, especially when crafting with little ones. We also used a craft knife to make some of the shapes on the inside of the plate where the cutters didn’t quite reach. Scroll down to see the full instructions!
what you need:
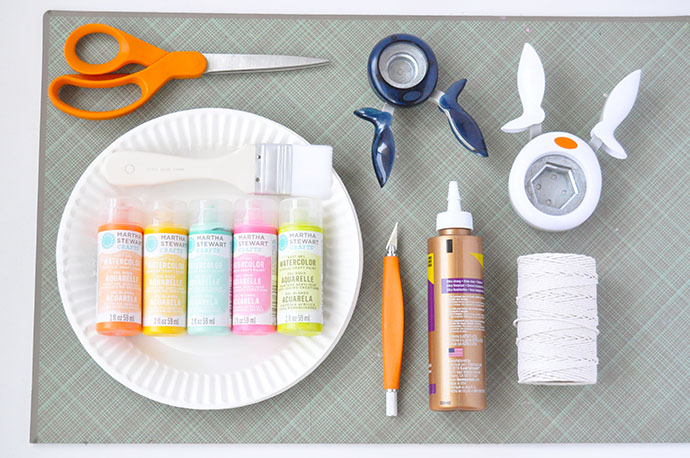
- Paper plates
- Martha Stewart Crafts Soft Gel Watercolor Acrylic Craft Paint
- Paper punches
- Craft knife
- Cutting mat
- Scissors
- String
- Glue
how-to:
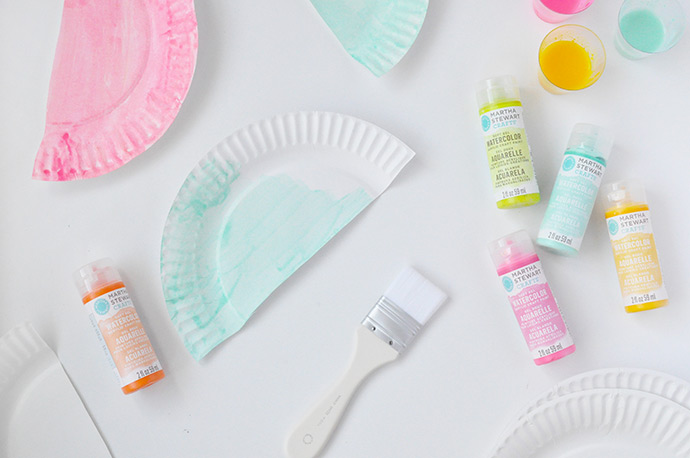
Step 1
Cut the paper plates in half. Mix a blob of paint in a cup with some water and apply onto the paper plates – we used five shades. Let the plates dry completely.
Step 2
Once dry, use the paper punches, scissors, and craft knife to cut out designs onto the paper plates.
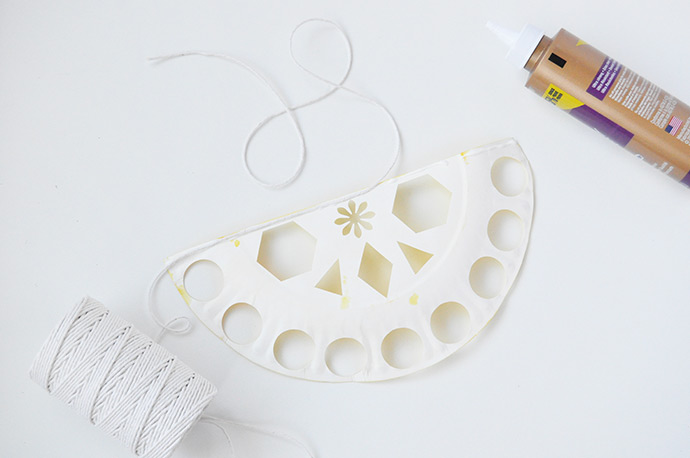
Step 3
Repeat on all the paper plates. Apply a line of white glue along the top edge of the back of each paper plate and then attach a piece of string. Let dry and then hang as a garland!

Happy crafting!
from Handmade Charlotte https://www.handmadecharlotte.com/paper-plate-papel-picado/?utm_medium=feed&utm_source=feedpress.me&utm_campaign=Feed%3A+hcrss
No comments:
Post a Comment