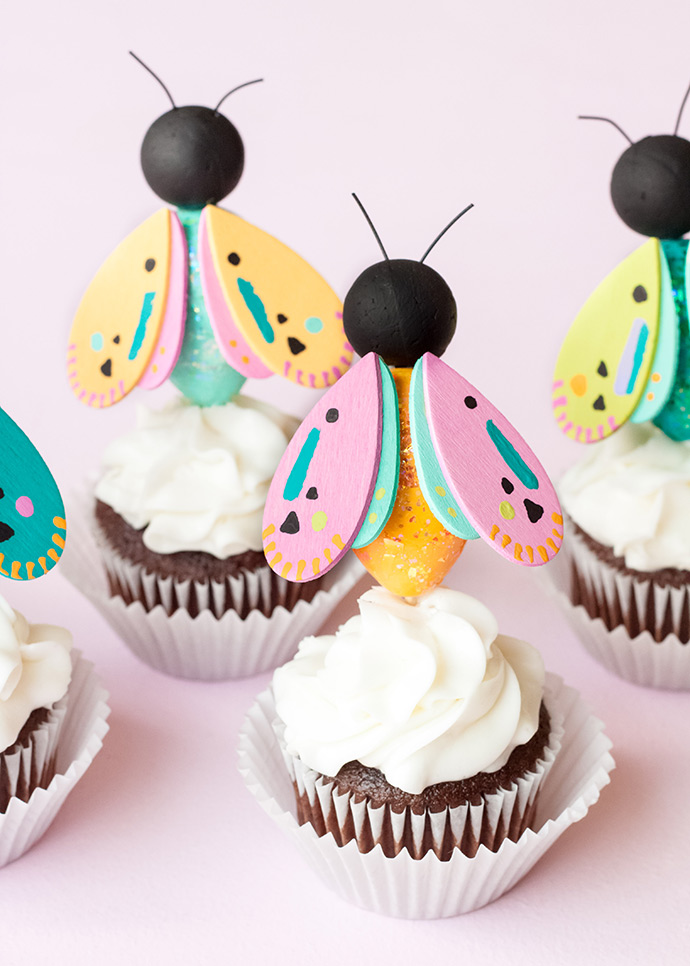
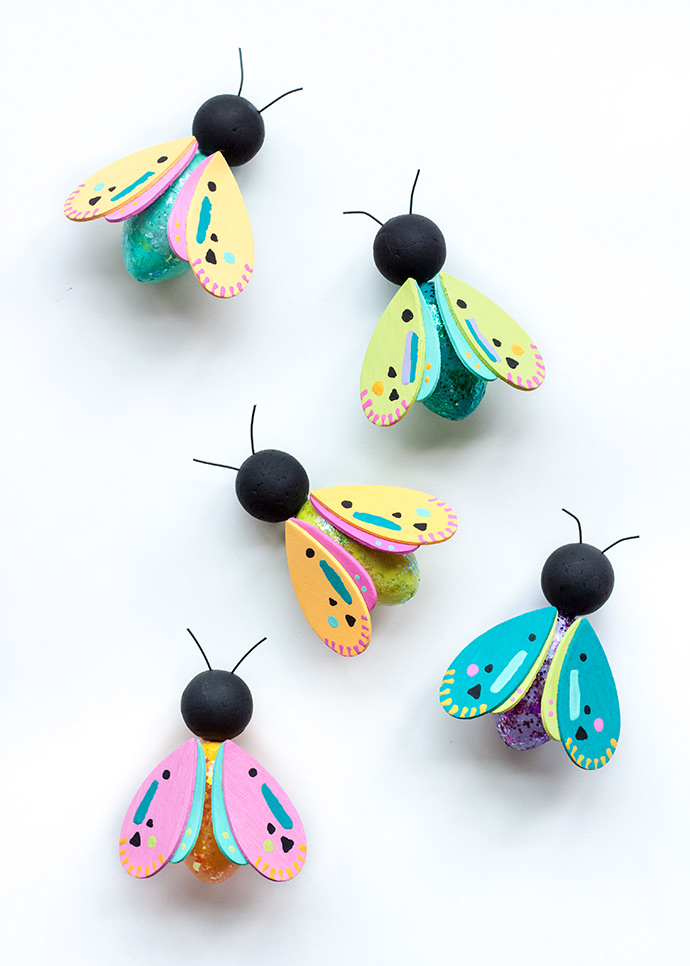
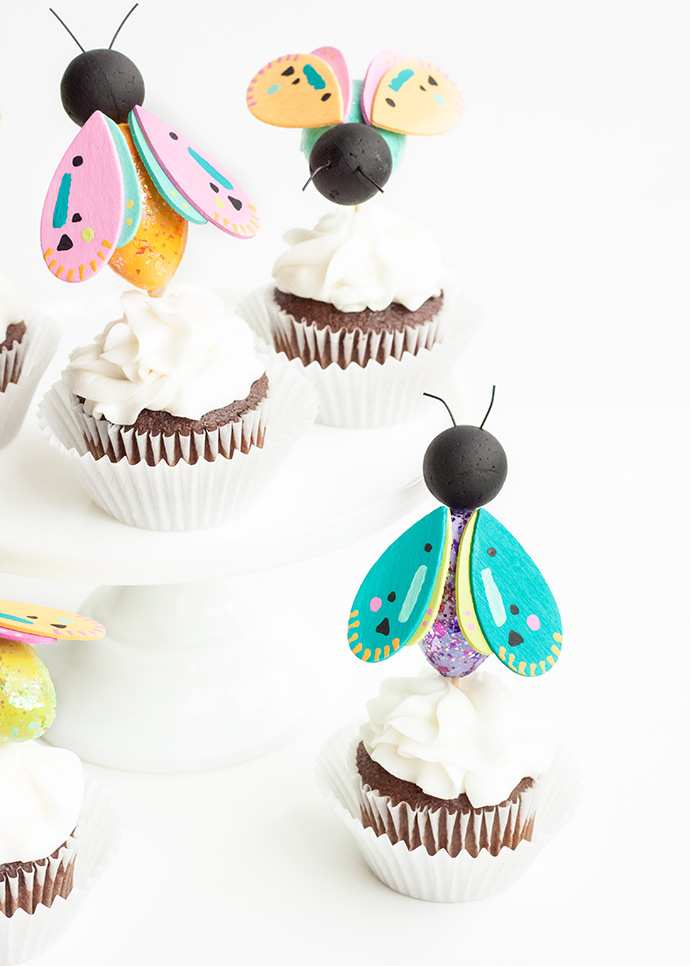
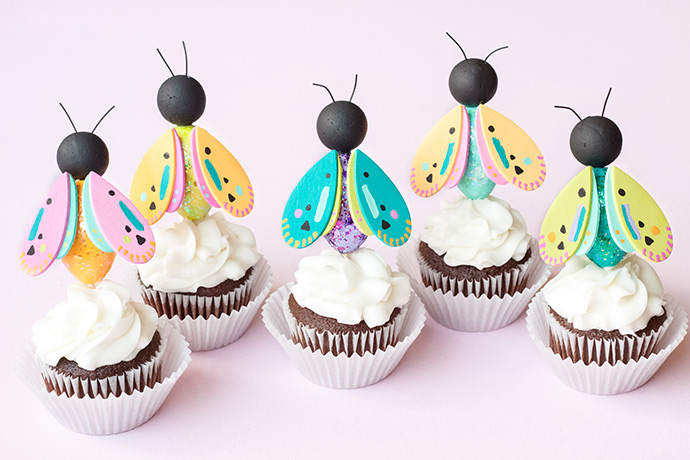
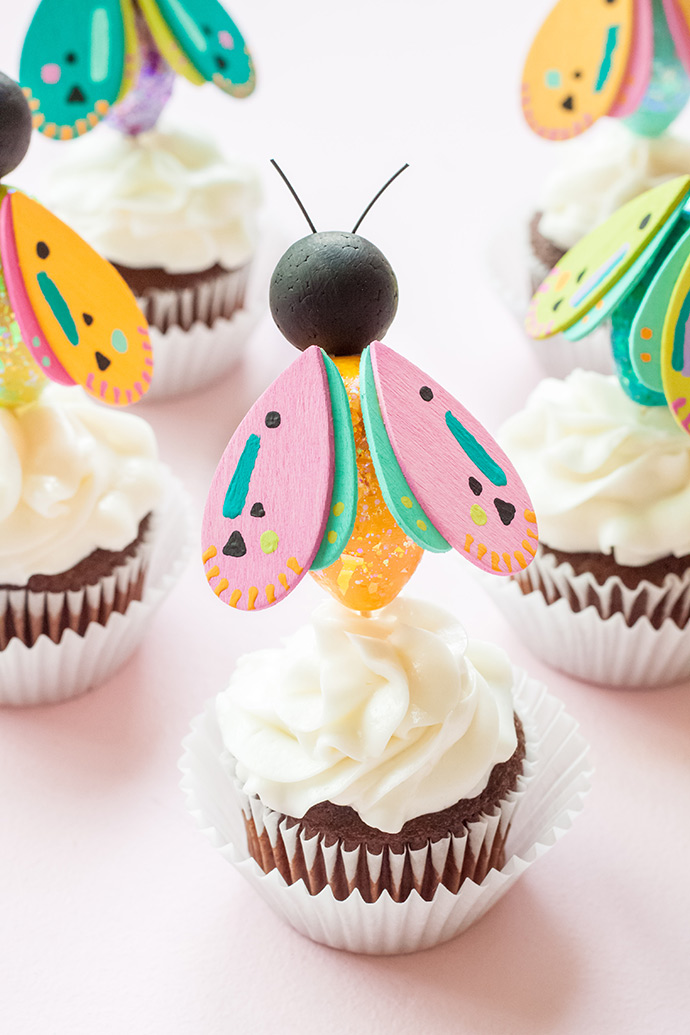
After crafting some wooden moths and dragonflies, I knew I needed to throw a summer garden party, and make some matching cupcake toppers! All you have to do is trade out the wooden body and head for Styrofoam, and add some Glitterific! These would also be fun for a bug bash, and the colors could easily be swapped for a more masculine or gender-neutral scheme.
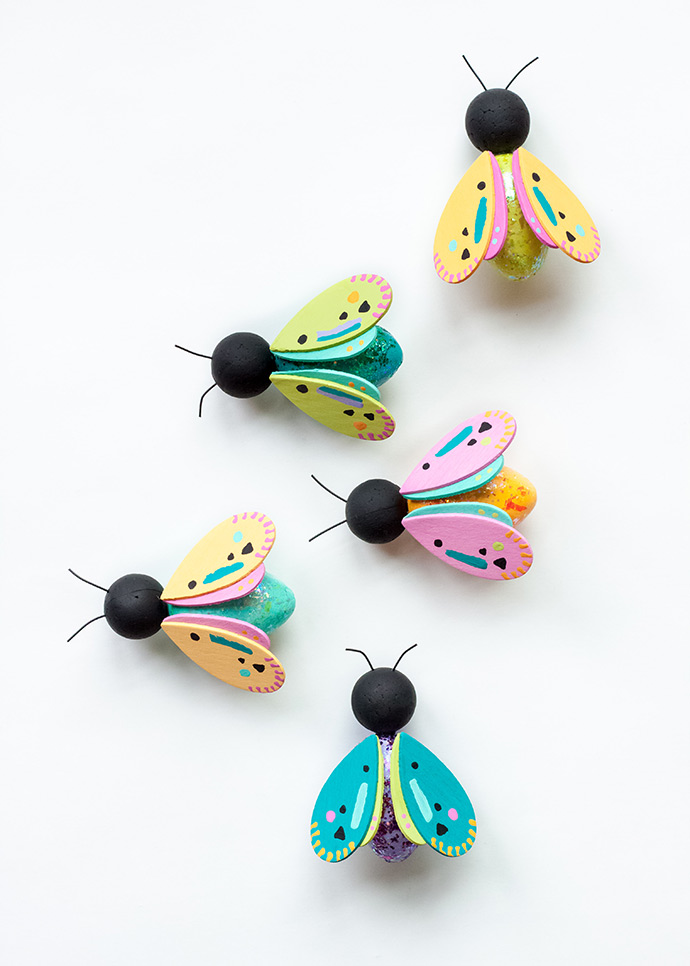
Any budding entomologist would be thrilled with some moth toppers, and the kids could make the wooden bugs as a party craft, or take one home as a favor – along with a butterfly net and magnifying glass. Outdoor parties can be so simple, and nature is the perfect backdrop. Just add watermelon, a kiddie pool or sprinkler, cupcakes, and bug toppers!
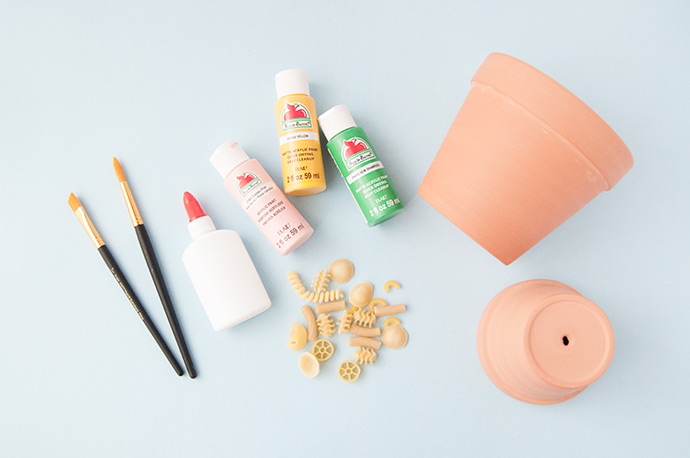
what you need:
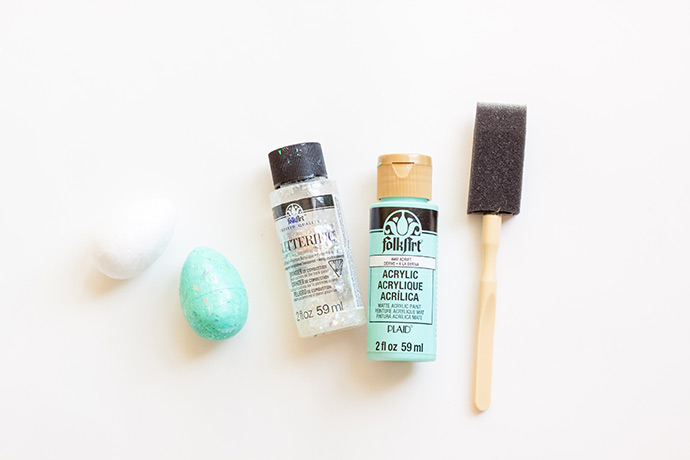
• Large Styrofoam egg
• 1” Styrofoam ball
• 24 GA (.51 mm) black vinyl coated bead wire
• Wood shapes (raindrops)
• Tacky glue
• FolkArt Acrylic Paint (black, and colors of your choice)
• FolkArt Glitterific Acrylic Paint
• Scissors
• Sponge brush
• Paint brush
• Toothpick
• Extra-long toothpick
• Wood glue
how-to:
Step 1
Paint your Styrofoam egg in the color of your choice, and allow to dry. Next, paint a coat of Glitterific in a coordinating color, and allow to dry.
Step 2
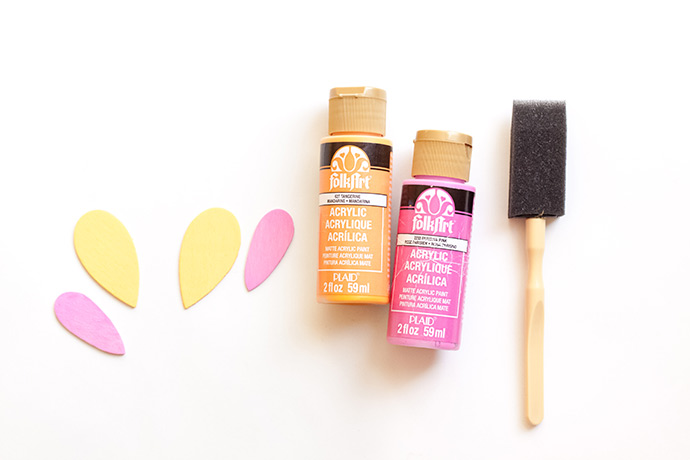
Paint two large wooden raindrops in the color of your choice, and two medium wooden raindrops in a second color. Allow to dry.
Step 3
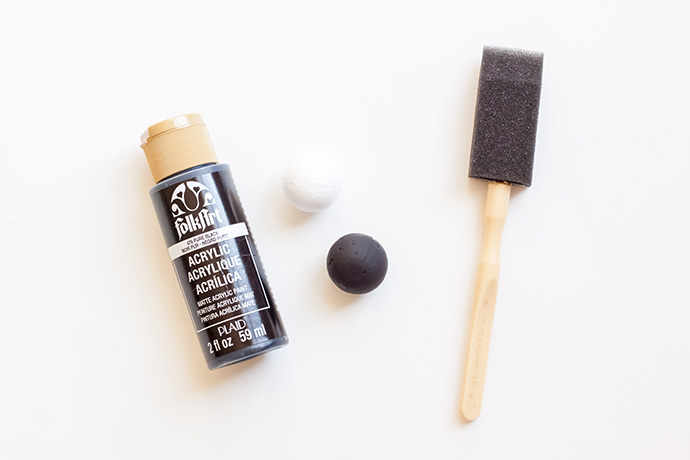
Use a sponge brush to paint your Styrofoam ball in black acrylic paint.
Step 4
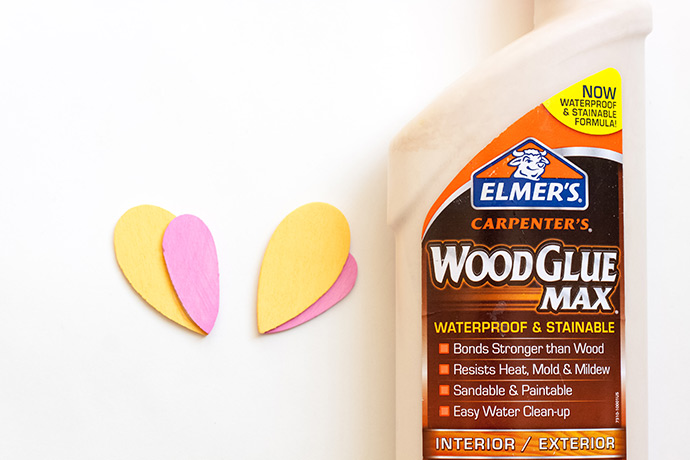
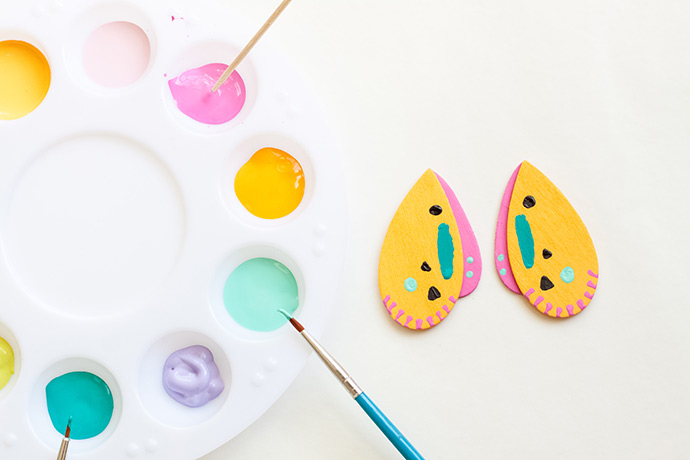
Use wood glue to glue a medium wooden raindrop to the bottom of a large raindrop, with the points lined up, and a sliver of the medium raindrop showing on the side. Glue the second pair of raindrops together, mirroring the first set.
Step 5
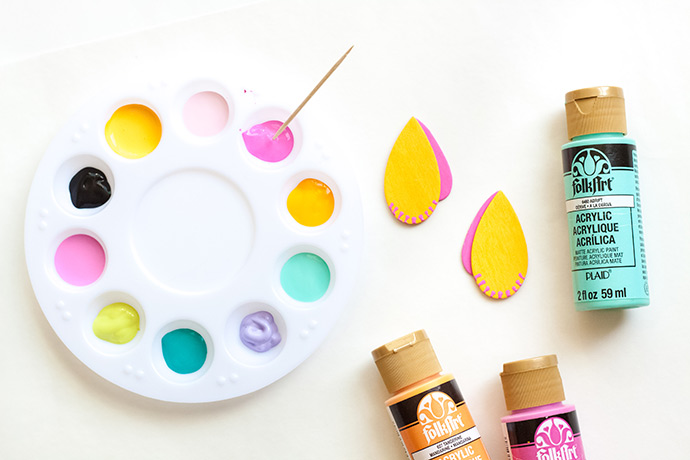
Use a toothpick to paint small lines around the bottom edge of the large raindrops. Next, paint lines, shapes, and dots that mirror each other on each wooden raindrop “wing”.
Step 6
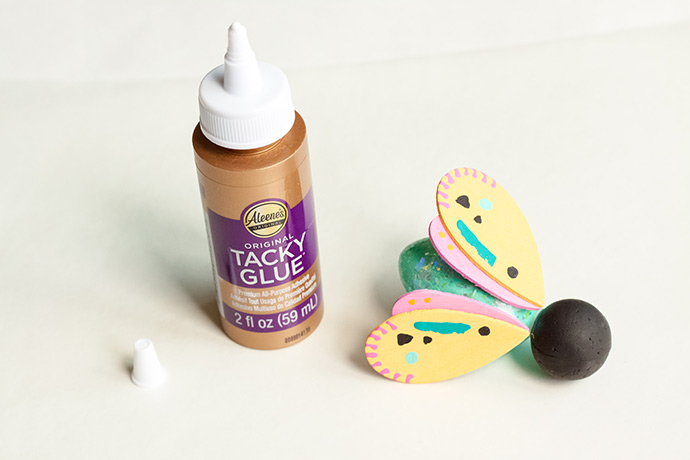
Use tacky glue to attach the black head to the narrow end of the egg. Place a large dot of glue on the bottom of the narrow end of each wing, and attach the wings to the egg body – with the narrow ends near the head, and fanned out just a bit.
Step 7
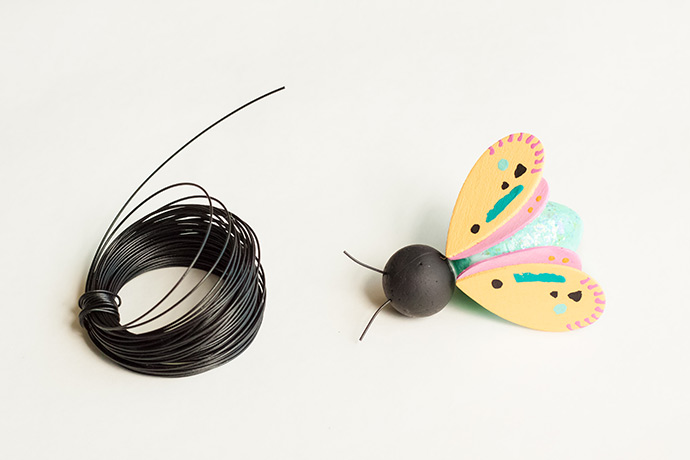
Cut two 1” pieces of black wire, and stick them in the top of the head to look like antennae.
Step 8
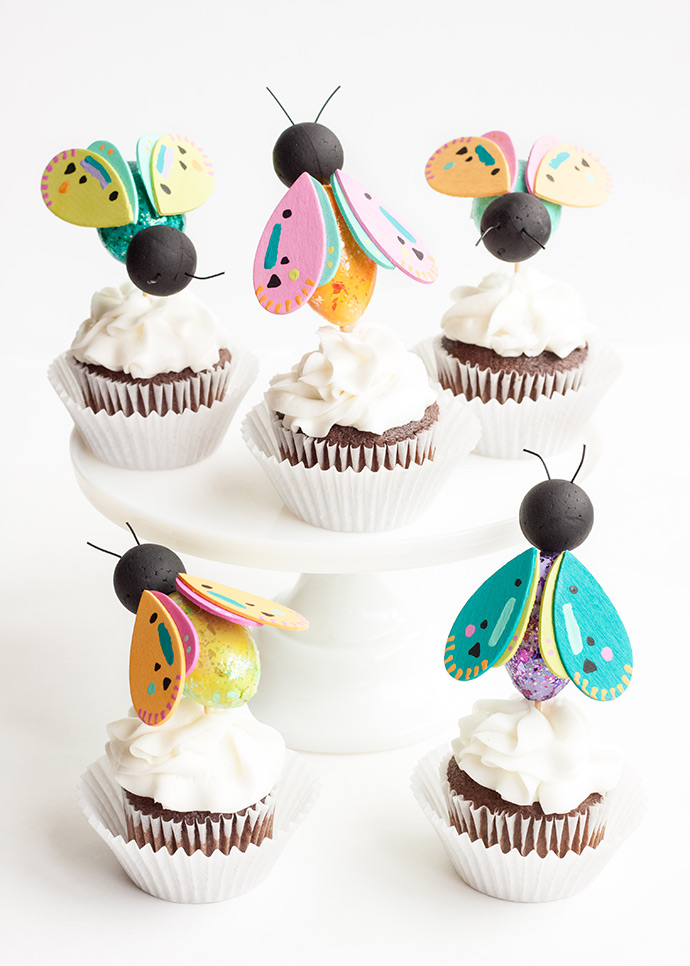
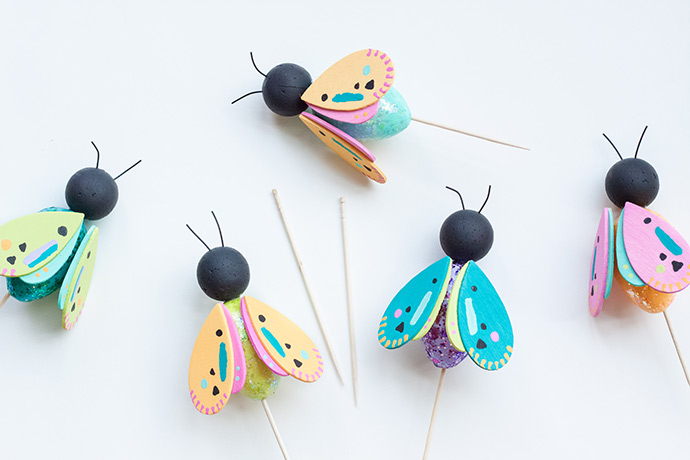
Poke the tip of an extra-long toothpick in the bottom of your moth’s body. You may want to make some of them stick into the “belly”, and others in the “tail” end, for some variety when you place them in cupcakes.
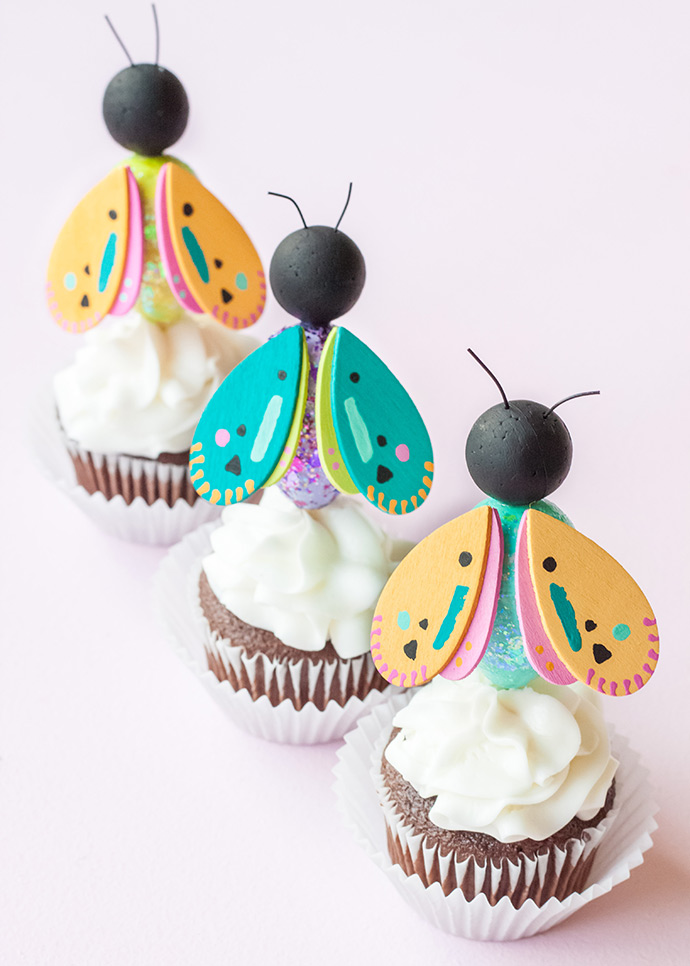
Your moth toppers are superfly! Happy crafting! :)
from Handmade Charlotte https://www.handmadecharlotte.com/bug-cupcake-toppers/?utm_medium=feed&utm_source=feedpress.me&utm_campaign=Feed%3A+hcrss


