This post is sponsored by Plaid Enterprises.
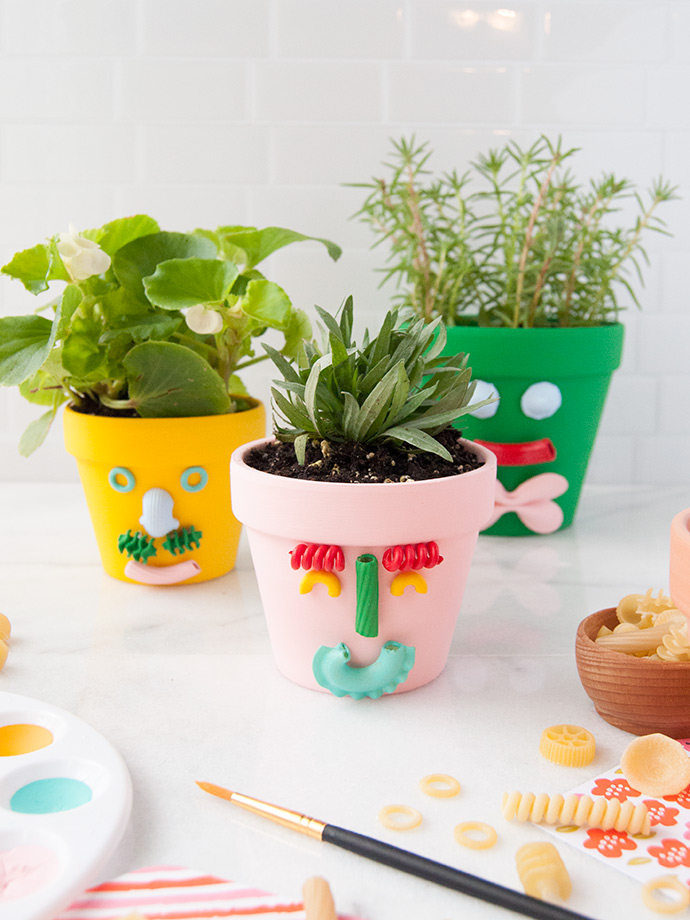
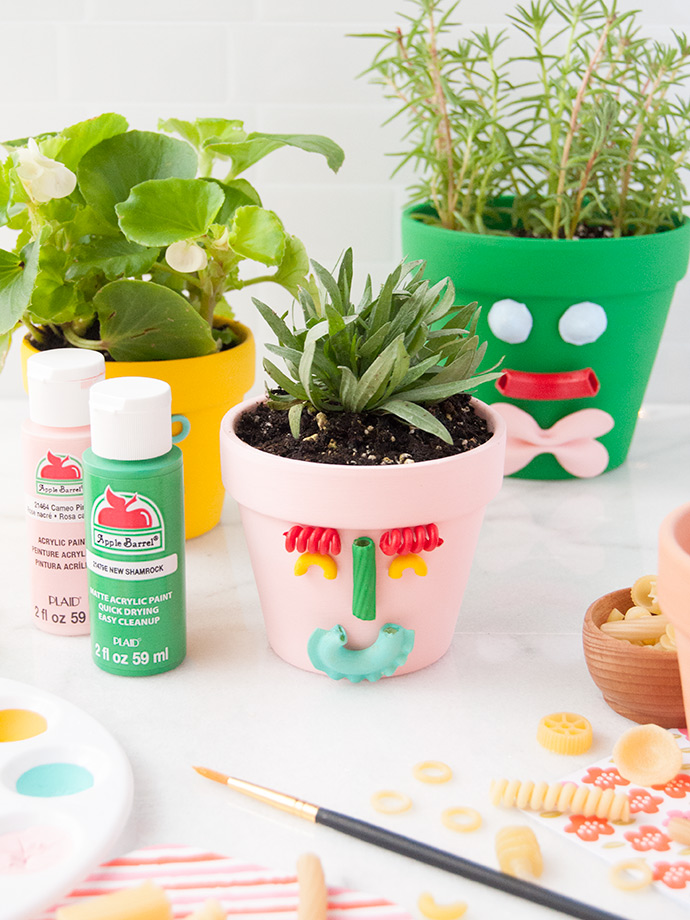
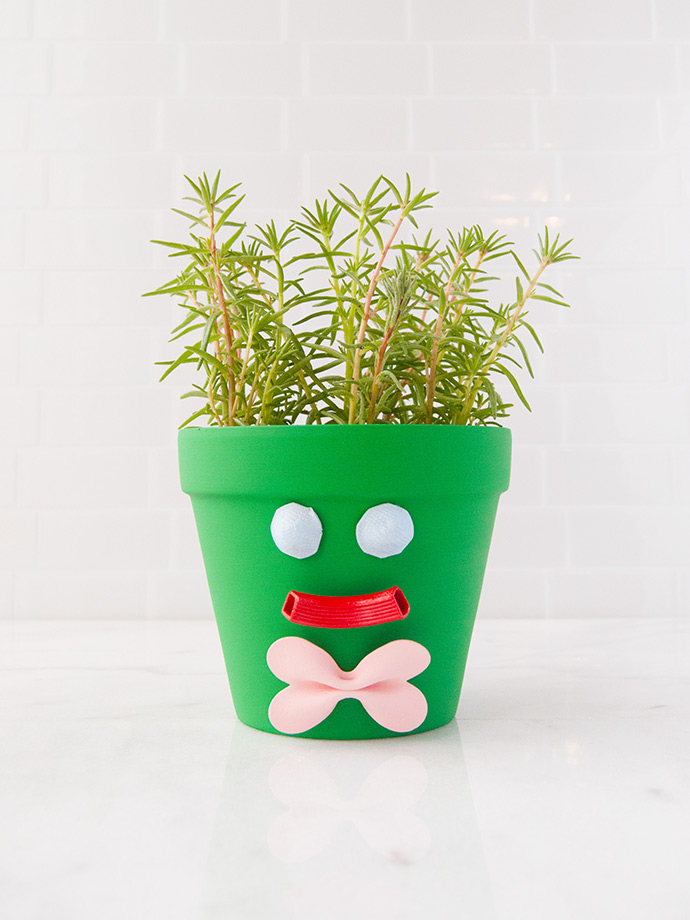
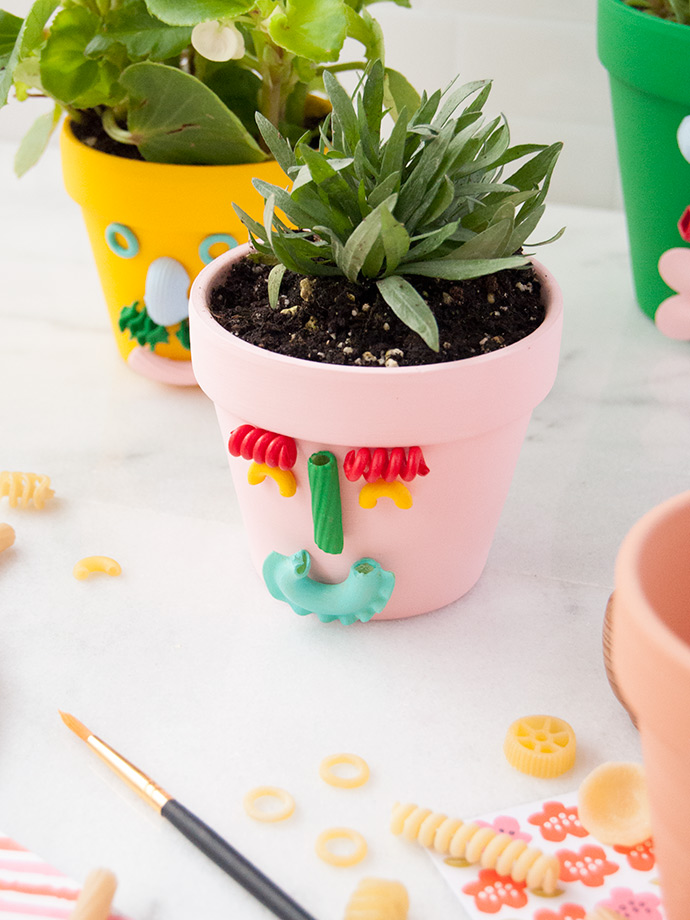
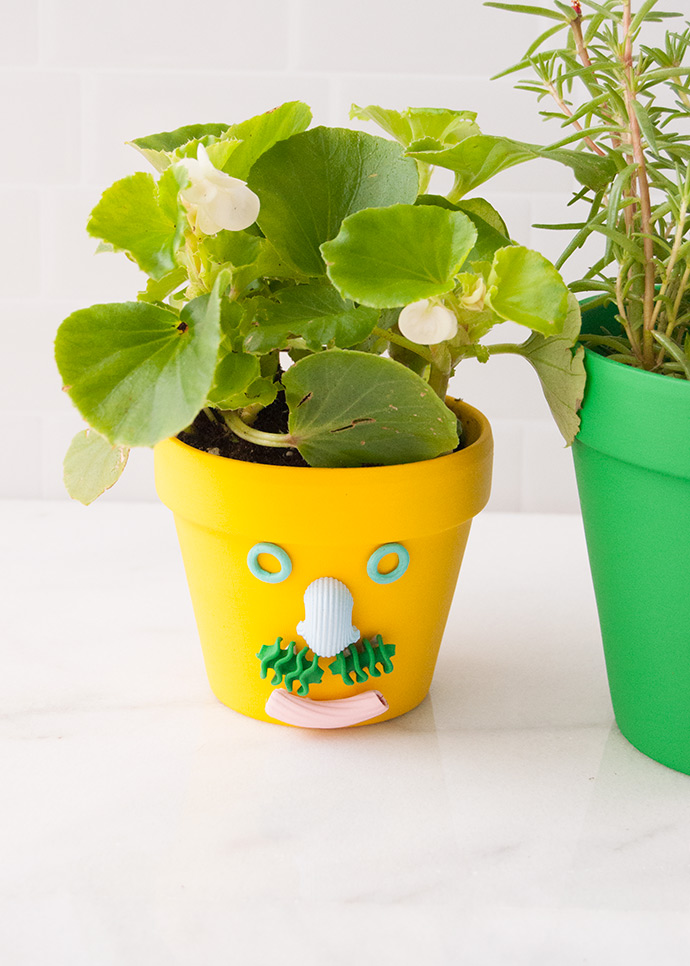
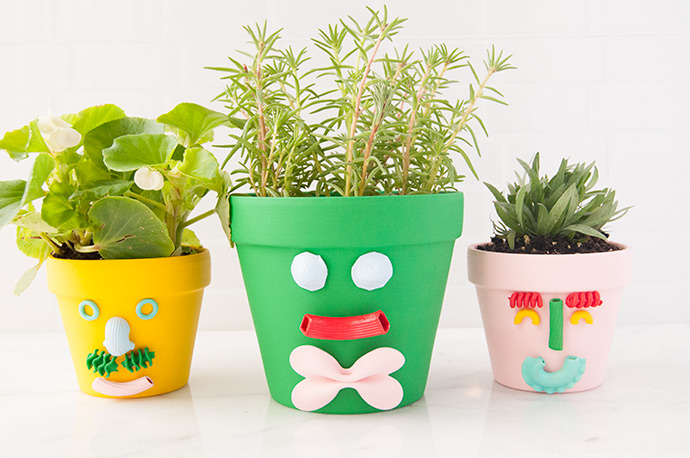
Give dads something to smile about this Father’s Day with these DIY pasta planters! While working on this project, we’d been calling them “papa pasta planters” and, really, that’s exactly what they are! If you’re as big a fan of pasta-based crafts as we are, you likely have some fun shaped noodles in your stash perfect for this project. If not, this is your excuse to go find some at the supermarket or local specialty food store!
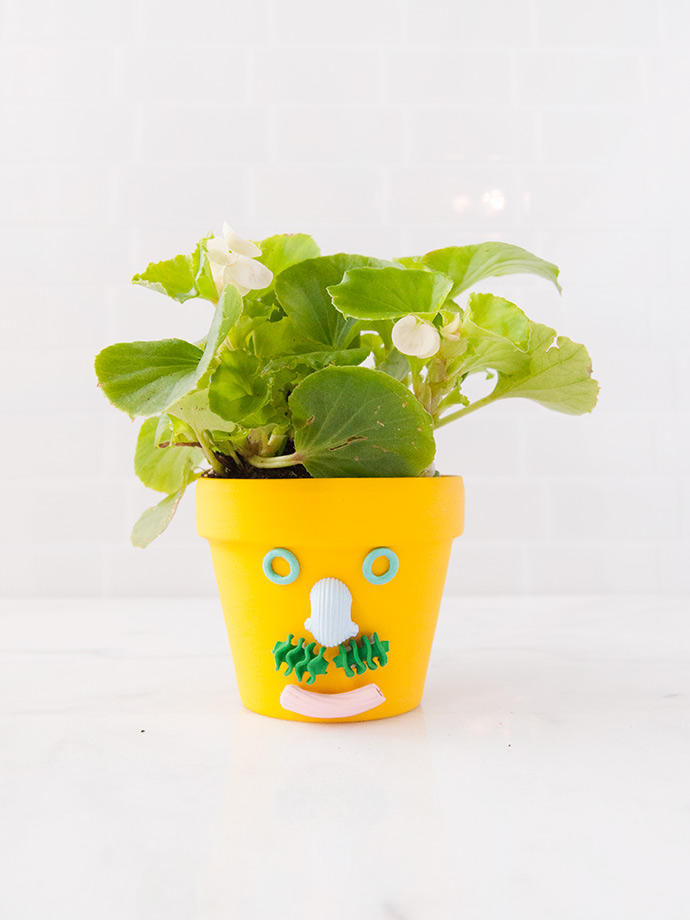
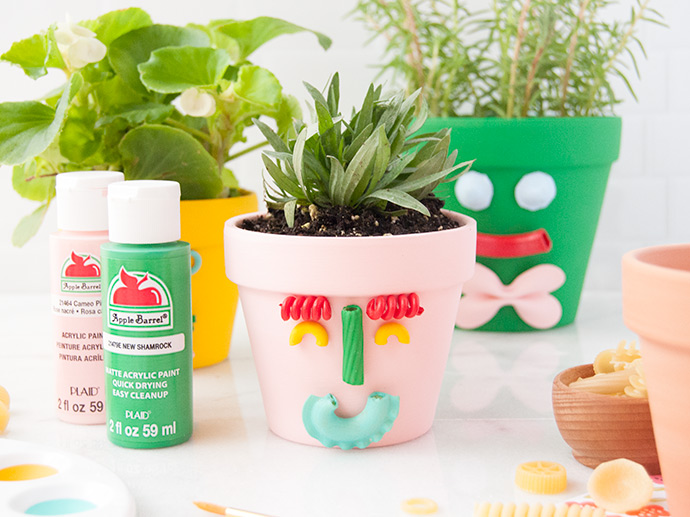
And the crazy thing is that some of the less traditional shapes don’t end up looking like pasta at all once they’re painted, don’t you think? For this project, we used our handy set of Apple Barrel paint. We went for a bright and colorful look, but wouldn’t these be neat painted all white or grey? They’d almost look like stone! Keep reading for all our tips and tricks below.
what you need:
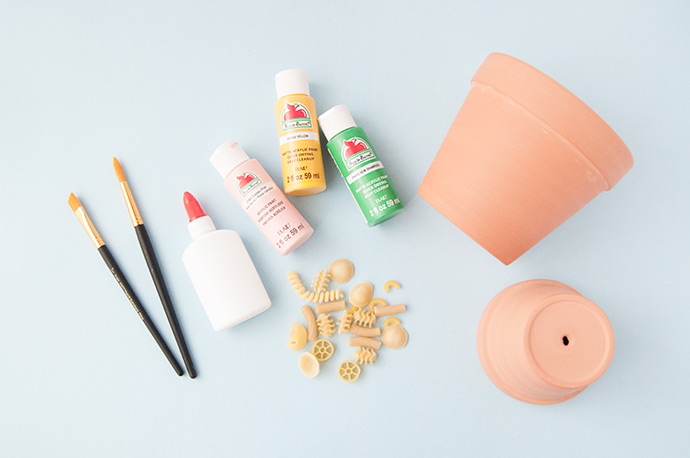
- Apple Barrel Acrylic Paint Set
- Paintbrushes
- Terra cotta pots
- Pasta in assorted shapes
- Tacky glue or hot glue gun
how-t0:
Step 1
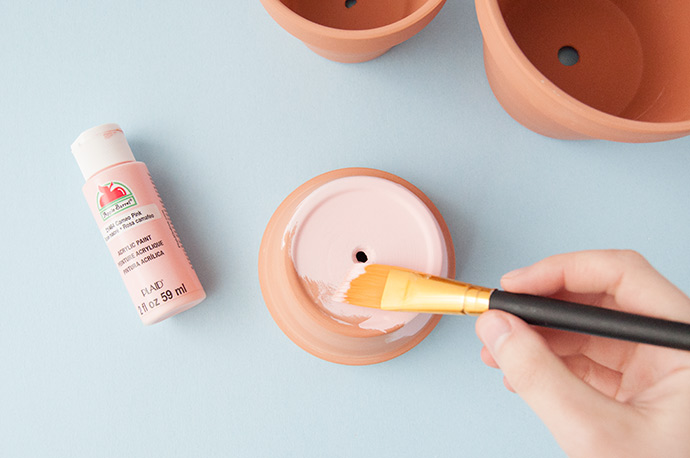
Begin by painting the outside of your terra cotta pots. We also chose to paint the top couple inches of the inside of the pots too, but you can leave this unpainted if you prefer. Let dry completely.
Step 2
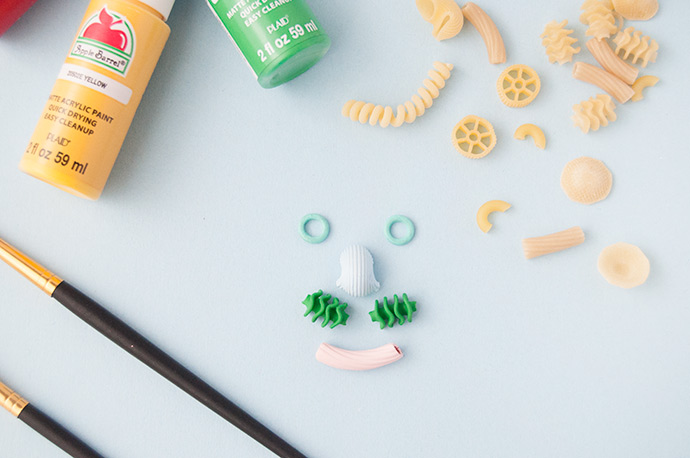
Time to make some silly faces! Gather up all the pasta you have and start playing with the different shapes to form faces. The possibilities are endless! Farfalle makes excellent bow ties while radiatore can look just like a mustache. If you’re in the market to increase your pasta collection, we suggest checking at specialty grocery stores for the widest variety. Whatever noodles you pick, lay them out as you like on your work surface and give each one a coat of paint. Let dry completely.
Step 3
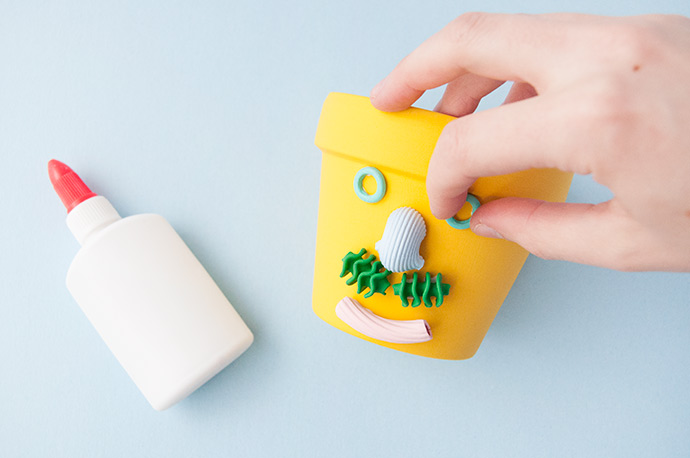
Once the painted pot and pasta are dry, use tacky glue (or a hot glue gun) to attach the features onto the planter. If using tacky glue like we did, you’ll want to leave the pot horizontal as it dries so that the pasta doesn’t slide off. If you have an empty bowl or similar to rest the pot in to prevent it from rolling around, that tends to work best. Allow to dry for several hours. If you plan to use the planter inside only, you’re ready to put your new plant inside! If you’d like the planter to be weatherproof, apply a coat of Mod Podge Outdoor to seal everything in.

Happy crafting!
from Handmade Charlotte https://www.handmadecharlotte.com/fathers-day-pasta-planters/?utm_medium=feed&utm_source=feedpress.me&utm_campaign=Feed%3A+hcrss
No comments:
Post a Comment