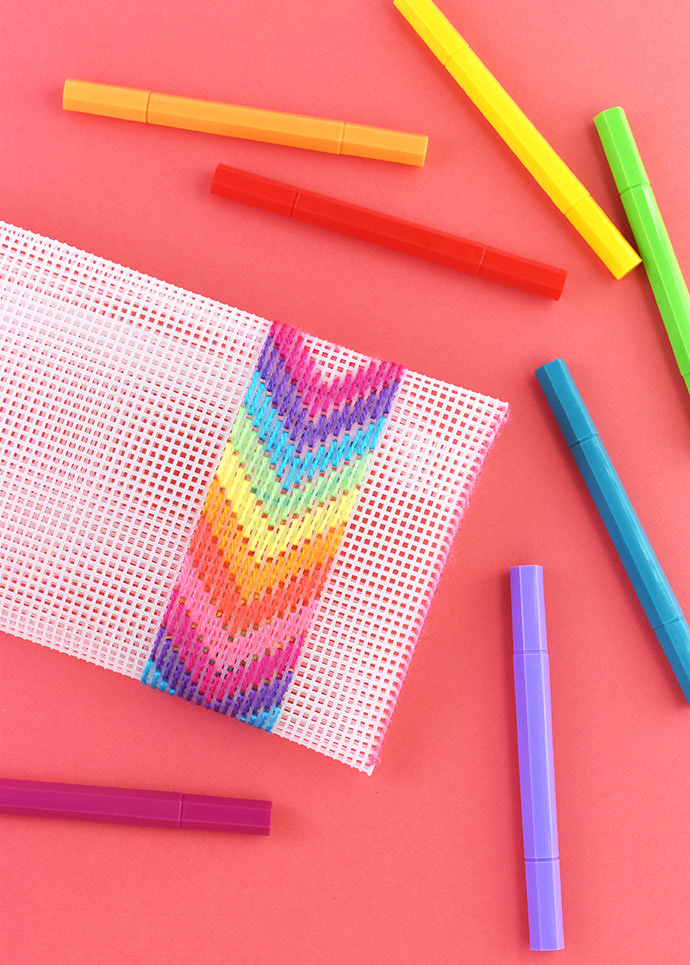
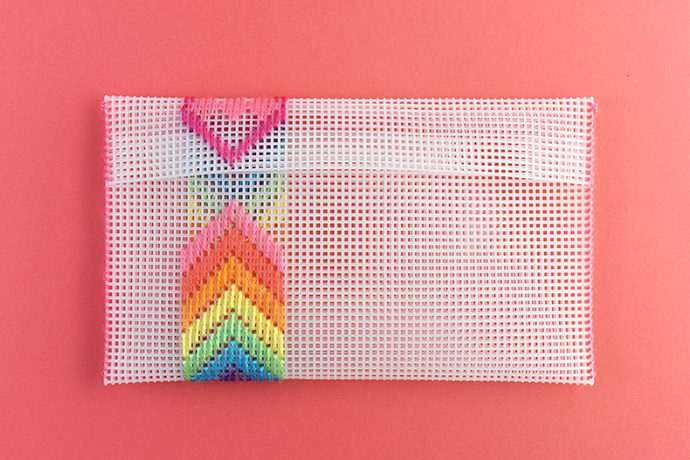
Need a purse or pouch to store your supplies? Make an easy bag with plastic canvas! With a few folds and some bargello-style stitching, you’ll have your own accessory to carry with you every day.
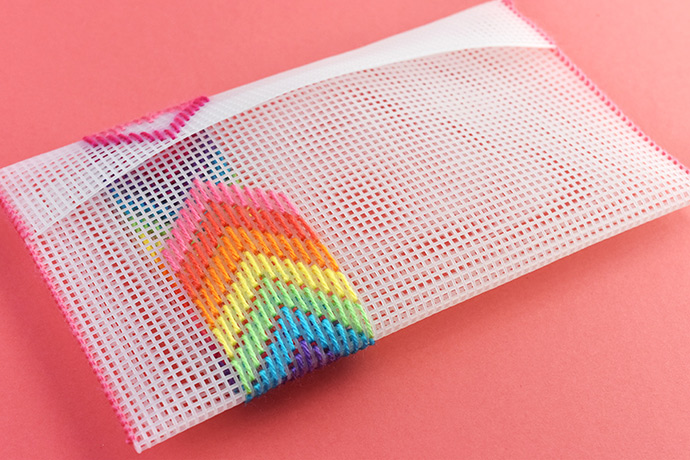
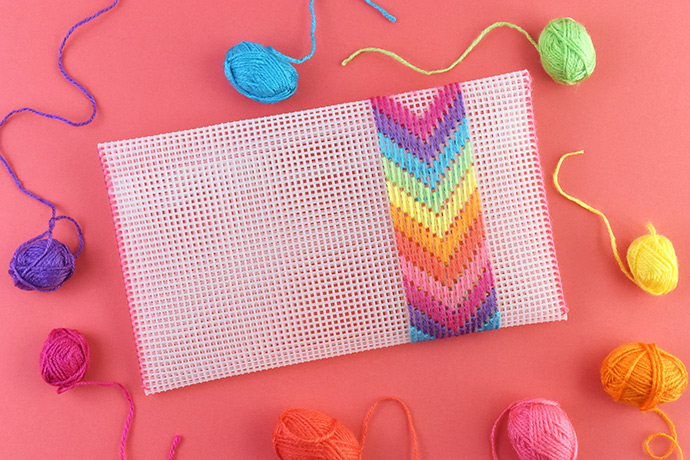
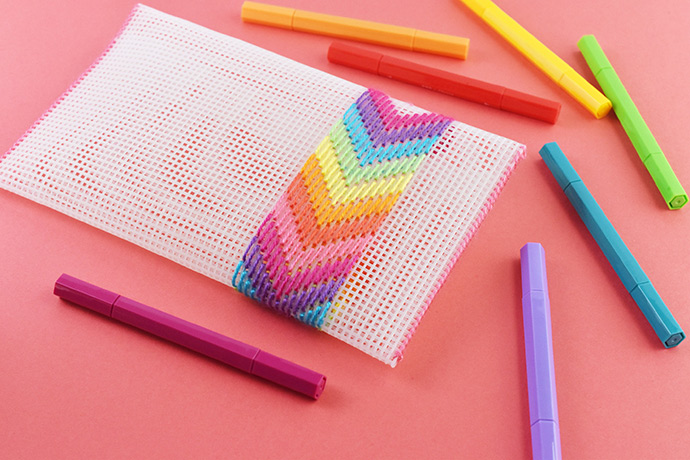
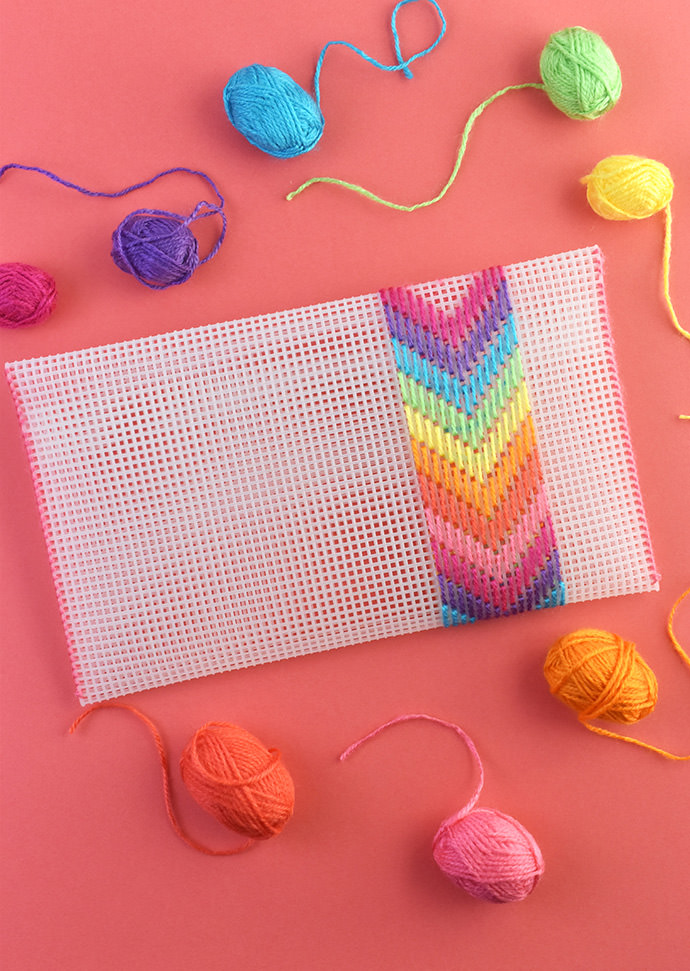
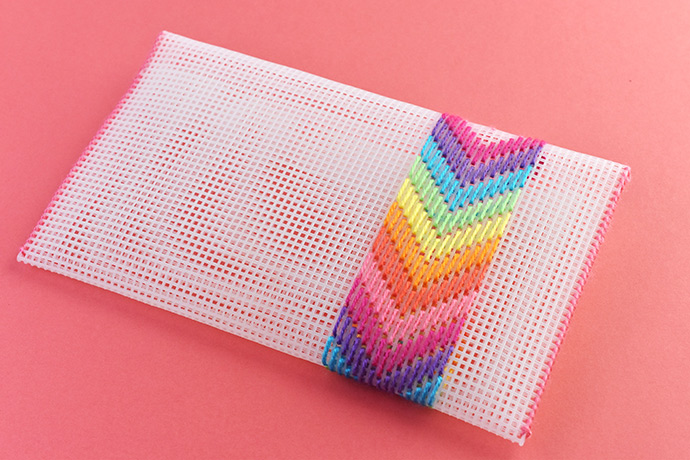
You can stitch any design you want to on the bag or leave it plain. The design we did is based on a type of needlework called bargello. This style of embroidery uses straight vertical stitches on plastic canvas or other grid material to make designs. Sometimes the designs are complicated, but we made a pattern that’s simple but bold and fun!
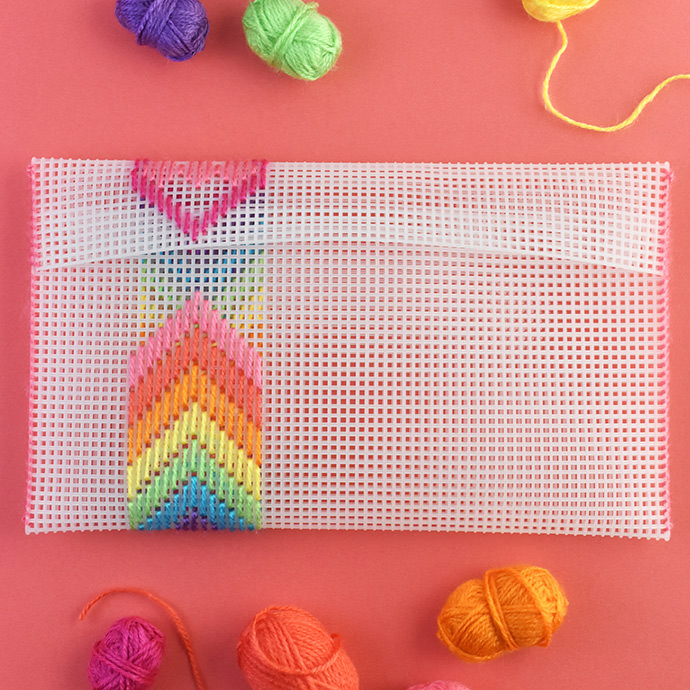
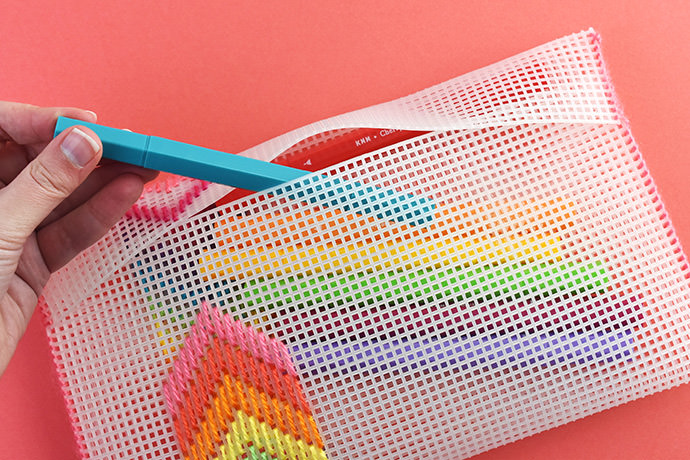
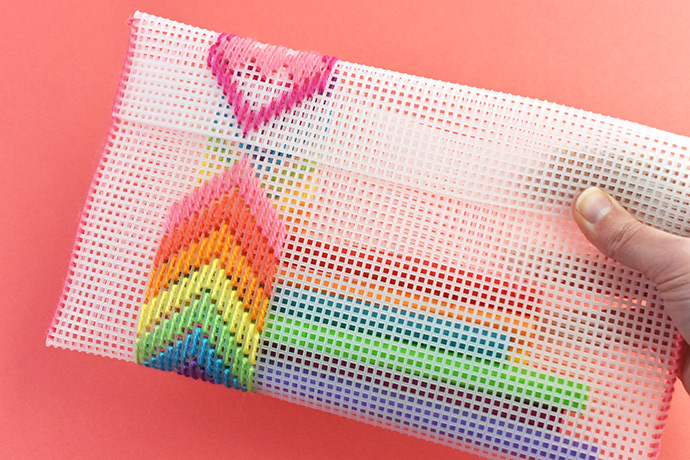
The style of this pouch is like a clutch purse or a bag that you tuck under your arm. Even though you can see through it, it’s still great to use it as a purse! It also works as a pencil case or simply as a way to carry items within a larger bag. And because of the overlap on the opening, this bag stays closed until you squeeze the ends to open it!
Pull out your stitching supplies and let’s get started!
what you need:
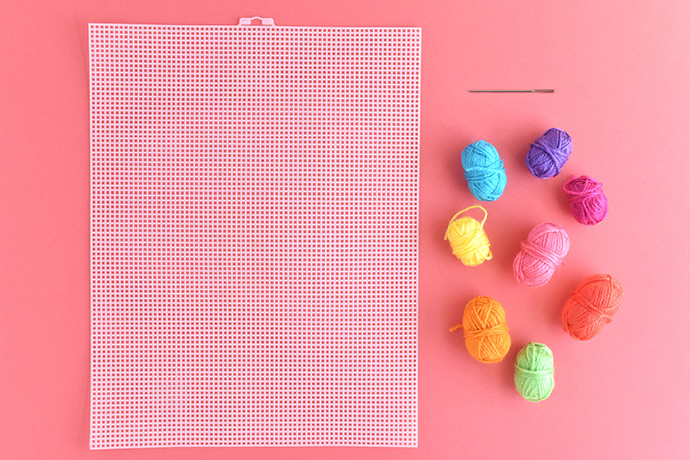
- 7-Count Plastic Canvas
- Yarn in a Rainbow of Colors
- Plastic Canvas Needle
- Scissors
- Printable template
how-to:
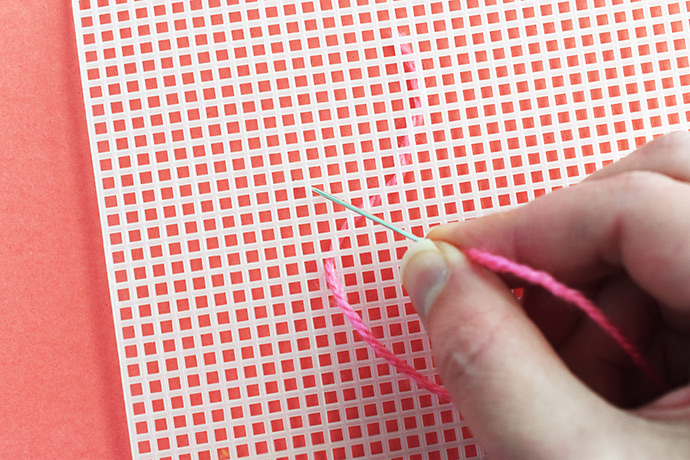
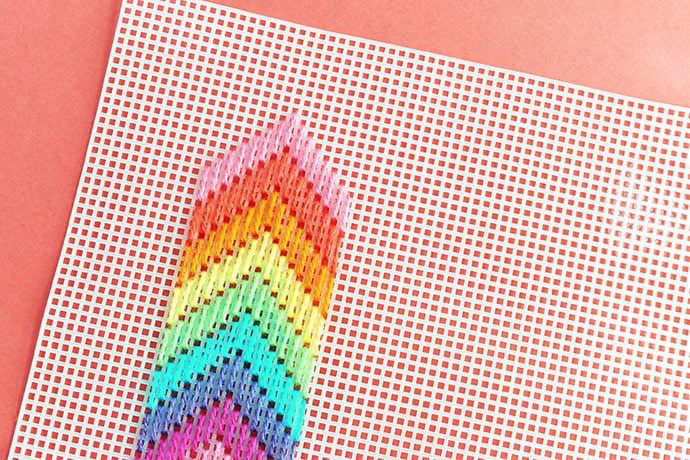
If your plastic canvas piece has a little tab on the edge, you can cut that off.To make the bargello stitches in the sample, thread your needle with about 18 inches of yarn. Come up through the plastic canvas in one square, skip three squares, then go down in the next square. Always make the stitches from bottom to top.
You won’t start with a knot, so leave a yarn tail that’s about 2 inches long on the back. Be sure to hold the tail so you don’t pull it through!
To follow the pattern in the PDF, start the first stitch 12 squares in from the left and 20 squares down from the top.
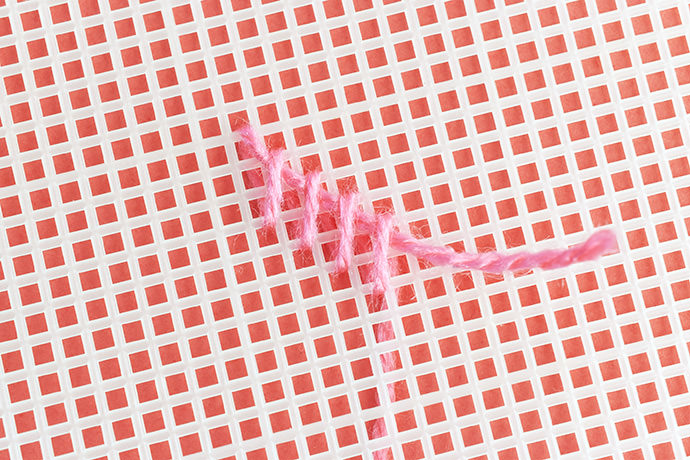
On the next stitch, you’ll come up to the right of the first stitch and one square up. Use the pattern as a guide for the design.As you make the stitches, hold the yarn tail so you can stitch over the tail on the back. After the first stitch, you should be able to pull each stitch tight so the yarn is smooth on the plastic canvas.
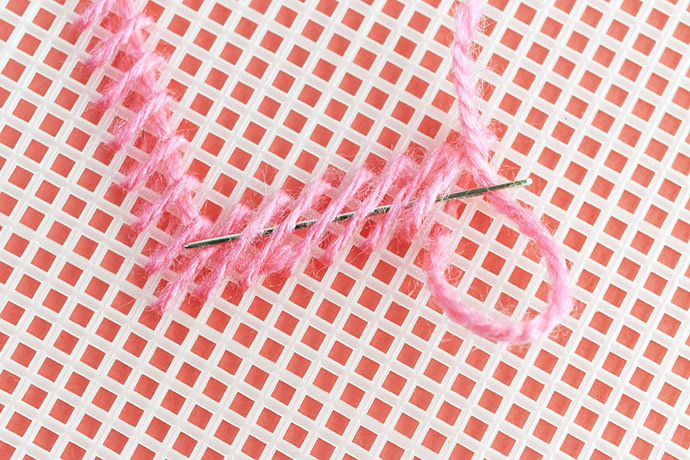

Repeat the process of stitching the chevron designs, keeping the colors in rainbow order. Remember that the stitches should always come up at the bottom of the stitch and go down at the top.
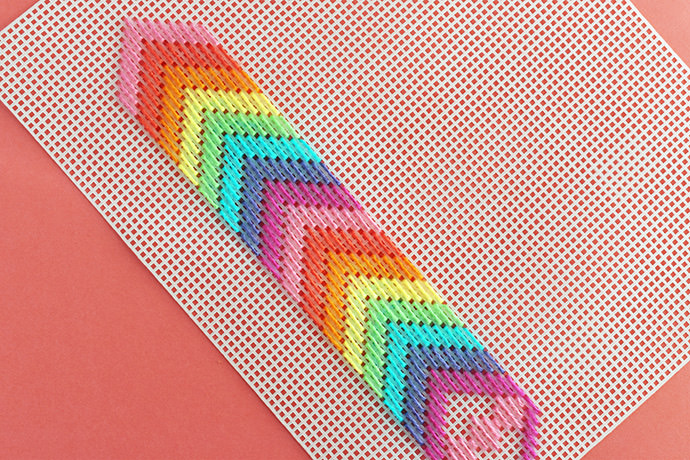
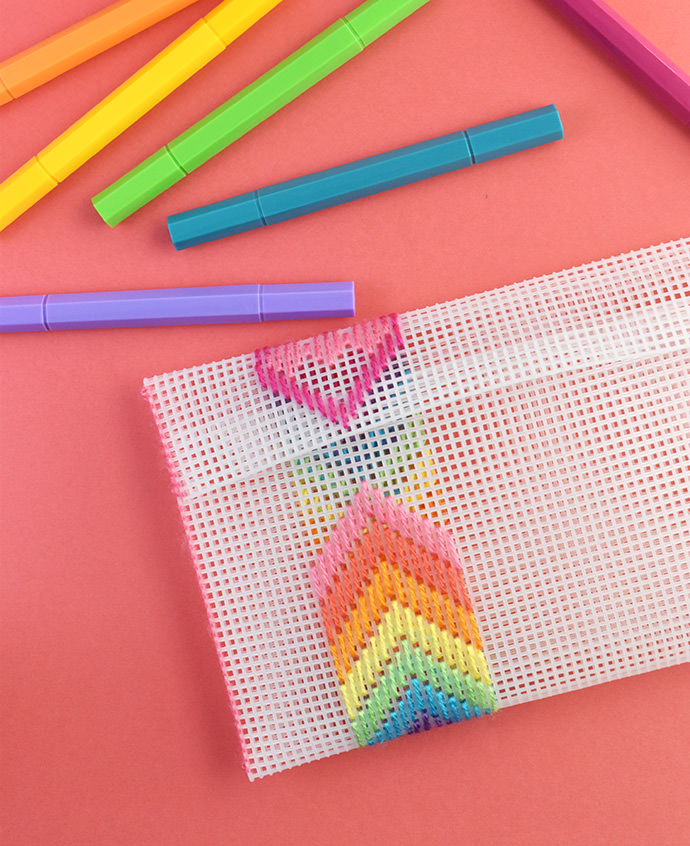
Flip the plastic canvas over and fold the bottom (diamond) edge so it makes the flap. Count 12 squares from the edge and press to crease it. Tie the yarn through the doubled plastic canvas, leaving a tail.
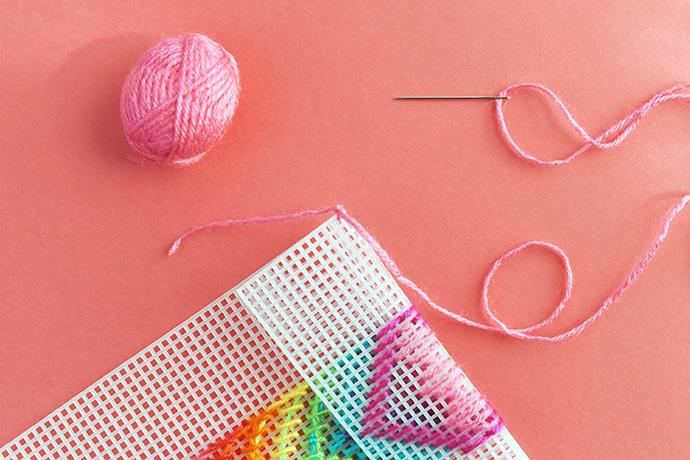
Fold the opposite edge up so the squares overlap by seven squares. It can be tricky to hold this in place as you stitch the edge, but placing something heavy on the bag helps.Stitch through the layers with whip stitch. Always go from the front to the back and keep the stitches tight. Just like you did with the decoration, stitch over the tail as you go.
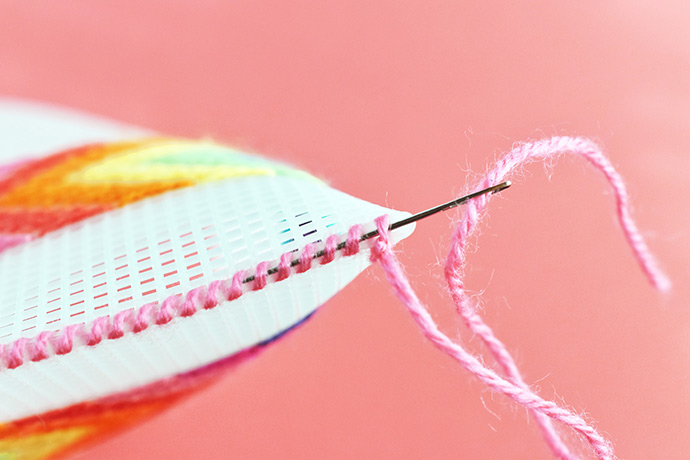
When you get to the bottom folded edge, tie a knot, then slide the needle through the stitches. Trim the yarn.
This project is a great way to use scraps of lots of yarn colors, but it would also look great in a single color. Of course, you can use this same kind of stitching to experiment and try your own designs!
Happy crafting!
from Handmade Charlotte https://www.handmadecharlotte.com/stitch-rainbow-plastic-canvas-pouch/?utm_medium=feed&utm_source=feedpress.me&utm_campaign=Feed%3A+hcrss
No comments:
Post a Comment