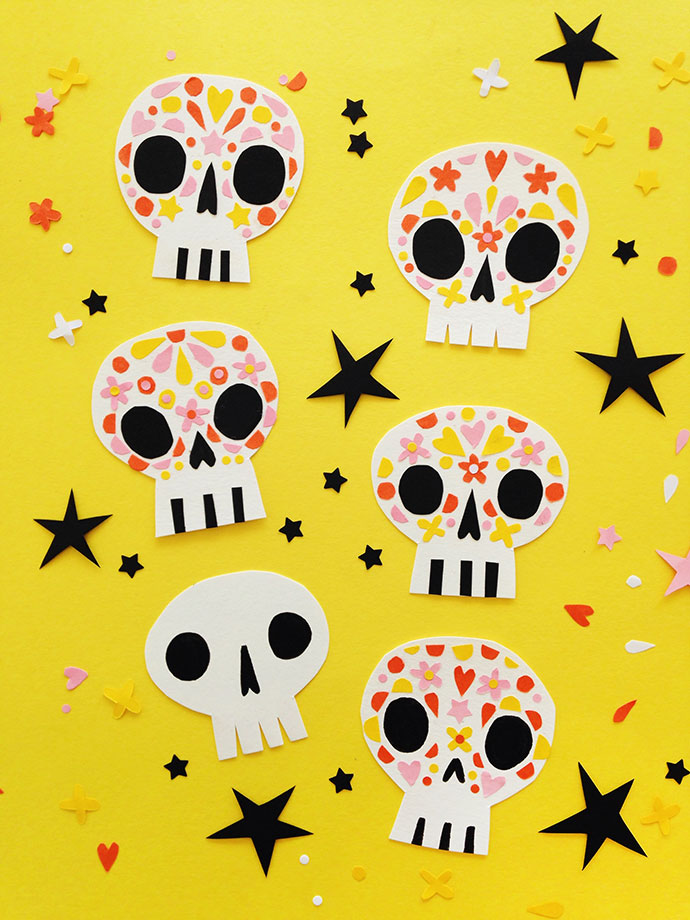
Even though I’m not a fan of scary things (scary movies, ghost stories, haunted houses, etc) I still really enjoy the excitement, mischief, and magic centered around Halloween. Creating projects and decorations is such a fun way to build the anticipation for Halloween and can also provide an opportunity to learn a bit about how other cultures celebrate similar holidays.
As a mega-fan of bright colors, it’s probably no surprise that I especially enjoy all the beautiful motifs and saturated hues used to celebrate the Day of the Dead in Mexico. I was inspired to create these decorated paper skulls after admiring the colorful and creative designs of traditional Mexican “calaveras” (sugar skulls).
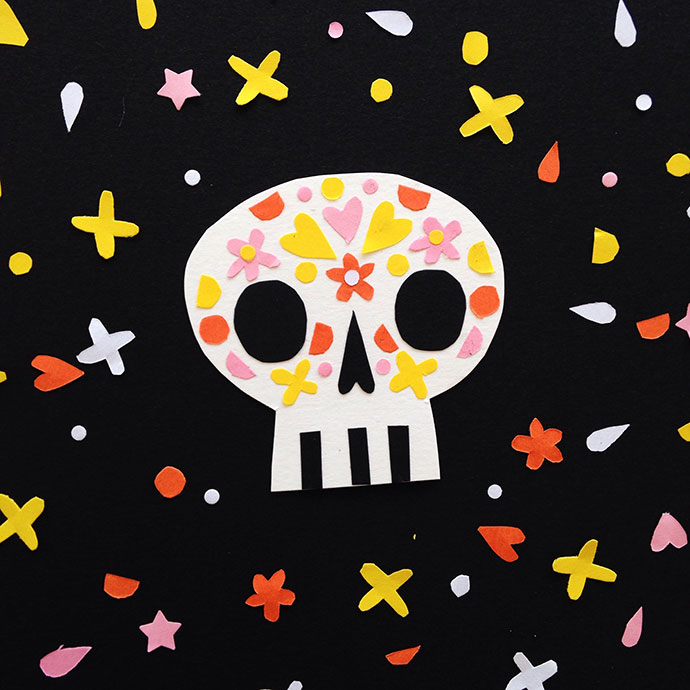
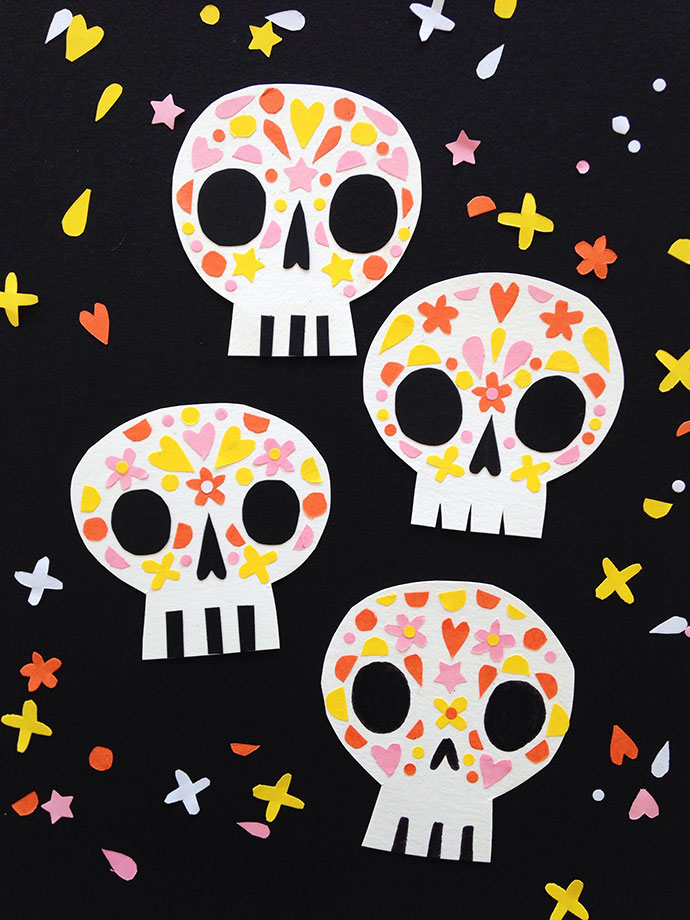
This project uses a mosaic-like technique to create soothing and satisfying symmetrical patterns (similar to why so many people enjoy working on mandalas). But if symmetry isn’t your thing, gluing pieces in a random and sporadic style can also yield cool results.
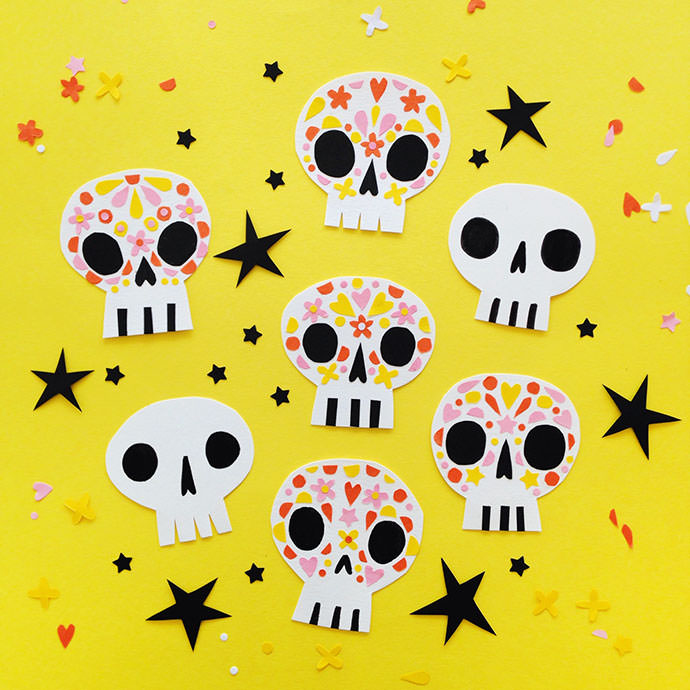
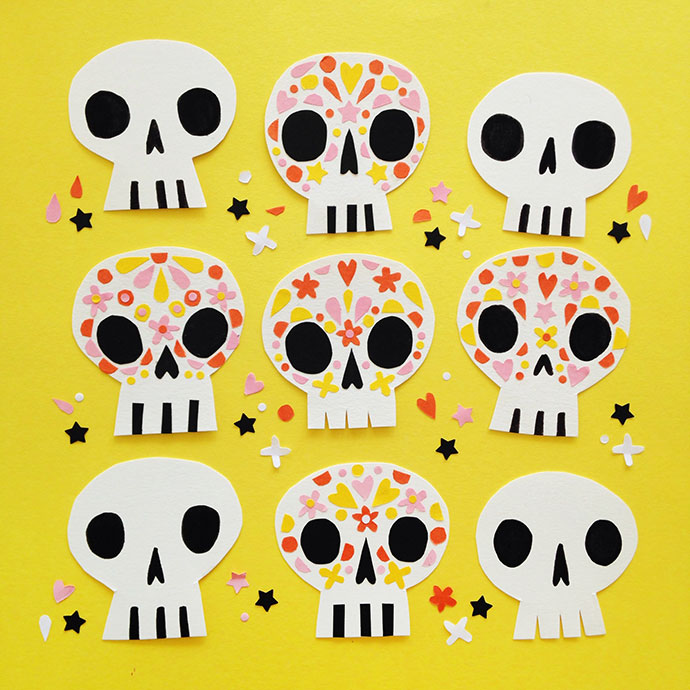
If you end up with several skulls, they can be taped to string and hung up as a festive bunting. Individual skulls can be attached to heavy paper to make a card or used on its own as a gift tag or lunchbox note.
what you need:
- White cardstock
- Colored paper (3 – 5 colors is ideal)
- Glue stick
- Scissors
- Black paper or black marker
- Optional: hole/ shape punches
how-to:
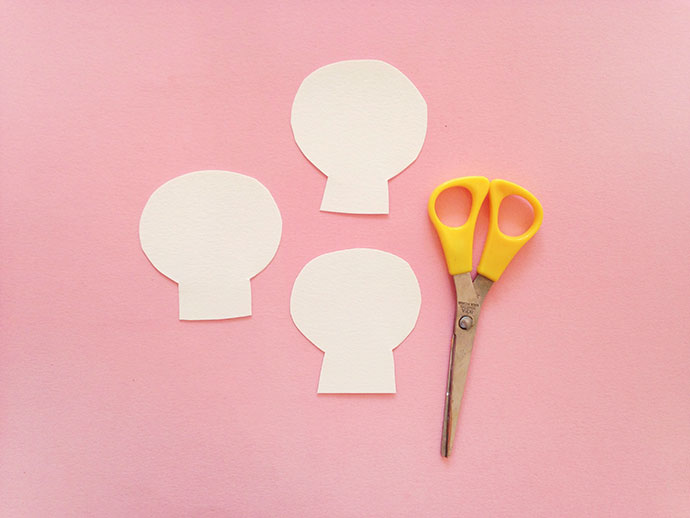
Step 1
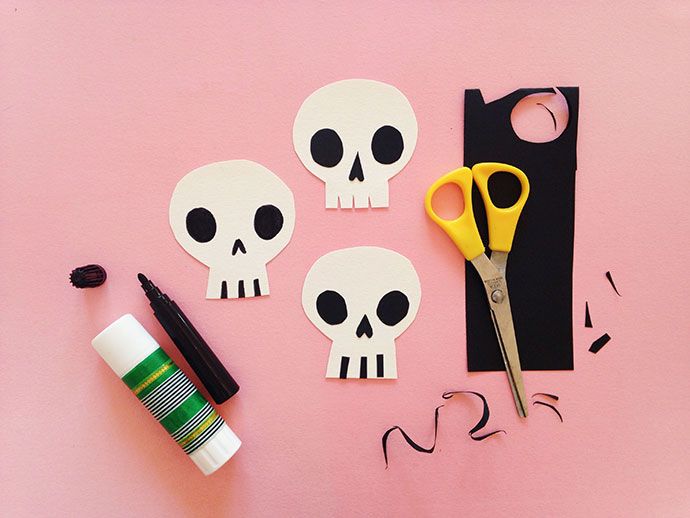
Use scissors to cut out skull shapes from white cardstock. (Which is basically a circle or oval with a rectangle at the bottom.)
Step 2
Add eyes, nose, and teeth gaps to create the face. You can cut out from the black paper and attach with the glue stick or draw directly onto the paper skulls with the black marker.

Step 3
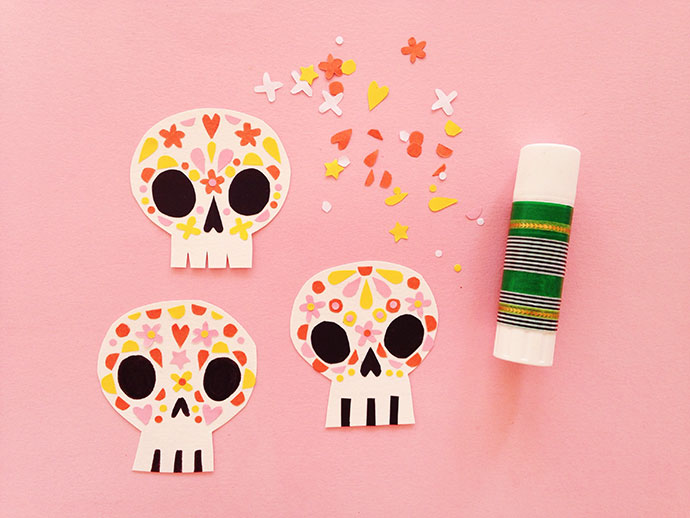
Create your decorative pieces! From the colored paper, cut or punch out small shapes to decorate your skulls. Some good shape options: circles, half-circles, tear drops, simple flowers, and hearts. Try to create a variety of slightly different shapes and sizes to work with. TIP: to make duplicates of each shape more quickly, first cut colored paper into strips, fold like an accordion, then cut out desired shapes. You can also use paper punches.
Step 4
Arrange and glue the paper shapes onto the cardstock skull to resemble the beautiful designs of traditional sugar skulls.
TIP: increasing the size of the skulls and decorative paper pieces can make this project easier for younger children to enjoy.
Happy Halloween!
from Handmade Charlotte https://www.handmadecharlotte.com/paper-sugar-skulls/?utm_medium=feed&utm_source=feedpress.me&utm_campaign=Feed%3A+hcrss
No comments:
Post a Comment